Article
Best Blender Sculpting Brushes: Default and Custom Brushes Compared
The best Blender sculpting brushes fall into two groups: the 30+ default brushes built into Sculpt Mode, and custom brush packs you install for production-ready surface detail. Blender's defaults, like Clay Strips and Grab, control volume, shape, and surface clarity and cost nothing. Custom packs add specific, pre-shaped detail such as skin pores, fabric folds, rock cracks, and wood grain in a single click.
If you have searched for a blender sculpt brush guide, clay strips Blender tips, the grab brush Blender sculptors rely on, or the best custom Blender brushes for skin, cloth, or rocks, this breakdown covers the core set, the detail tools, the special brushes, and how default and custom brushes compare.
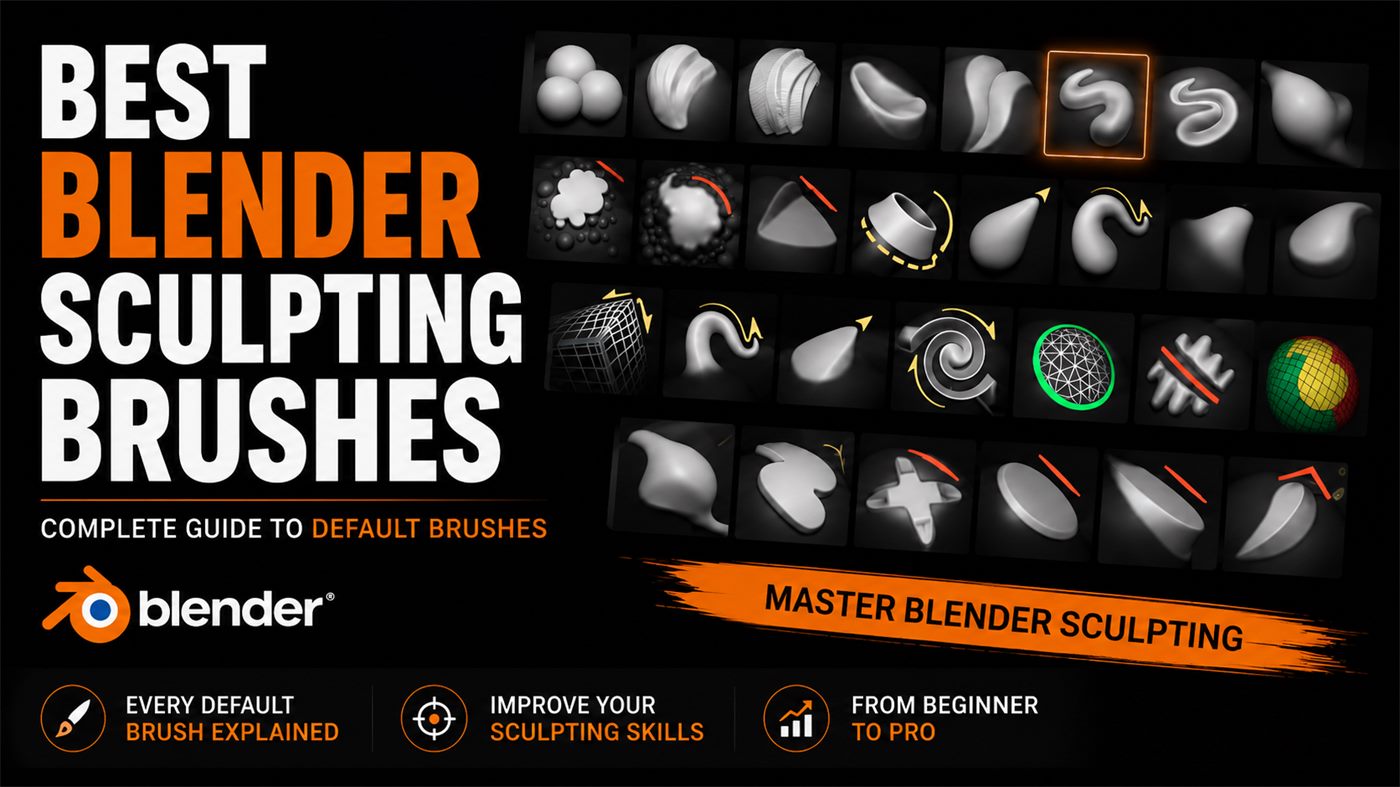
Core sculpting brushes
The core set builds the foundation of your sculpt. These are the tools you use for shape, silhouette, and form. When people ask for the best blender sculpt brushes, they almost always start here.
The grab brush Blender artists use most is the fastest way to correct proportions. Use it early and often. The clay strips Blender workflow is ideal for building planes on faces, armor, and hard surface shapes. Keep brush size large and focus on the outline before you move to smaller details.
Detail brushes
Detail brushes add sharpness and texture after the big forms are correct. You do not need these early, but they are the tools that turn a smooth sculpt into a believable surface.
Use these after you have a solid silhouette. A common mistake is to use Crease and Pinch too early, which creates brittle forms. Instead, build volume with Clay and Draw, then sharpen with Crease when the forms are stable. This makes details read cleanly in lighting and renders.
Special brushes and tools
Blender includes special brushes that change the workflow completely. They are not always needed, but when used at the right moment they save hours of work.
Use Snake Hook to rough in long shapes, then smooth and refine. Pose is powerful for quick adjustments but works best on clean topology or remeshed meshes. Cloth and Mask are excellent for folds, belts, and armor plates. These special tools are where Blender competes with high end sculpting software.
Best custom Blender sculpting brushes by category
Default brushes shape a sculpt, but they cannot stamp in skin pores, fabric weave, rock fracture, or wood grain on their own. Custom brush packs solve that by giving you pre-shaped detail brushes and alphas you drag across the surface. Here is where to start in each category.
Default brushes vs custom brush packs
Neither replaces the other. Default brushes are how you shape a sculpt; custom packs are how you finish its surface faster. Most working sculptors use both in the same session.
| Aspect | Default brushes | Custom brush packs |
|---|---|---|
| Cost | Free, built into every Blender install | Free packs exist; most run $0-$25 |
| Setup | None, ready immediately | Import once via the Asset Browser or brush files |
| Detail range | Broad, general-purpose forms and surfaces | Specific: pores, folds, cracks, grain, rust |
| Best for | Blocking, proportions, silhouette | Production-ready surface detail, faster finishing |
| Learning curve | Learn 10-15 brushes, reuse everywhere | Learn the install workflow once, then browse and click |
| Style range | Depends entirely on your own stroke control | Pre-shaped for skin, fabric, rock, wood, metal, ornament |
Free vs paid Blender sculpting brushes
Every default Blender brush is free the moment you install Blender. Custom brush packs range from free community sets to paid production libraries. Free packs are a good way to test whether a category (fabric, skin, rock) fits your project before buying a full library. For a breakdown of what's genuinely free versus what's a lead magnet, see Free Blender Sculpting Brushes & ZBrush Alphas (2026 Guide).
Which brushes should beginners vs professionals use
Skill level changes which brushes matter, not which brushes exist. Everyone has access to the same tools; the difference is sequencing and how much custom detail you lean on.
How to use brushes properly
Brush control matters more than brush selection. The same brush can produce clean or messy results depending on pressure, spacing, and size. These habits improve every sculpting session.
Think of brushes as a sequence instead of a single tool. Start with Grab, then Clay, then refine with Crease, and finish with Smooth. This order keeps your forms clean and avoids noisy surfaces.
Pro workflow example
A professional sculpting session is a loop of form and refinement. Use this simple sequence as a template for any project. It works for heads, creatures, and even hard surface designs.
The key is timing. If you use detail brushes before the base is solid, you will spend more time undoing and redoing. Stick to the sequence and your results will improve fast.
Video walkthrough: 6 core brushes in action
This walkthrough demonstrates Clay Strips, Smooth, Grab, Inflate, Crease, and Mask directly on a sculpt, which is a useful companion to the written breakdown above.
FAQ
What is the best sculpting brush in Blender?
There is no single best brush. Clay Strips and Grab handle most form-building, Smooth and Crease handle refinement, and custom packs add detail defaults cannot, such as skin pores or fabric folds.
Should I use default or custom brushes?
Use both. Block out and shape with default brushes, then switch to a custom pack for the specific surface detail your subject needs, like scales, rust, or wood grain.
Are there free custom brushes for Blender?
Yes, free packs exist alongside paid ones. See Free ZBrush & Blender Brushes in 2026 for what is genuinely free.
What brush should beginners start with?
Start with Draw, Clay, Grab, and Smooth. These four cover most early sculpting sessions before you need Crease, Pinch, or any custom pack.
Which brush is best for skin detail?
Default Blender has no dedicated pore or wrinkle brush. Use a custom skin brush pack, such as the ones listed in Top Skin Sculpting Brushes, on top of your base sculpt.
Do I still need ZBrush if I use Blender custom brushes?
Not for most game-ready work. Custom Blender brush packs close much of the detail gap; see Blender vs ZBrush for where ZBrush still has an edge.
Featured VK GameDev products
Build better sculpts with production ready brushes and alphas. These packs are organized for fast browsing and reliable strokes so you can focus on form instead of setup.
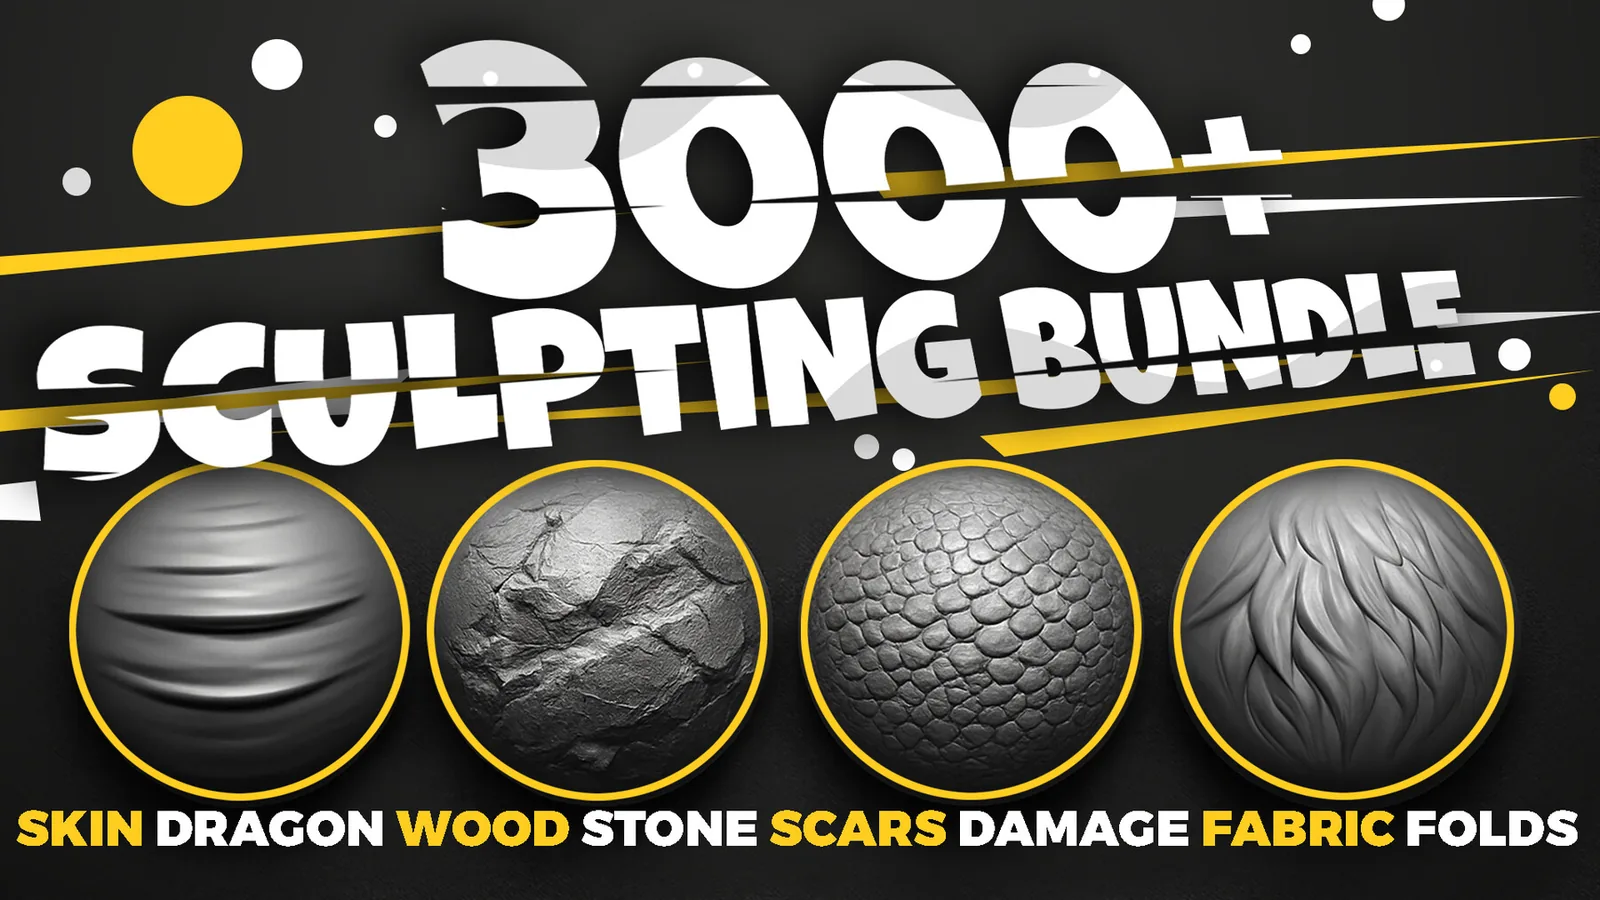
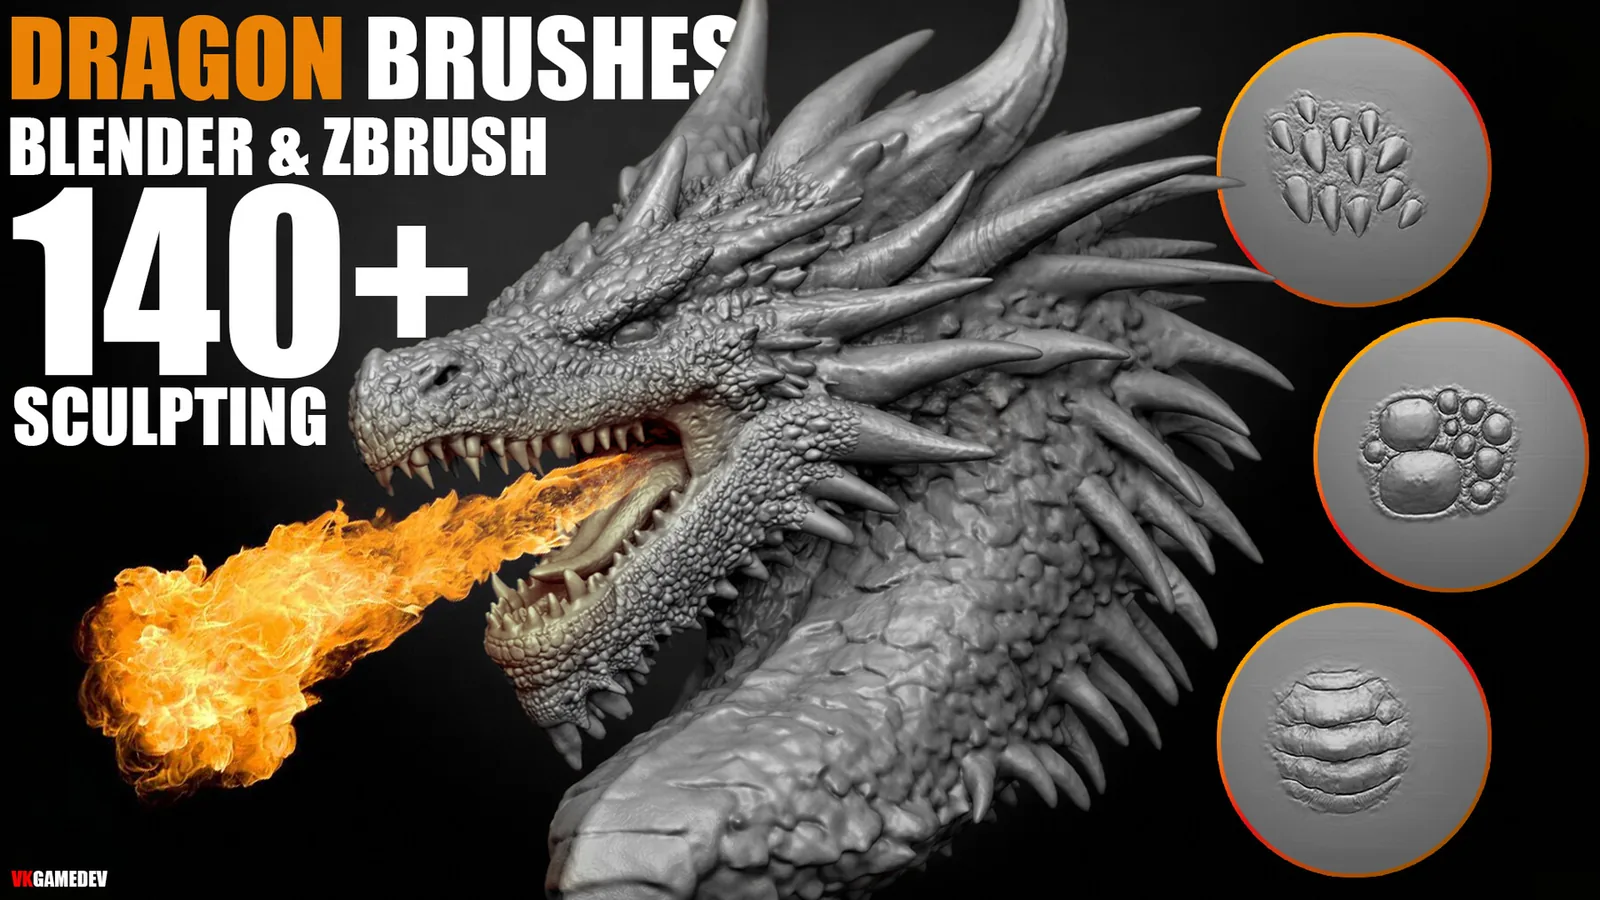
Useful links
Browse all Blender sculpting brushes to compare curated brush packs.
3000+ sculpting brushes bundle for a complete Blender-ready library.