Comparison
Blender vs ZBrush: Which Sculpting Tool Should You Use?
Choosing between Blender and ZBrush is really a choice between a free creative multi-tool and a paid industrial sculpting drill. Blender can model, sculpt, rig, animate, shade and render in one workspace. ZBrush is narrower, but it is built to push far more polygons and keep sculpting fast when the detail gets brutal.
The practical answer is simple: start with Blender if you are learning, freelancing, building indie game assets or need one free tool for the whole 3D pipeline. Move to ZBrush when sculpting itself is your daily work, when a studio pipeline requires it, or when your model needs extreme high-poly detail. Many artists use both: ZBrush for the heavy sculpt, Blender for finishing, rendering and game-ready production.
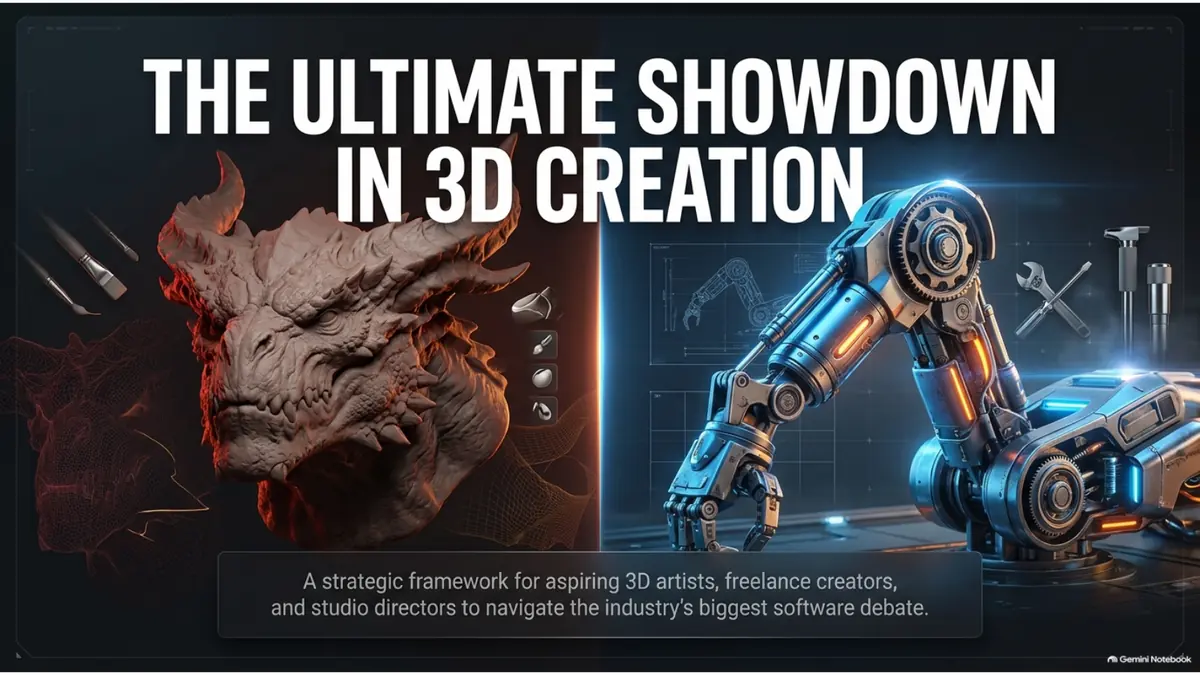
Swiss army knife vs power drill
The easiest way to frame Blender vs ZBrush is not "which software is better?" It is "which tool solves the current job faster?" Blender is the Swiss army knife: sculpting is only one part of a full 3D workspace. ZBrush is the power drill: specialized, faster for heavy sculpting, and less concerned with the rest of the production pipeline.
On this page
Blender vs ZBrush at a glance
Blender is strongest when you need one complete workspace. ZBrush is strongest when sculpting density, brush feel and production speed matter more than price or all-in-one convenience.
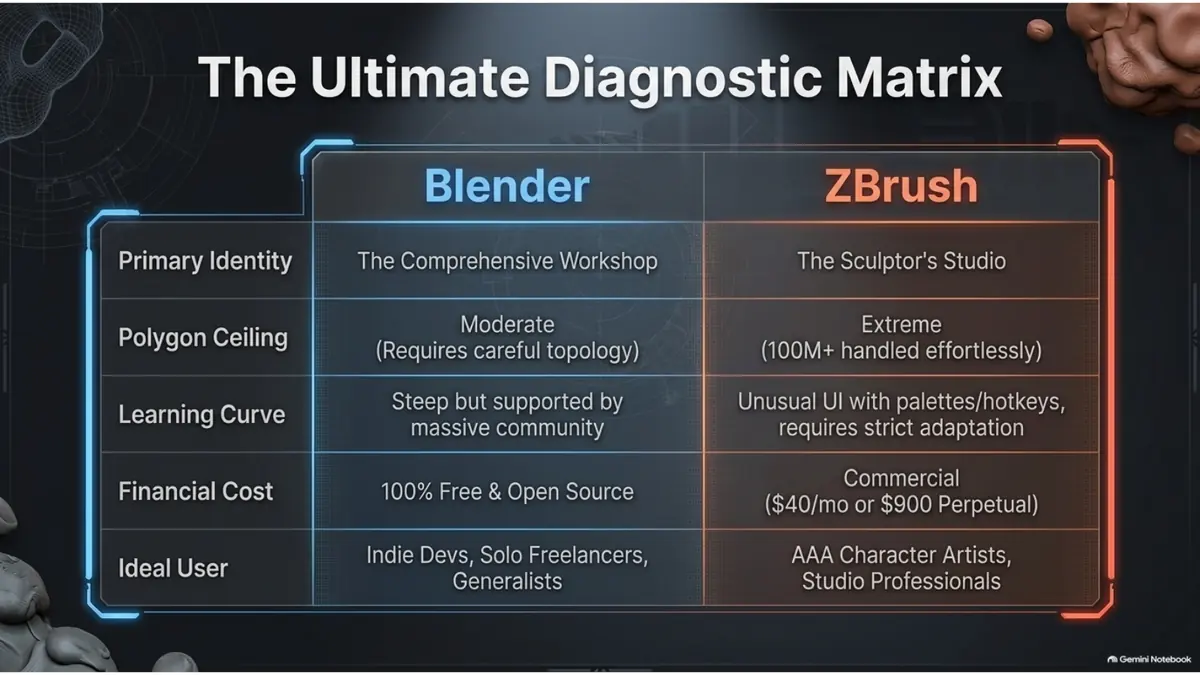
| Category | Blender | ZBrush |
|---|---|---|
| Core identity | Complete 3D workspace | Sculpting specialist |
| Best metaphor | Swiss army knife | Power drill |
| Cost | Free and open source | Paid professional tool |
| Scope | Model, sculpt, rig, animate, shade and render | Sculpt, detail, remesh and prepare high-poly forms |
| Polygon handling | Good for most game-ready and mid-detail work | Built for extreme high-poly sculpting |
| Best user | Beginners, solo creators, freelancers, indie developers | Studio character artists and full-time sculptors |
Cost and the real entry barrier
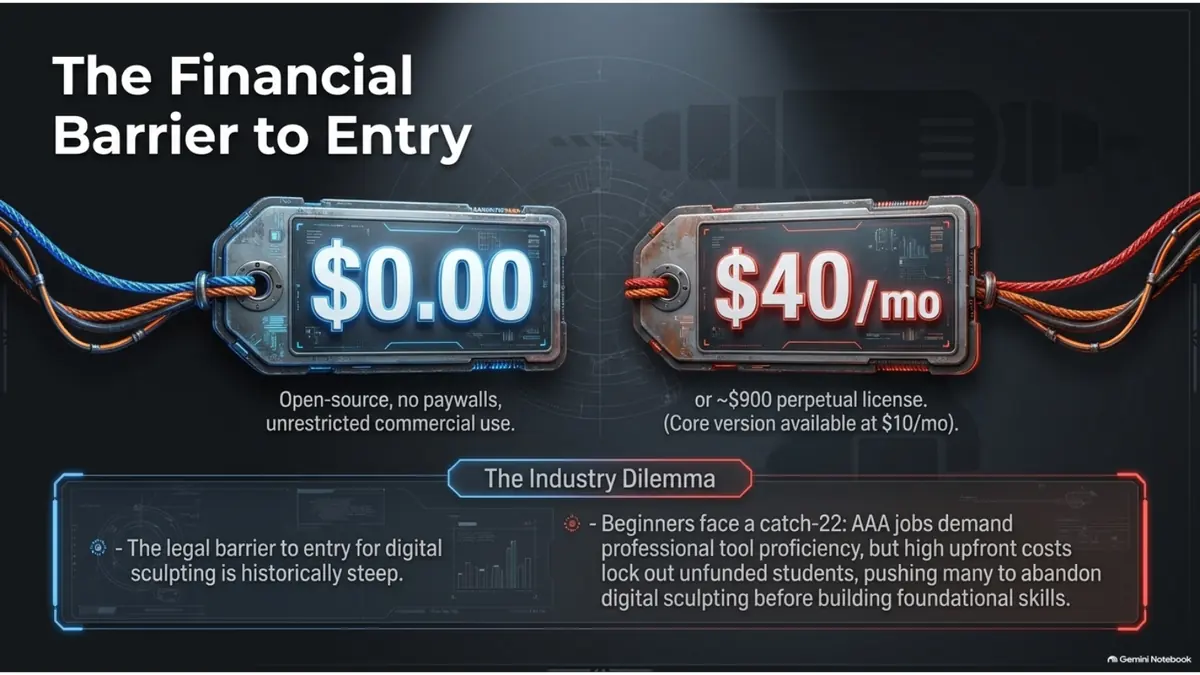
Blender is free and open source with no license fee for commercial work. That makes it the better first choice for beginners, students, indie developers and anyone still testing whether sculpting is part of their long-term workflow.
ZBrush is paid professional software. The price is not only a license decision; it is a time decision. You buy ZBrush when the time saved on high-density sculpting is worth more than the cost of the tool. Check Maxon's official ZBrush page for current pricing before you budget for it.
For a tight budget, Blender plus a focused custom brush pack can get you most of the practical surface detail you need. See Free ZBrush and Blender Brushes in 2026 for free resources in both ecosystems.
System requirements
Both apps run on a modern desktop GPU, but they stress different parts of your machine. Blender's overall performance depends on your whole scene: modifiers, shading, and viewport settings, not sculpting alone. ZBrush is comparatively lighter on the GPU but leans harder on CPU and RAM once your SubTools reach very high polygon counts, since much of its polygon handling is CPU-driven.
In practice, more RAM helps both tools at high detail levels, and a mid-range GPU is enough to sculpt comfortably in either application for most game-art and freelance work.
Learning curve and interface
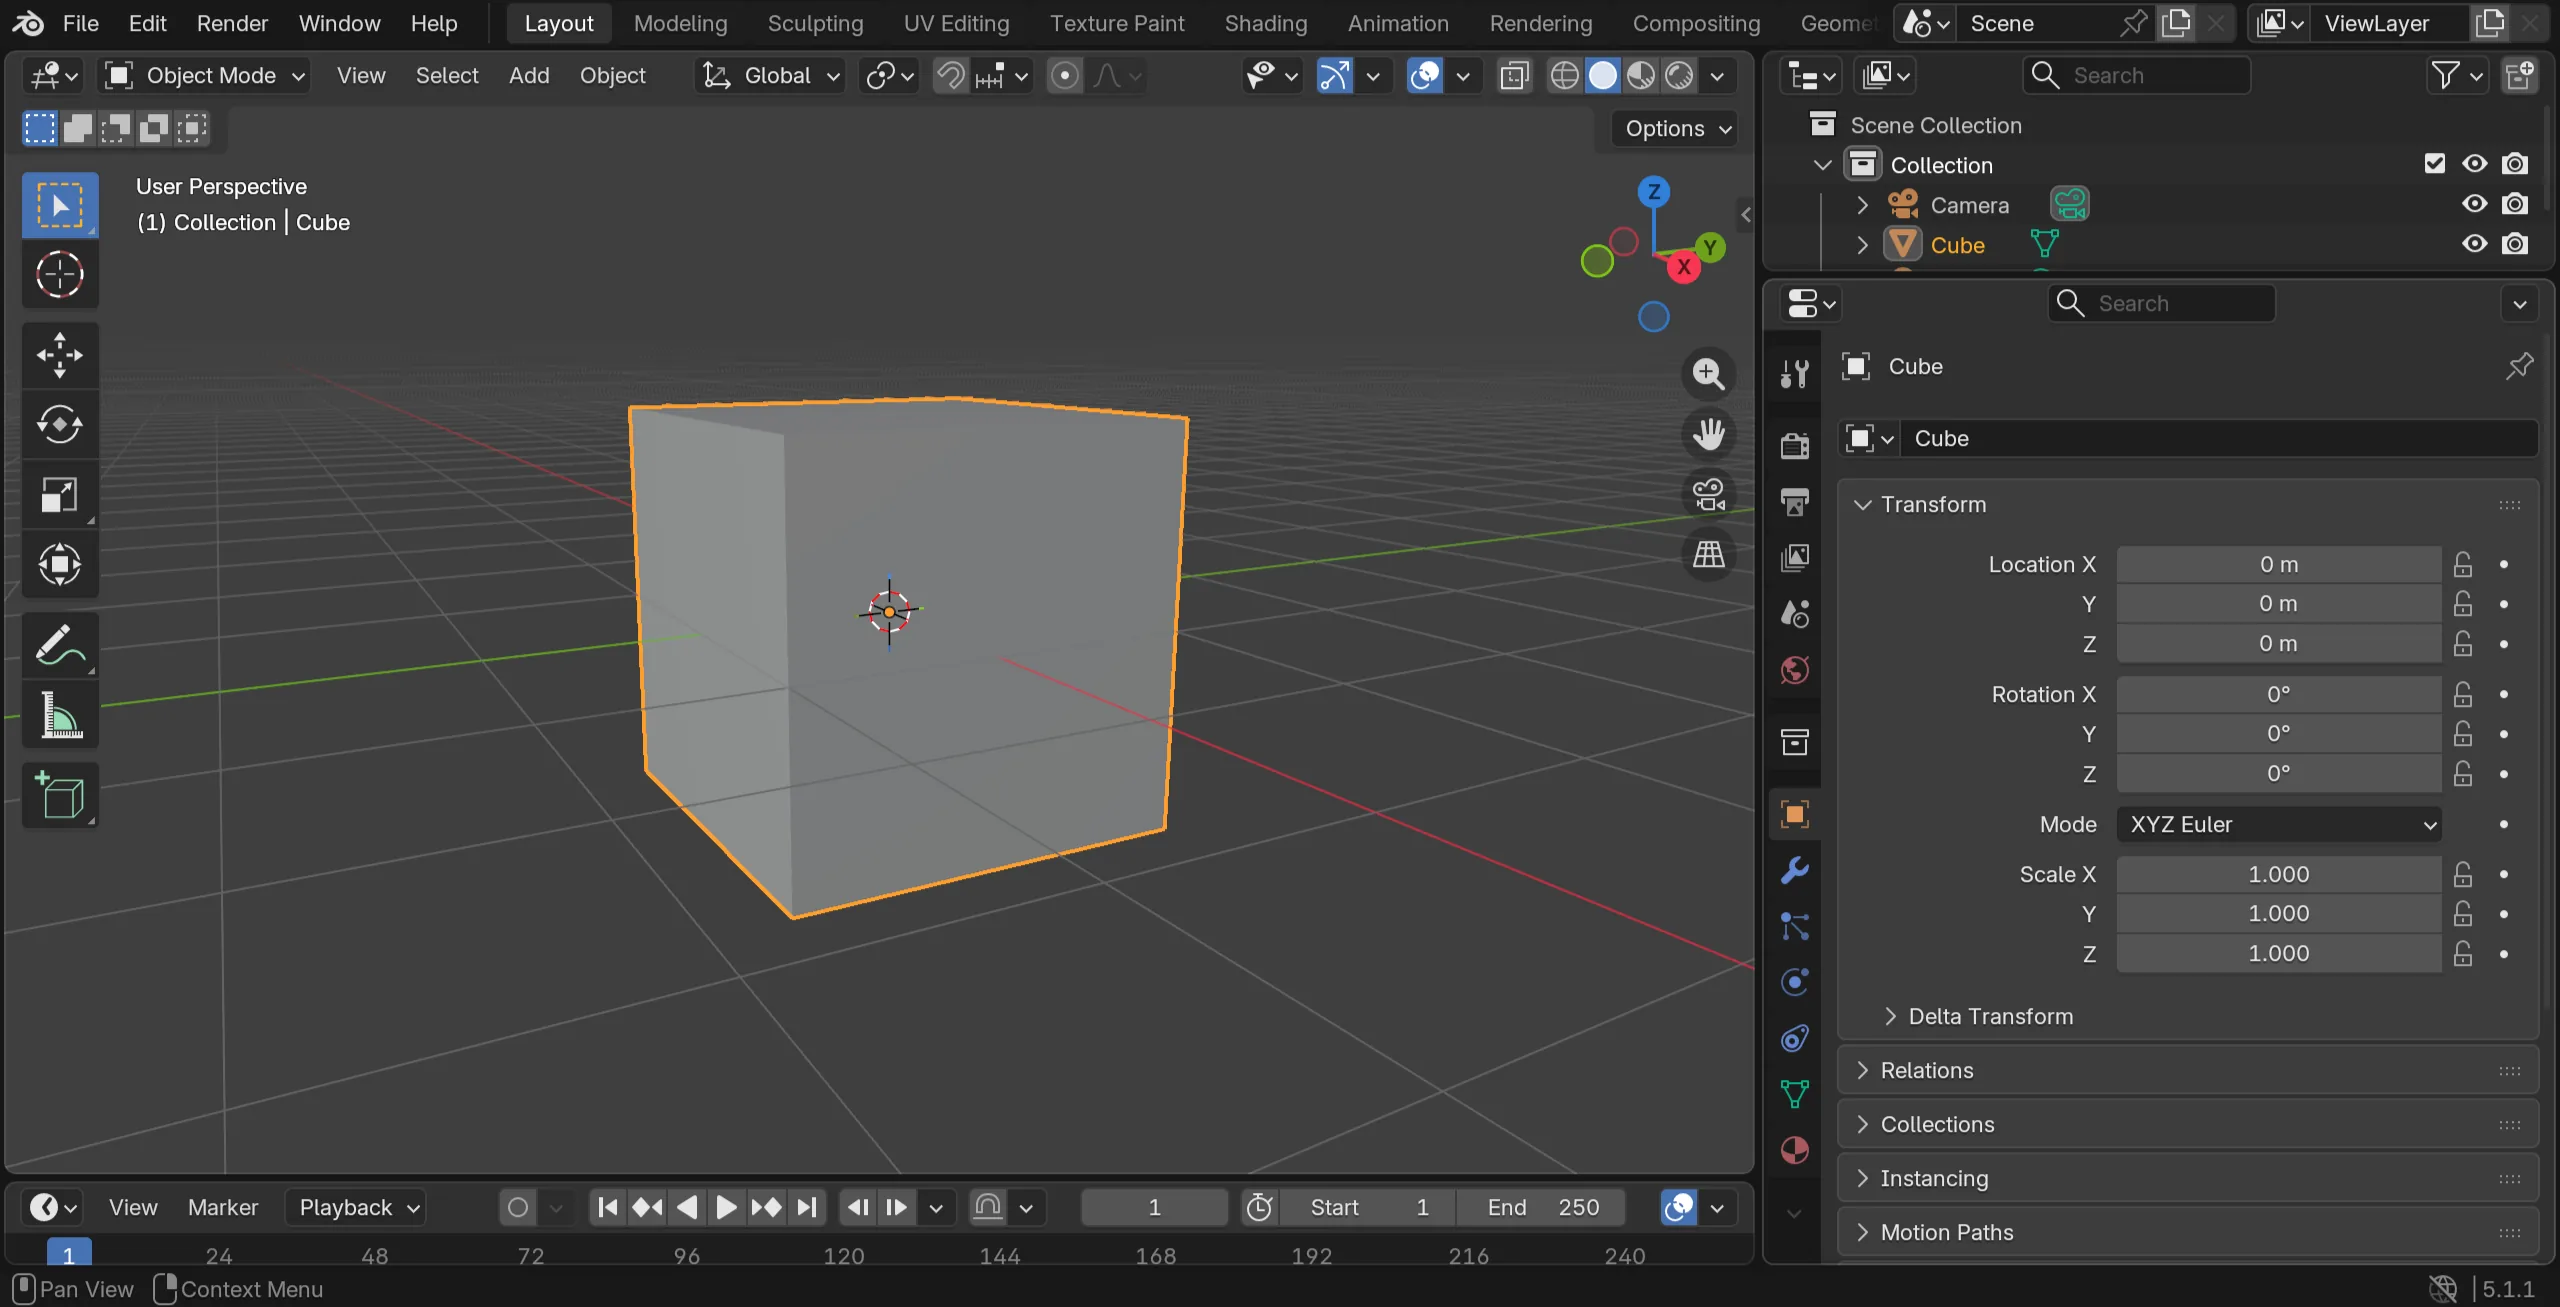
Blender's Sculpt Mode sits inside a familiar 3D-app layout shared with modeling, shading, and animation, so skills transfer across the rest of the app. Keyboard shortcuts follow the same logic as the rest of Blender; see the full Blender sculpting hotkeys cheat sheet to get moving fast.
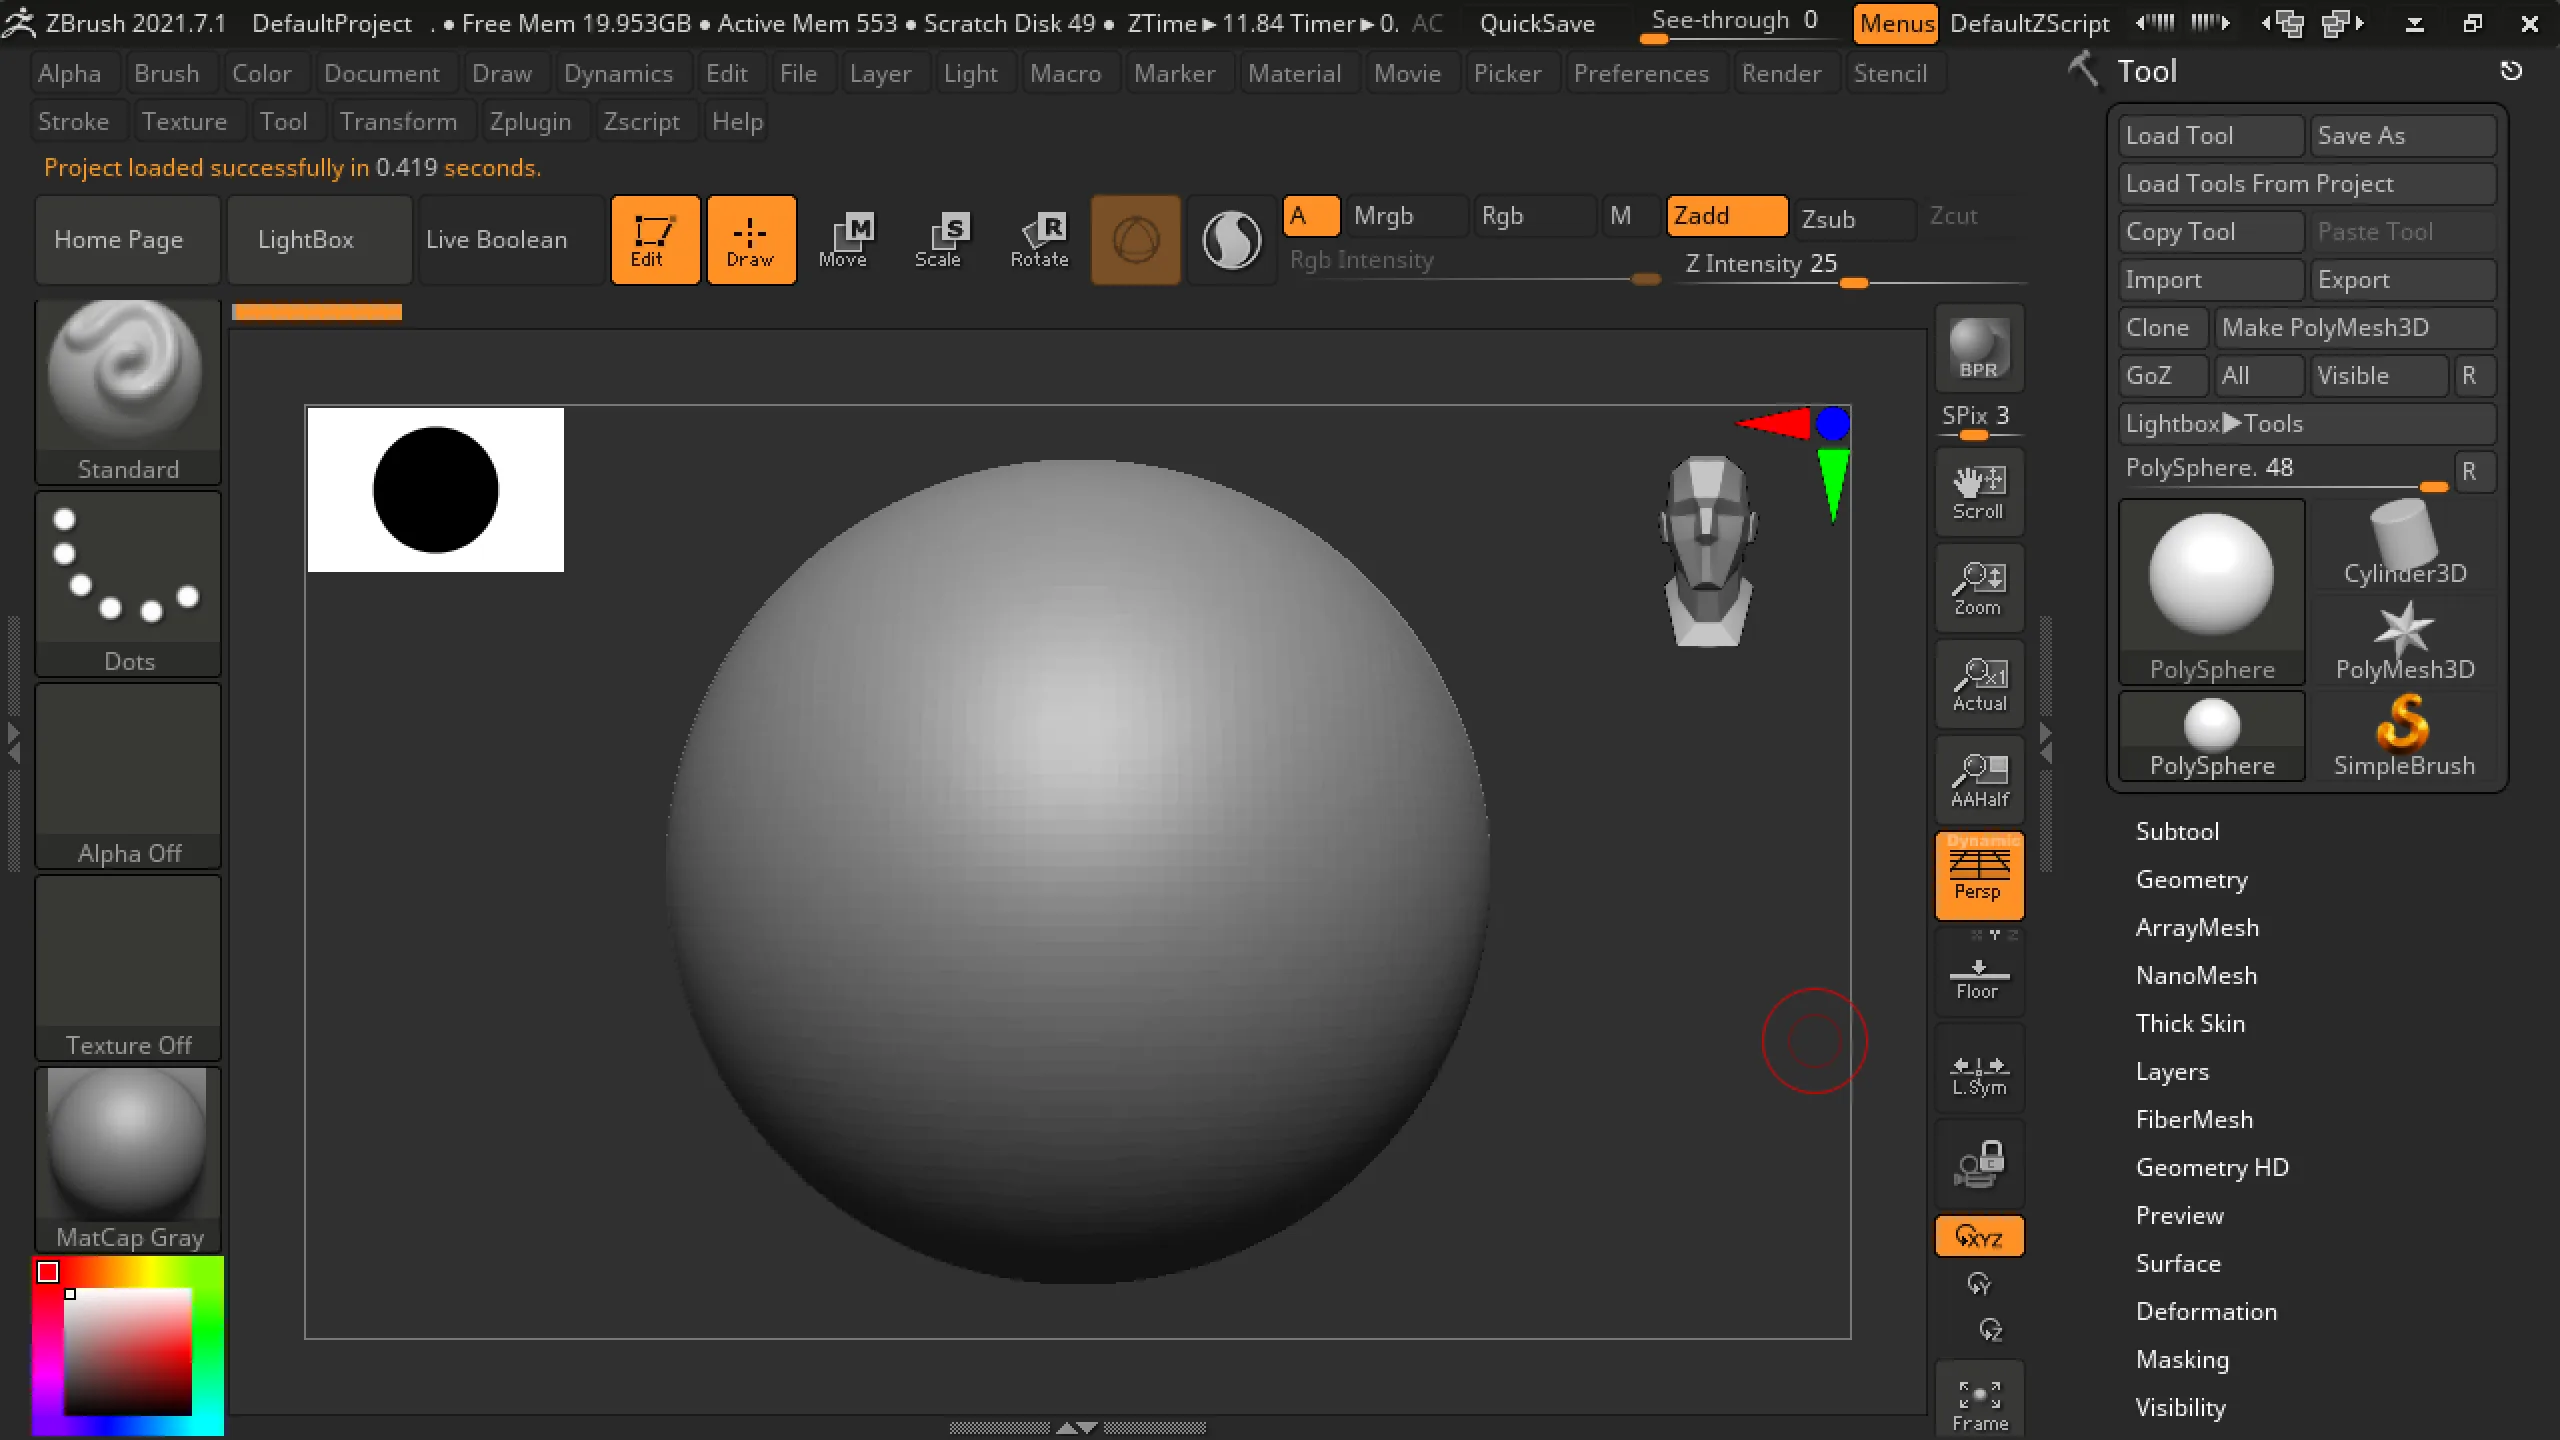
ZBrush uses a distinct, canvas-based interface that does not resemble a typical 3D viewport at first. Features like SubTools, layers, and its brush system are powerful but take longer to feel natural, especially if you're coming from another DCC app.
Performance at high polygon counts
This is where the two tools separate. Blender is strong for most sculpts, but very dense meshes require careful topology management, Multires, remeshing and smart staging. ZBrush was built for the moment when the sculpt needs to stay fluid while polygon counts climb much higher.
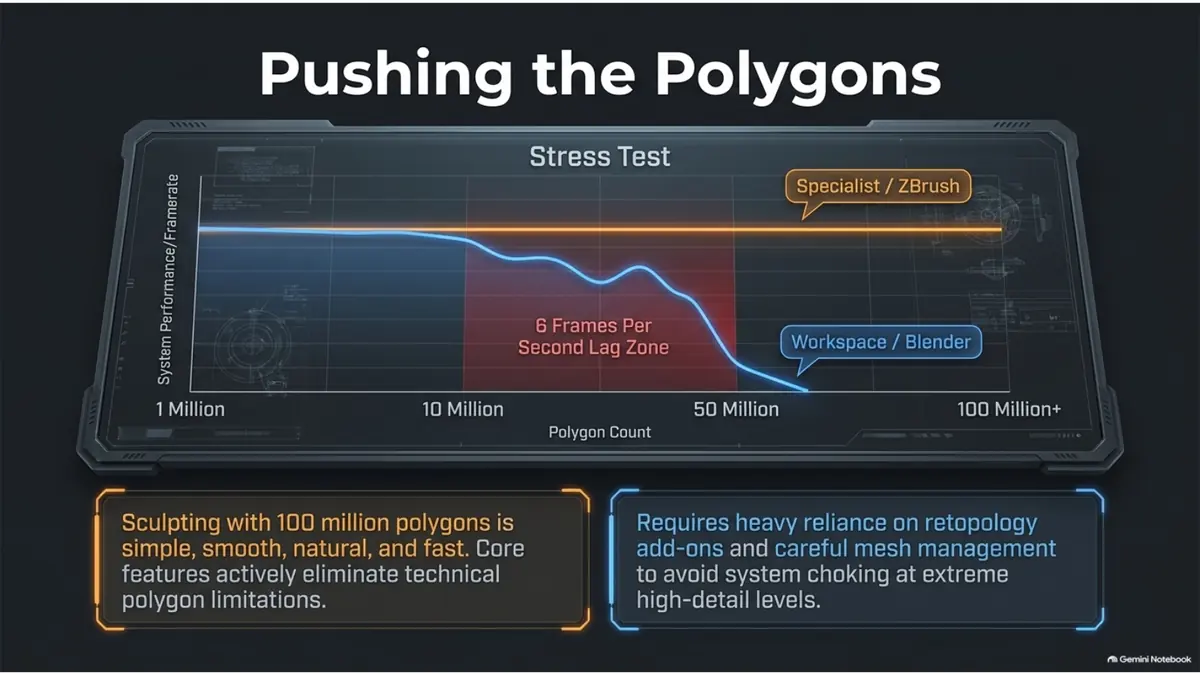
Blender's Sculpt Mode is enough for most game-ready and mid-detail production work. Push into film-level pores, wrinkles and creature detail, and ZBrush usually wins on raw sculpting comfort. In Blender, manage density with Dyntopo vs Voxel Remesh and the Multires modifier guide before performance becomes the bottleneck.
Brushes, alphas, and VDM support
ZBrush ships with a large native alpha library and first-class support for VDM (Vector Displacement Map) brushes, which stamp complex 3D shapes, like scales, folds, or ornament detail, directly onto the surface.
Blender's Asset Browser makes installing and browsing custom brush libraries straightforward once set up (see the brush installation guide), and custom packs bring VDM-style detail into Blender too. The gap has narrowed significantly because the right brushes simplify sculpting in Blender: instead of hand-carving every pore, seam, scale or crack from scratch, you can use focused alphas and VDM brushes as a controlled detail pass. See Best Blender Sculpting Brushes for how default and custom brushes compare inside Blender specifically.
How Blender brushes make sculpting easier
One reason Blender is stronger for beginners than it looks on paper is the custom brush ecosystem. A good Blender sculpting brush library gives you ready-made pores, cloth folds, rock cracks, wood grain, scales, seams, wounds and ornaments, so you spend less time fighting settings and more time shaping the asset.
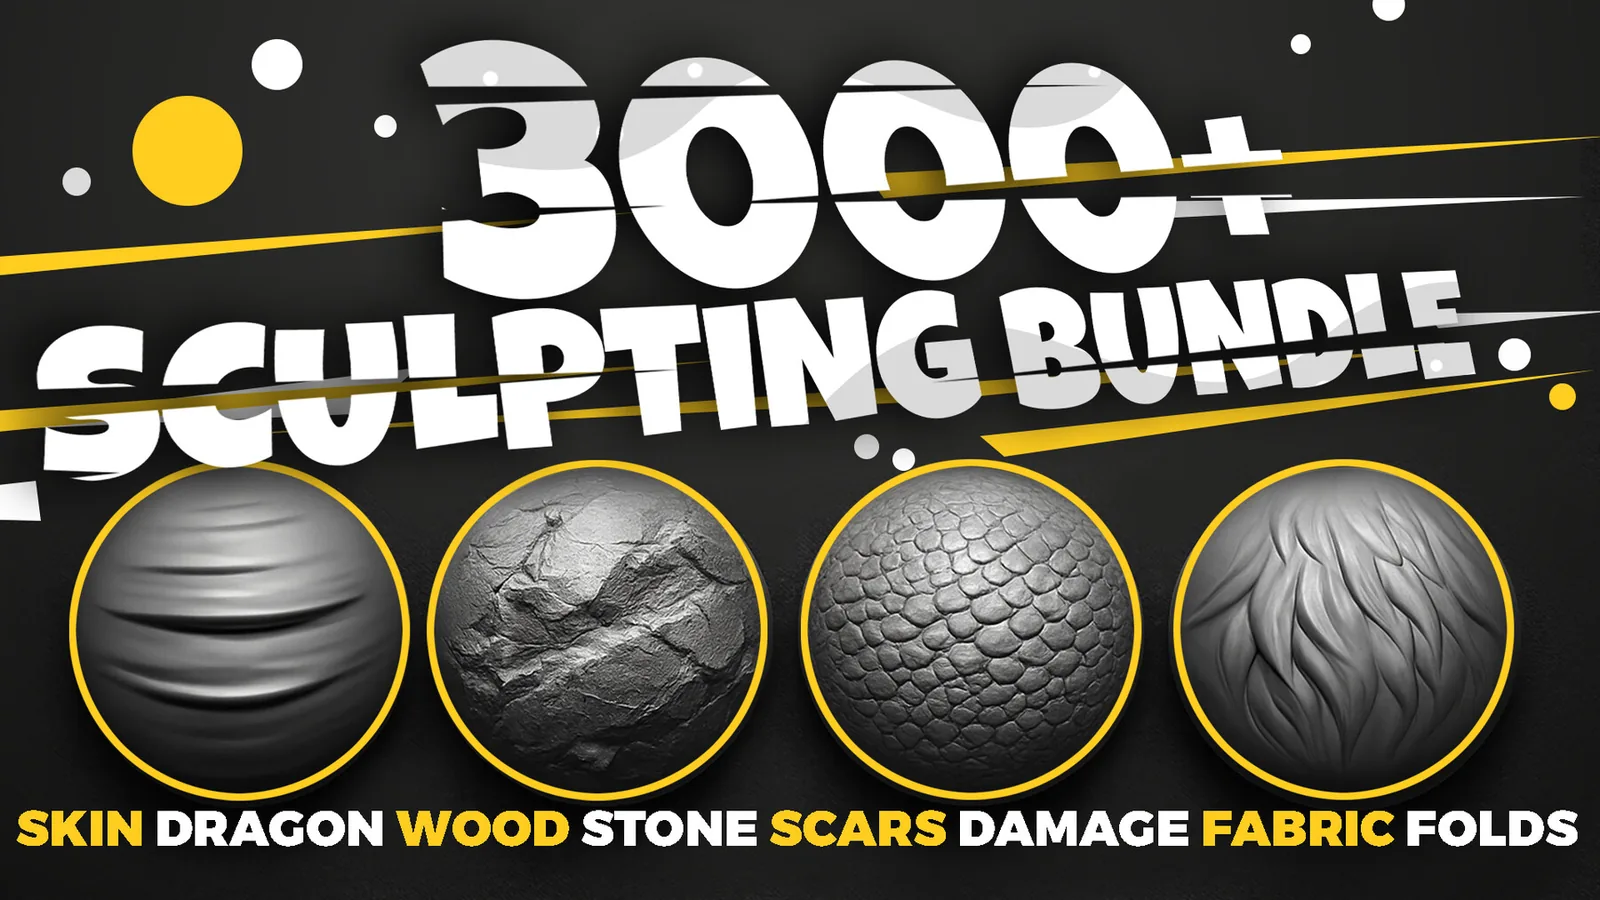
This does not make Blender identical to ZBrush, but it reduces the practical gap for many indie, freelance and game-ready workflows. Start with the essential Blender sculpting brushes guide, then use the 3000+ Sculpting Brushes Bundle when you need a complete production library.
Dyntopo, Voxel Remesh, and Multires vs ZRemesher
Blender manages mesh density with three main tools: Dyntopo for on-the-fly density while blocking out, Voxel Remesh for a clean uniform mesh before detailing, and the Multires modifier for non-destructive multi-resolution sculpting. Full comparisons live in the Dyntopo vs Voxel Remesh guide and the Multires modifier guide.
ZBrush's equivalent is ZRemesher, an automatic retopology tool paired with SubTools to keep separate pieces of a model organized at different densities. ZRemesher is generally faster to produce a clean, animation-ready topology automatically, while Blender's tools give you more manual control over the result.
Character creation
For stylized and game-ready characters, Blender handles the full loop, blockout, sculpt, retopology, UVs, and rendering, without leaving the app. For photoreal or extreme-detail characters, especially skin, pores, and fine wrinkles at film resolution, ZBrush's brush depth and polygon headroom still give it an edge.
A custom skin brush pack narrows that gap considerably inside Blender; see Top Skin Sculpting Brushes for Blender.
Hard-surface sculpting
Both tools handle hard-surface work through a mix of masking, trim brushes, and boolean-style operations. Blender's modifier stack (Boolean, Bevel, Mirror) gives hard-surface artists a non-destructive workflow that ZBrush does not natively match, which is why many hard-surface sculptors block out in Blender even when they finish detail work in ZBrush.
Preparing game-ready models
Game-ready pipelines need a high-poly sculpt, a clean low-poly retopo, and baked normal or displacement maps. Blender can do all three in one app: sculpt, retopologize, UV-unwrap, and bake, which is a real advantage for solo developers and small teams.
ZBrush-based pipelines typically export the high-poly sculpt (often via ZRemesher-generated topology or a separate retopo tool) into another application for baking and texturing, adding a pipeline step that Blender-only workflows skip entirely.
Who should choose Blender
Who actually needs ZBrush
The hybrid pipeline
The strongest professional answer is often not Blender or ZBrush. It is Blender and ZBrush. Use ZBrush for the heavy sculpting stage, then use Blender for modeling support, retopology, UVs, texturing handoff, rendering and game-ready finishing.
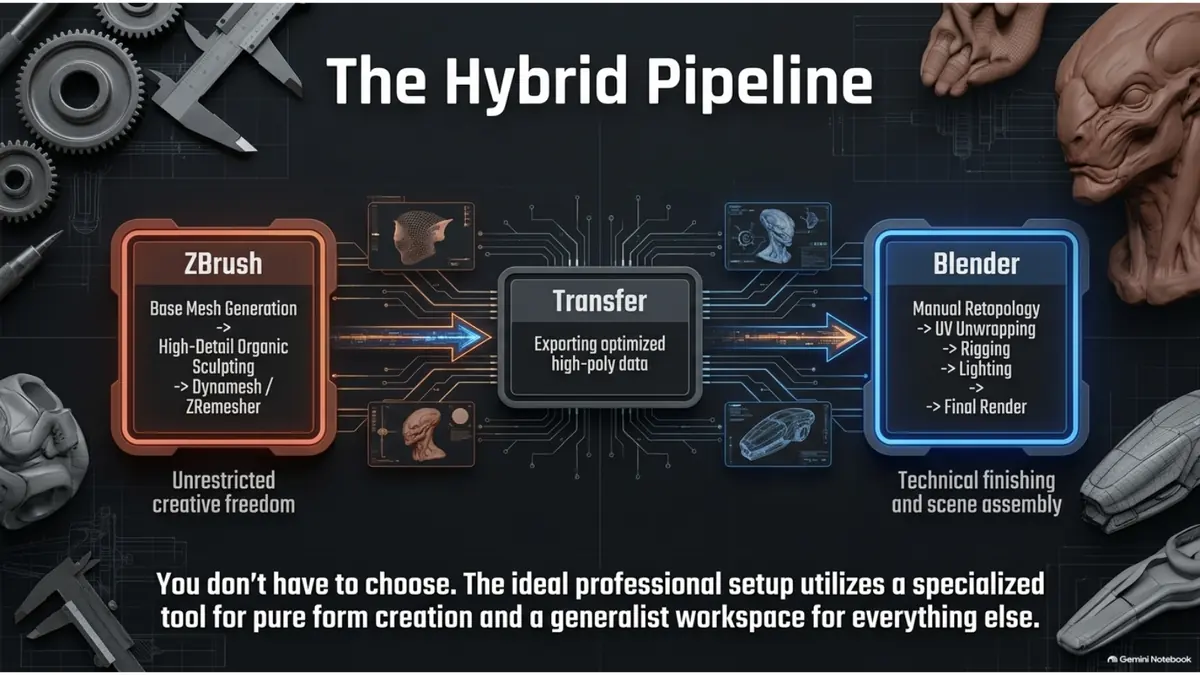
A practical workflow is: block out in Blender, sculpt high detail in ZBrush, export the high-poly result, then return to Blender for retopology, baking support and final render setup. If your goal is studio work, learn this handoff. If your goal is solo production, Blender alone may stay simpler.
Beginner advice
Bottom line: for many artists the ideal route is Blender first, ZBrush later if high-poly sculpting becomes the bottleneck, and a hybrid workflow when production demands both speed and a complete 3D pipeline.
FAQ
Is Blender as good as ZBrush for sculpting?
Blender is good enough for most beginner, indie, stylized and game-ready sculpting work. ZBrush is still stronger when a project needs extreme polygon counts, long sculpting sessions and specialized brush workflows.
Is ZBrush worth it if I already use Blender?
It depends on your detail needs. If you regularly sculpt at extreme polygon counts or need native VDM brushes and ZRemesher, ZBrush is worth adding. For most other work, Blender plus custom brushes covers it.
Can Blender replace ZBrush for game development?
Yes, for the large majority of game-ready asset work. Blender's sculpt-to-bake pipeline in one app is a real advantage for solo developers and small studios.
Which is better for beginners, Blender or ZBrush?
Blender. It is free, has a huge amount of learning material, and its interface shares logic with the rest of the app, which shortens the learning curve compared to ZBrush's unique canvas UI.
Do professional studios use Blender or ZBrush?
Both, often together. Many studios block out and manage the pipeline in Blender or another DCC, then sculpt extreme detail in ZBrush before bringing the result back for retopology and rendering.
What is the biggest practical difference between Blender and ZBrush?
Cost and specialization. Blender is a free, full 3D suite; ZBrush is a paid, sculpting-specific tool built to handle far higher polygon counts and deeper native brush and alpha support.
Featured VK GameDev products
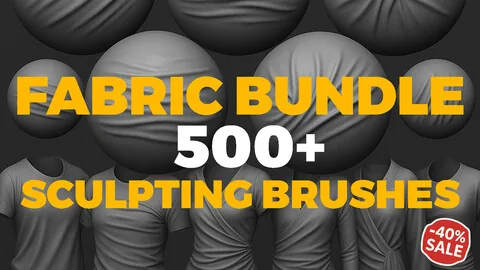
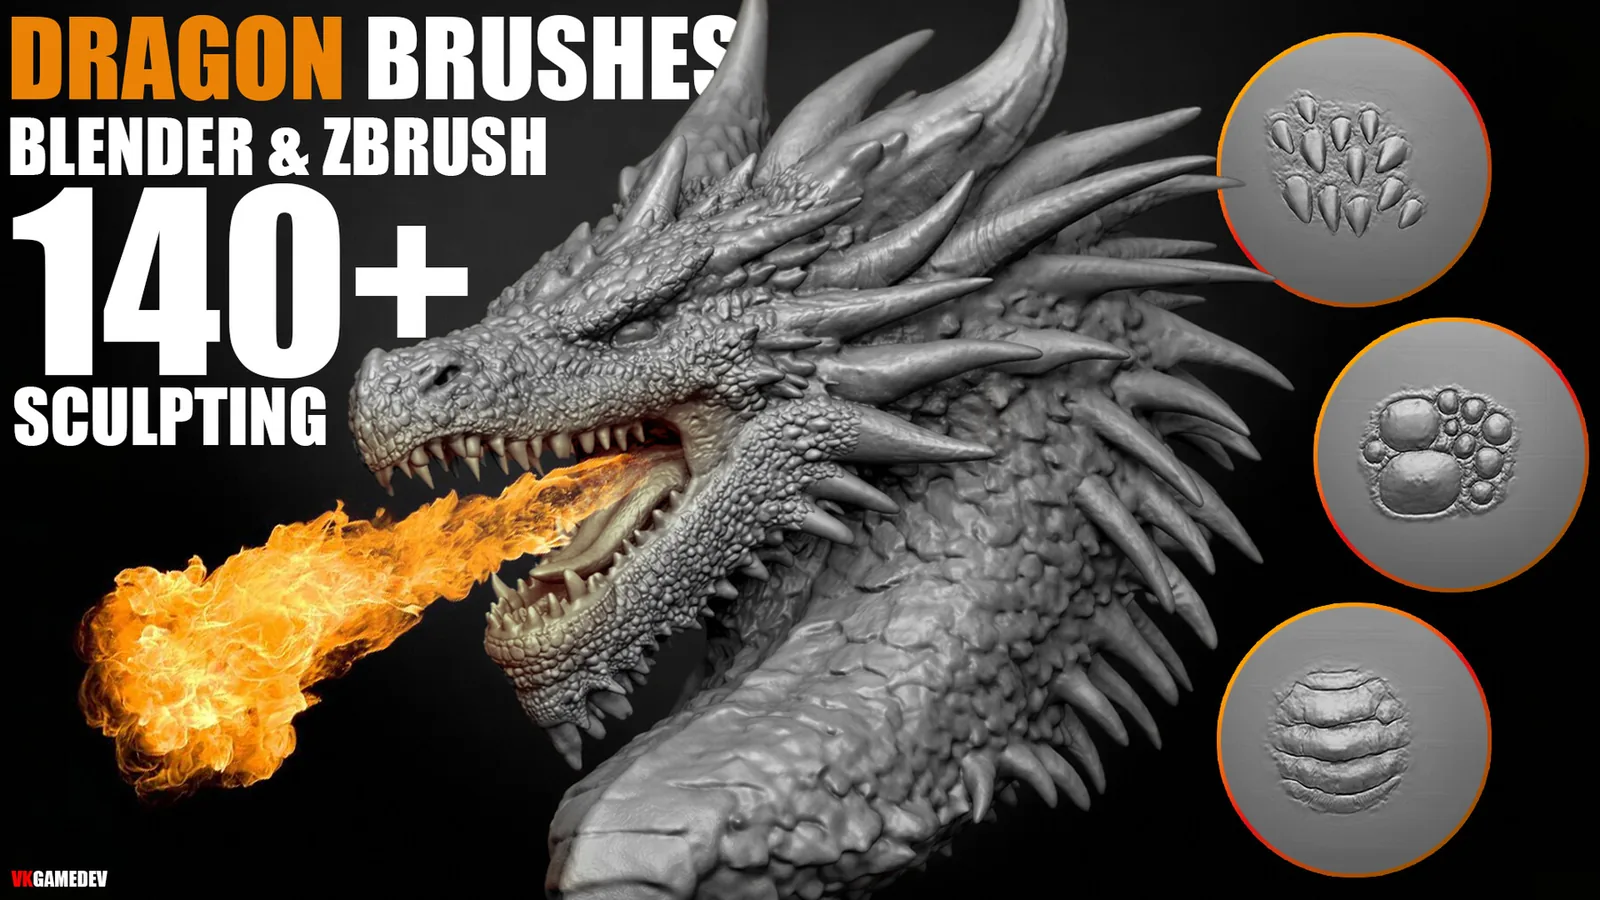
These brush packs work in Blender and ZBrush and are designed for fast, clean sculpting in production.
Useful links
Best Blender sculpting brushes list · Essential Blender sculpting brushes · Hotkeys for Blender sculpting · Dyntopo vs Voxel Remesh · Multires modifier guide
Browse all Blender sculpting brushes · Skin brush recommendations · Rock and stone brush recommendations · Explore the 3000+ sculpting brushes bundle