Troubleshooting guide
Blender Sculpting Not Working? 7 Fixes That Actually Solve It
You enter Sculpt Mode, pick the Draw brush, drag across your model, and nothing happens. The brush cursor moves, the circle follows your pen, but the surface stays perfectly flat.
In almost every case, the brush is not broken. Something about the mesh, the mask, or the active object is silently blocking it. These seven checks are ordered from most to least common, so you can find the cause fast and get back to sculpting.
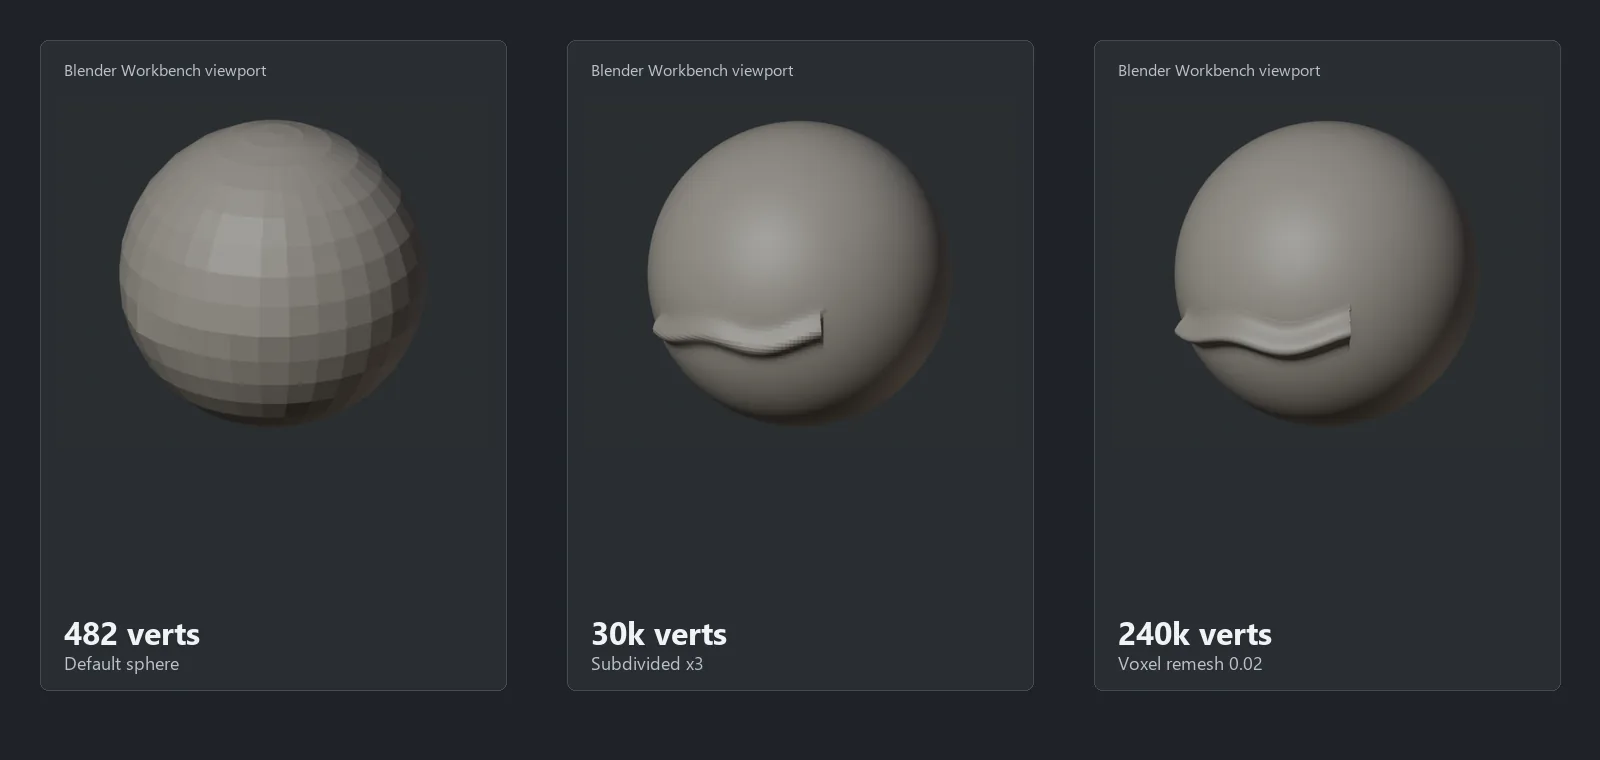
1. Your mesh does not have enough geometry
This is the most common cause. Sculpting brushes move existing vertices. A default cube has 8 vertices, and a default UV Sphere has only a few hundred. Push a brush across that and you get either nothing visible or a lumpy dent that looks nothing like a clean sculpting stroke.
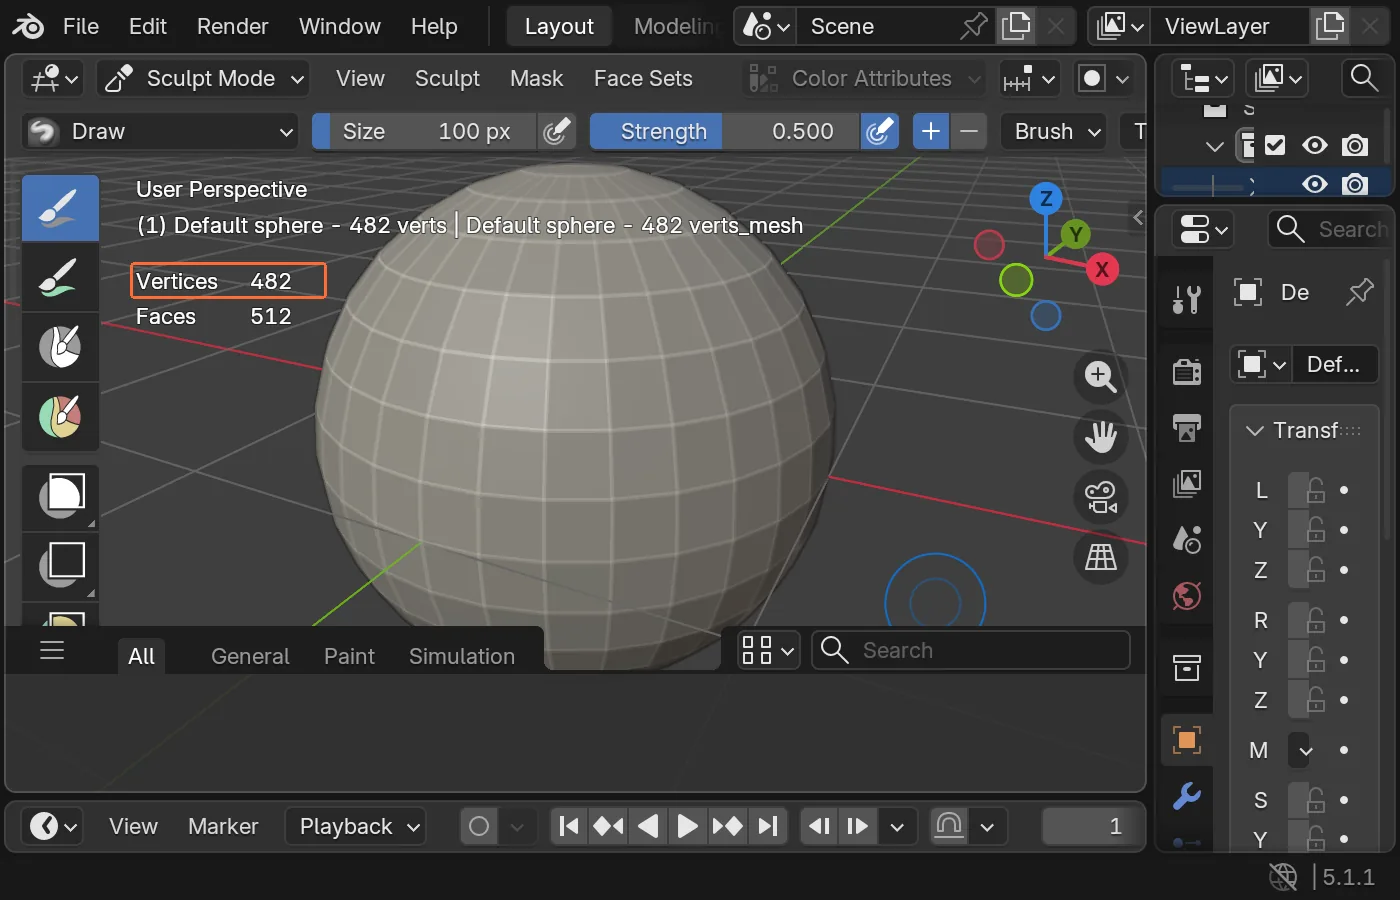
For a general sculpt, you want tens of thousands of vertices minimum. For alpha detail, pores, scratches, wrinkles, and tight creases, hundreds of thousands of vertices are normal.
2. Enable Dyntopo (Dynamic Topology)
Dyntopo generates new topology under the brush as you stroke. That means you can start on a low-poly mesh and still create detail where you actually paint. It is Blender's closest sculpting tool to sketching in clay.
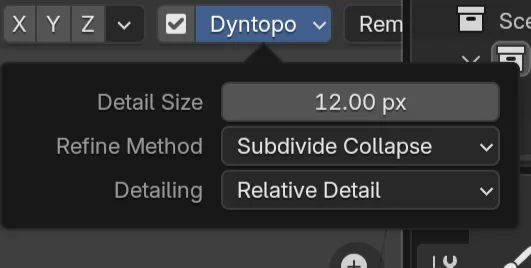
Dyntopo is ideal for blockout and exploration. It is not always the best choice for a finished asset that you plan to subdivide, retopologize, or drive with clean production topology.
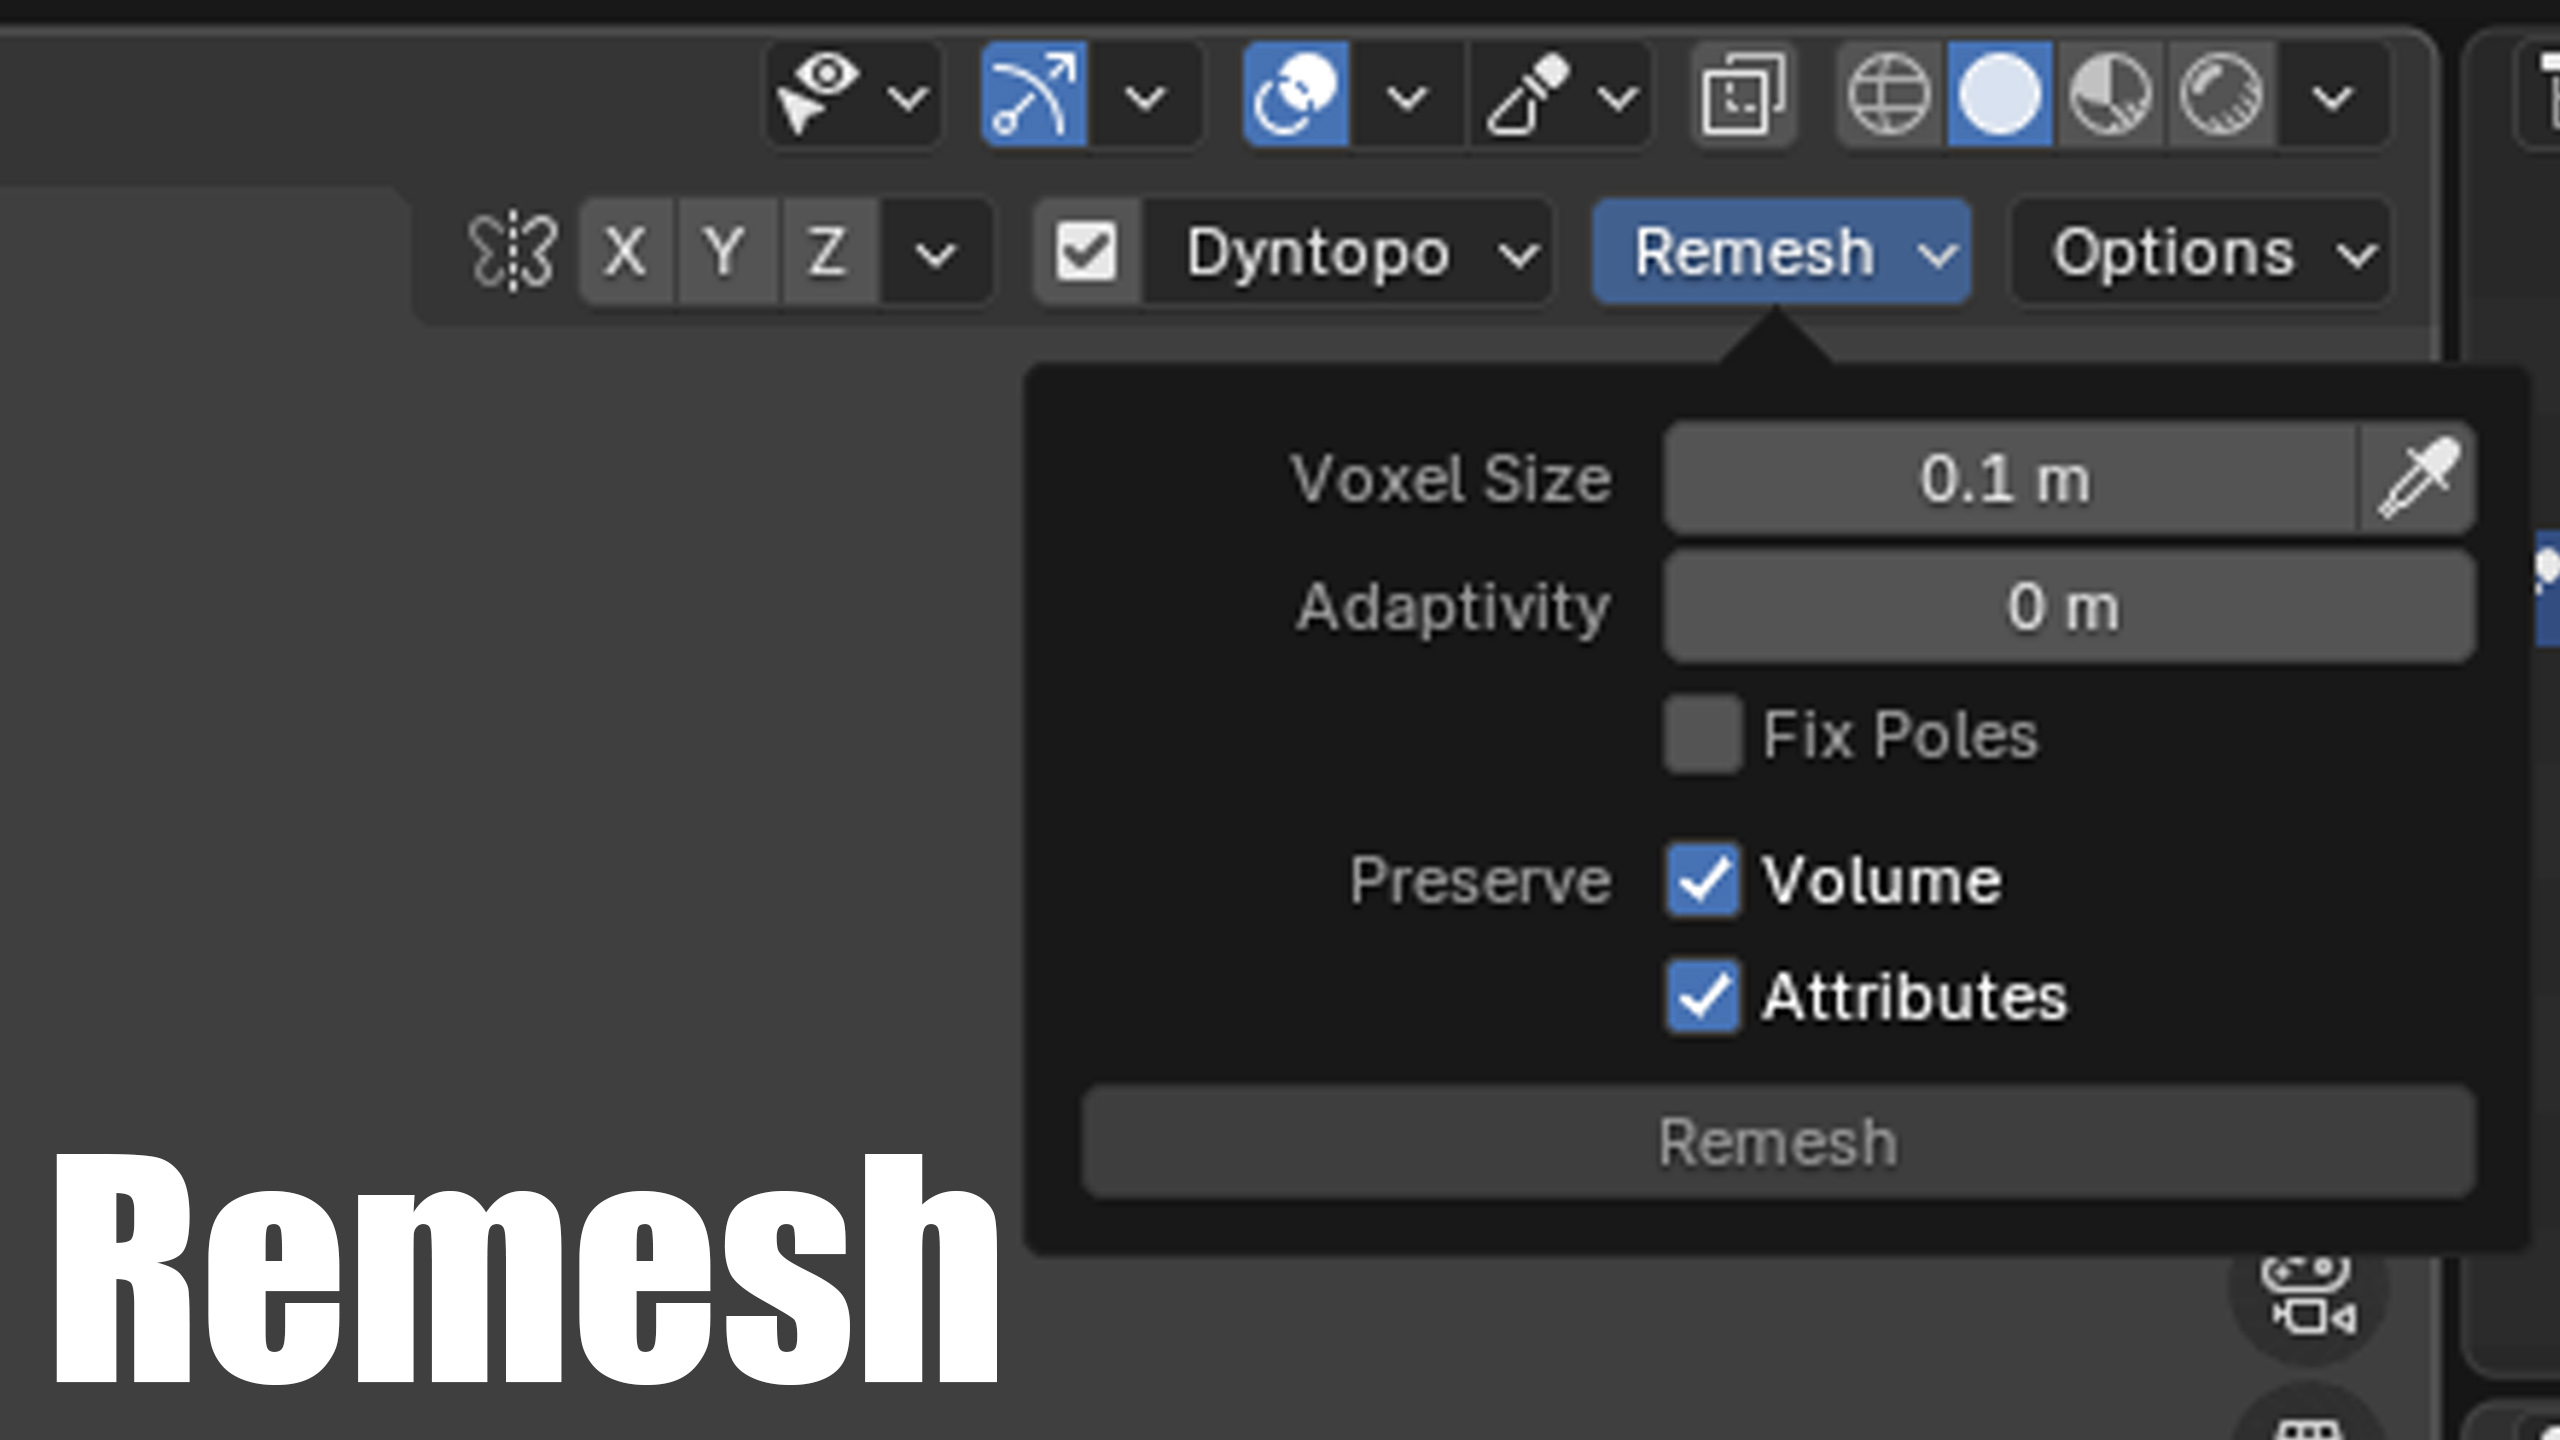
3. Use Voxel Remesh
Where Dyntopo adds geometry locally, Voxel Remesh rebuilds the entire mesh into a uniform surface. If your topology is stretched, tangled, or uneven after aggressive Grab and Snake Hook work, Voxel Remesh is the reset button.
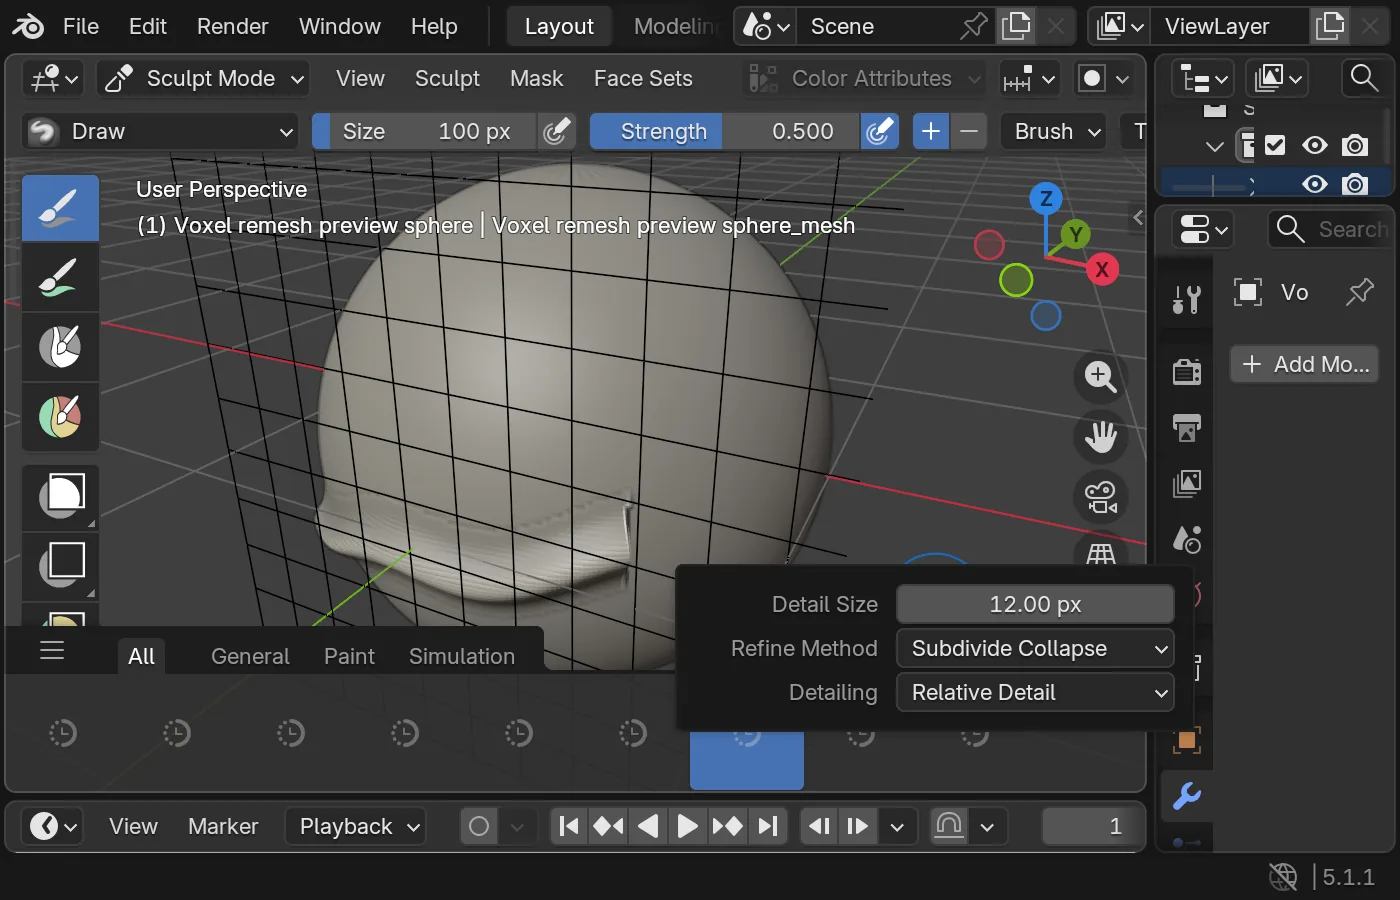
Smaller voxel size means more polygons and finer detail preservation. Larger values keep the mesh lighter but eat small forms. A reliable workflow is blockout, Voxel Remesh, refine, Voxel Remesh smaller, then add Dyntopo or Multires detail.
4. Apply your modifiers
This one traps people because the viewport looks correct. If your density comes from a Subdivision Surface modifier, a Mirror modifier, or an Array modifier, that geometry is evaluated for display. Sculpt brushes act on the underlying base mesh, so they may still be pushing a tiny control cage.
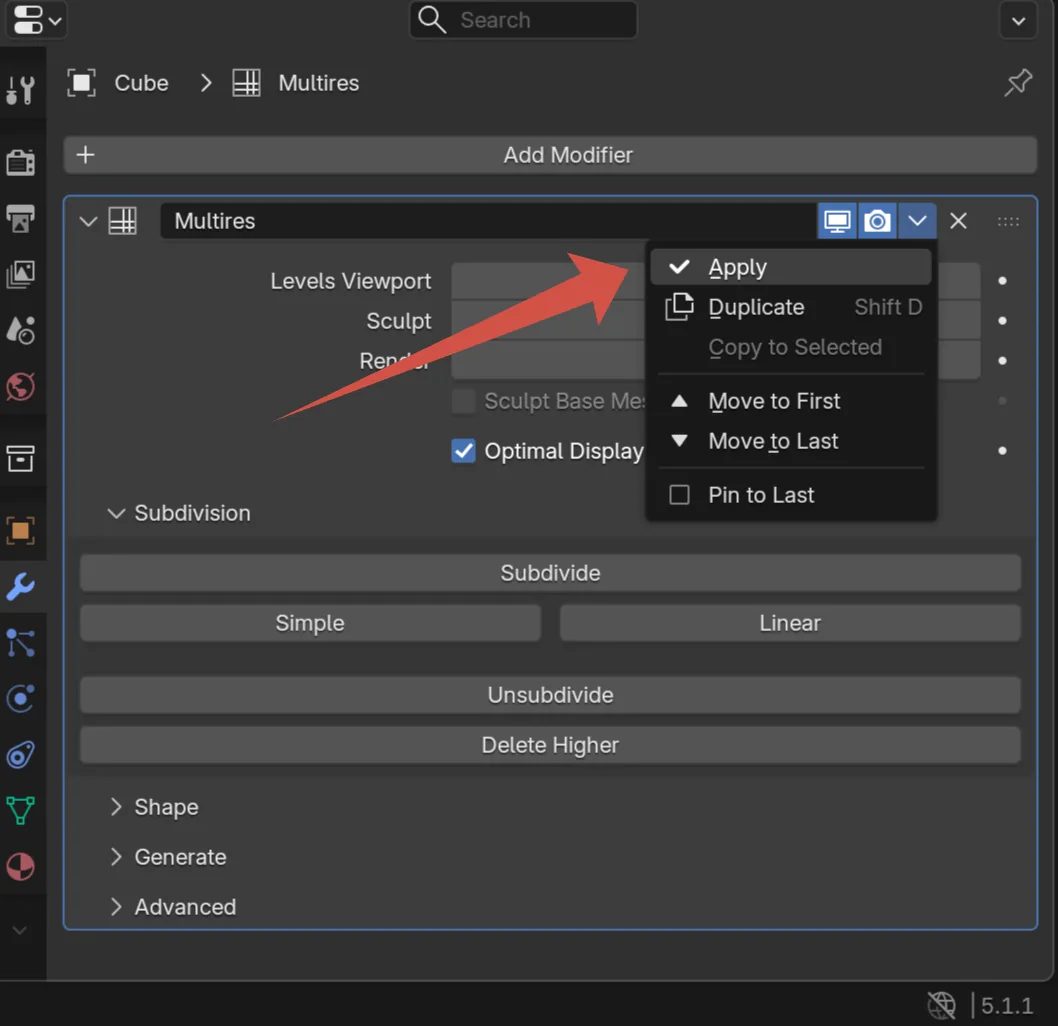
The important exception is the Multiresolution modifier. Multires is designed for sculpting, so you should normally keep it and raise the Sculpt level instead of applying it.
5. Clear your sculpt mask
Masking protects areas of the mesh from brush influence. If the entire model is masked, every brush becomes a no-op. It can be hard to notice because a faint mask on a dark material is easy to miss.
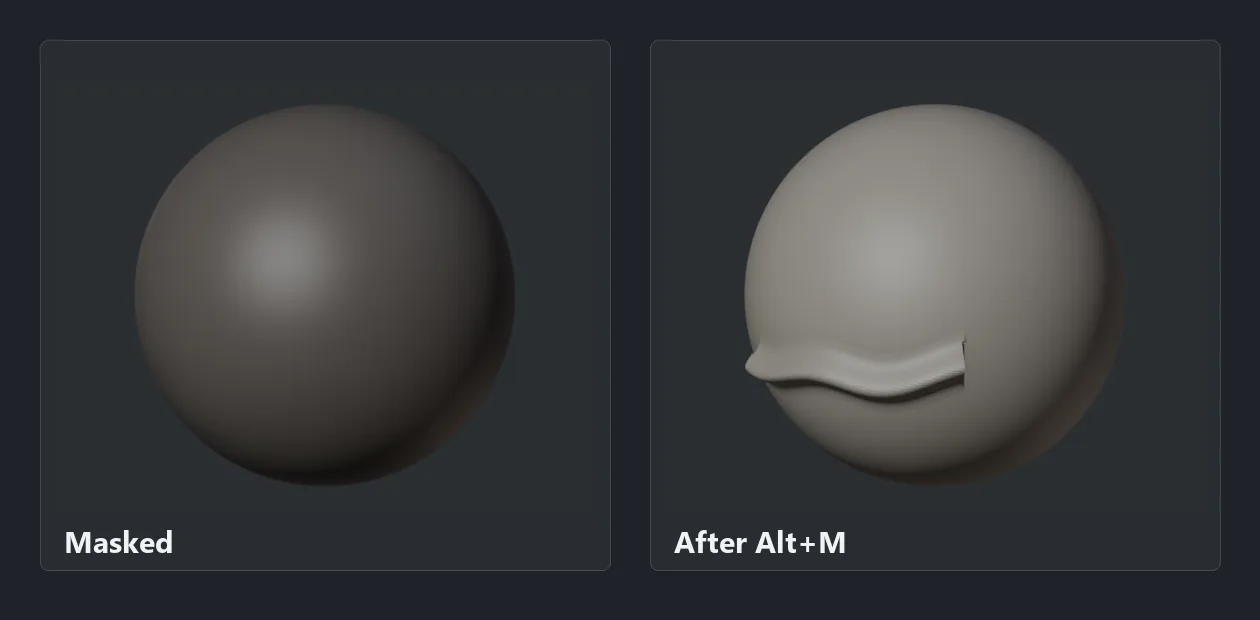
Hover over the mesh in Sculpt Mode and press Alt+M to clear the mask. Also press Alt+H to reveal hidden geometry, and check Brush Settings -> Auto-Masking if the brush works in some areas but refuses in others.
6. Apply object scale
Open the N-panel and look at Scale. If it reads anything other than 1.0, 1.0, 1.0, you can get strange sculpting behavior. Brush radius, Dyntopo Detail Size, and Voxel Size are all calculated against the object's real dimensions.
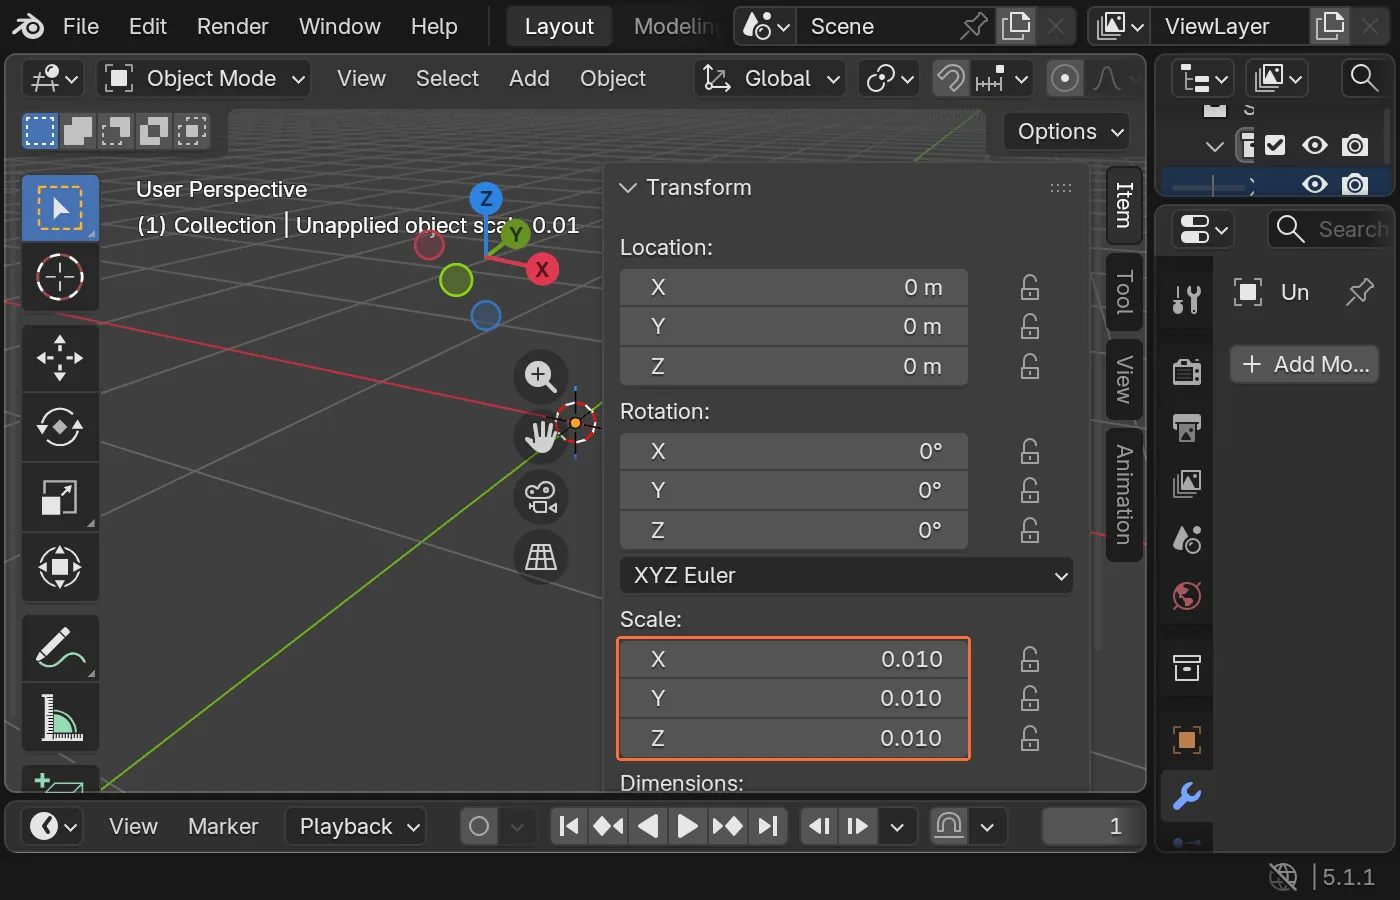
Fix it in Object Mode: select the object, press Ctrl+A, then choose Scale. Non-uniform scale is even worse because strokes can behave differently depending on direction.
7. Make sure you are sculpting the correct object
In Sculpt Mode, Blender sculpts the active object only. If a reference mesh, duplicate, imported prop, or hidden object is active, you may be brushing the wrong thing.
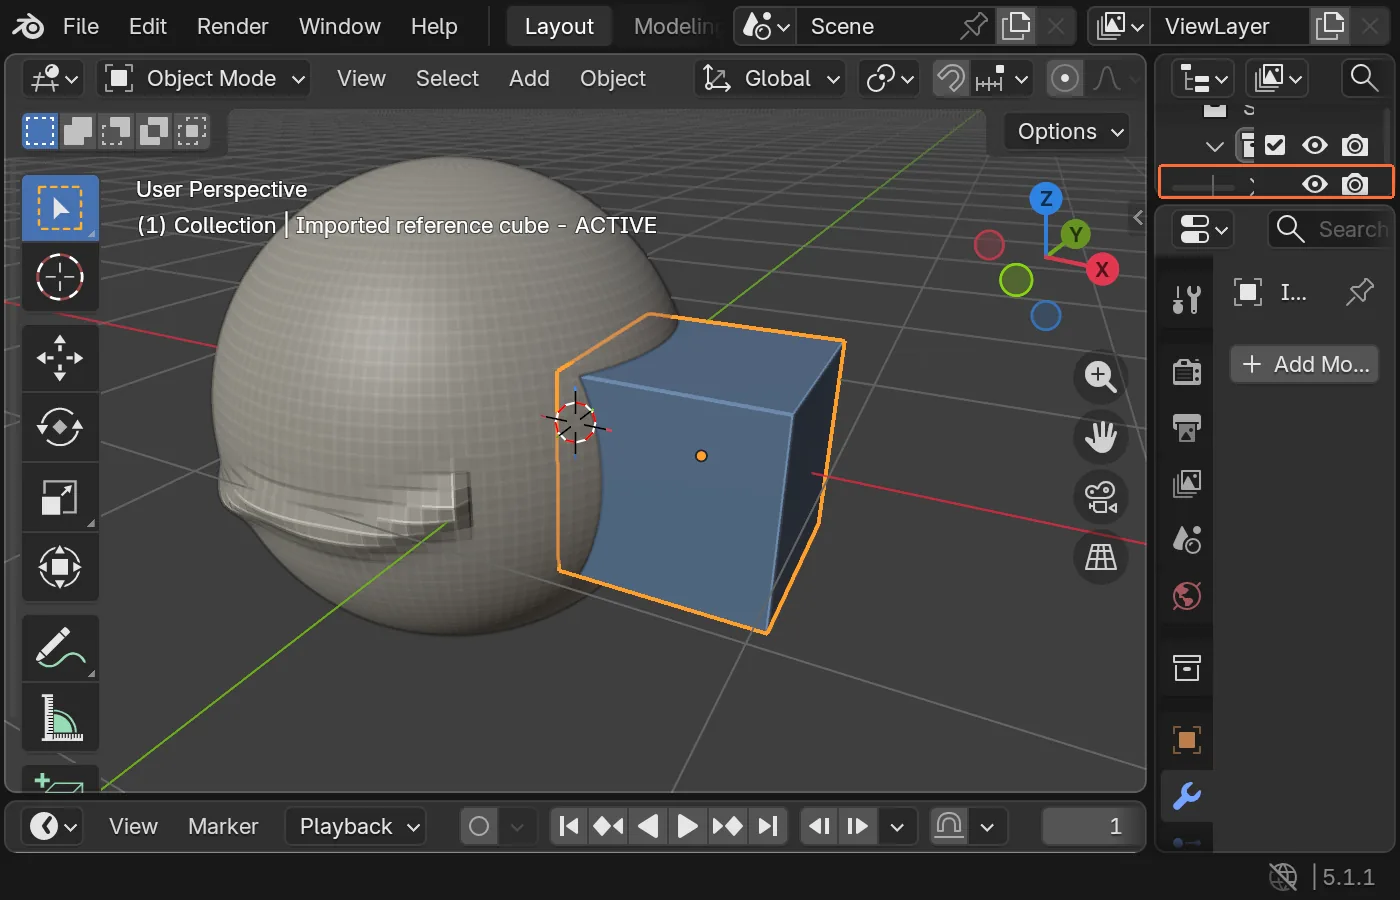
Check the Outliner highlight, viewport visibility icons, and object type. Sculpt Mode is for mesh objects; curves, text, metaballs, and empties need conversion first.
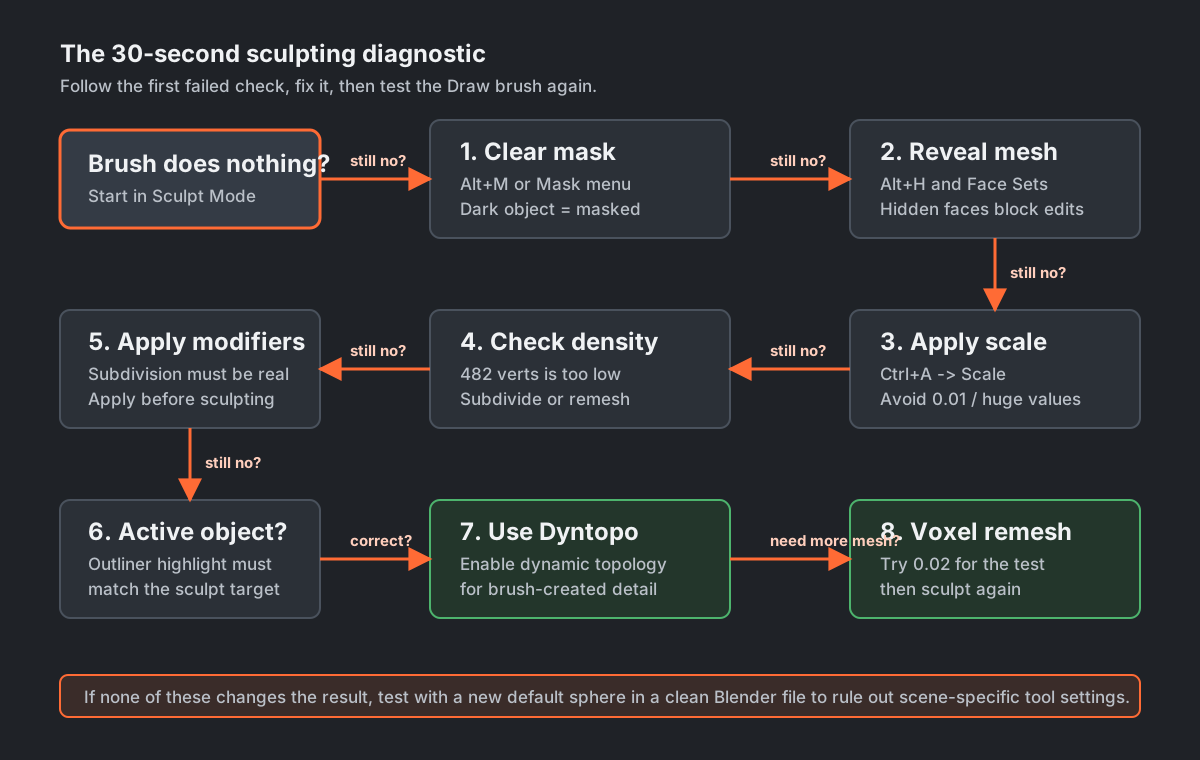
The 30-second diagnostic
Run these checks in order and you will catch the cause almost every time: vertex count, mask, hidden mesh, scale, modifiers, active object, then Voxel Remesh.
A note on Blender 4.3 and newer
If you upgraded recently and your brushes vanished or reverted to strange settings, that can be separate from the mesh problems above. Blender 4.3 changed sculpt brushes into assets, so brush settings now live in the asset library instead of only inside a .blend file.
If brush behavior feels wrong after an upgrade, reset the brush to defaults and check that the brush asset library is loading correctly in Preferences -> File Paths.
FAQ
Official sources
These references are from the Blender manual. Use them to cross-check brush and sculpt-editing behavior against your own Blender version.
More Blender sculpting guides
Read these next if you want the surrounding workflow: mesh density, shortcuts, interface basics, and brush setup.
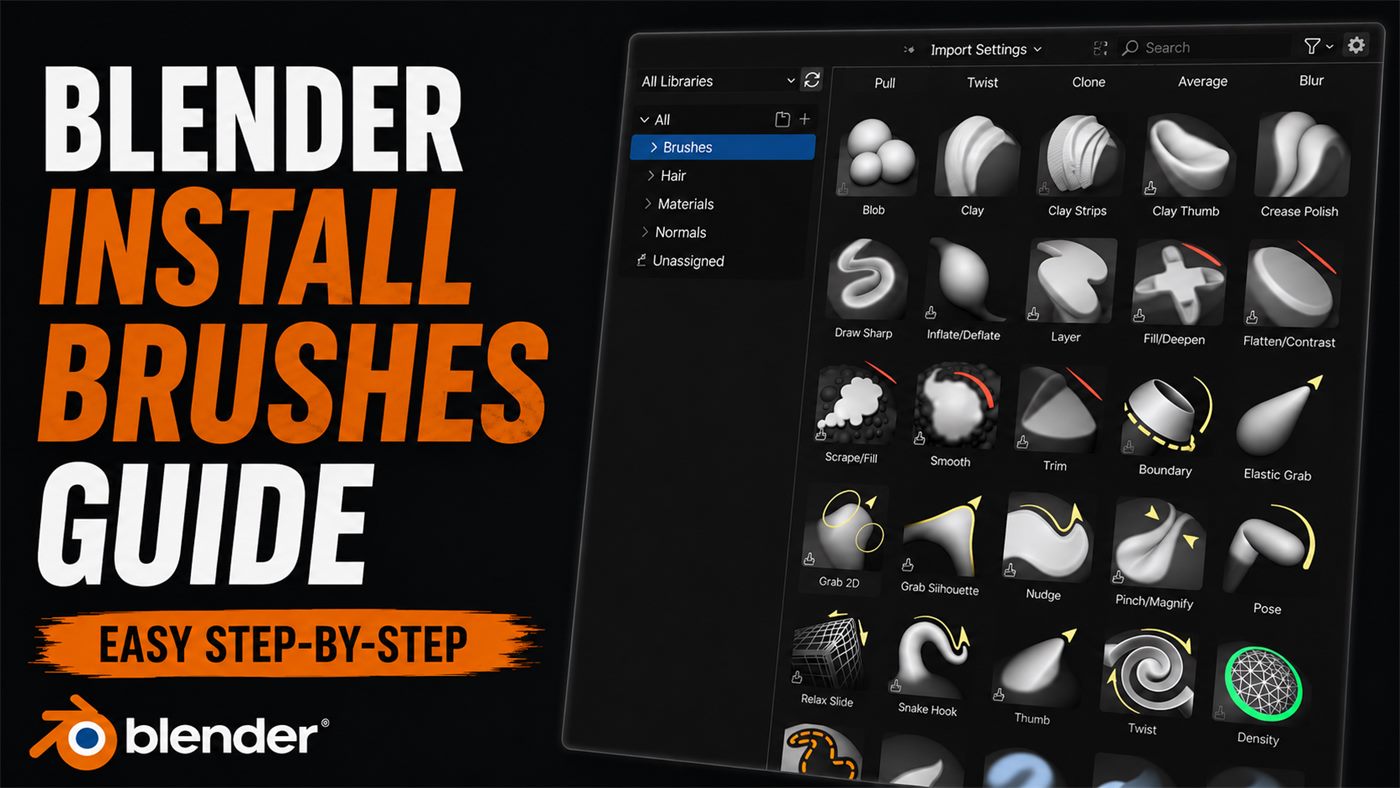
Latest VK GameDev products
Once the brush is working, better alphas and brush packs make the difference. A few relevant picks from the catalog.
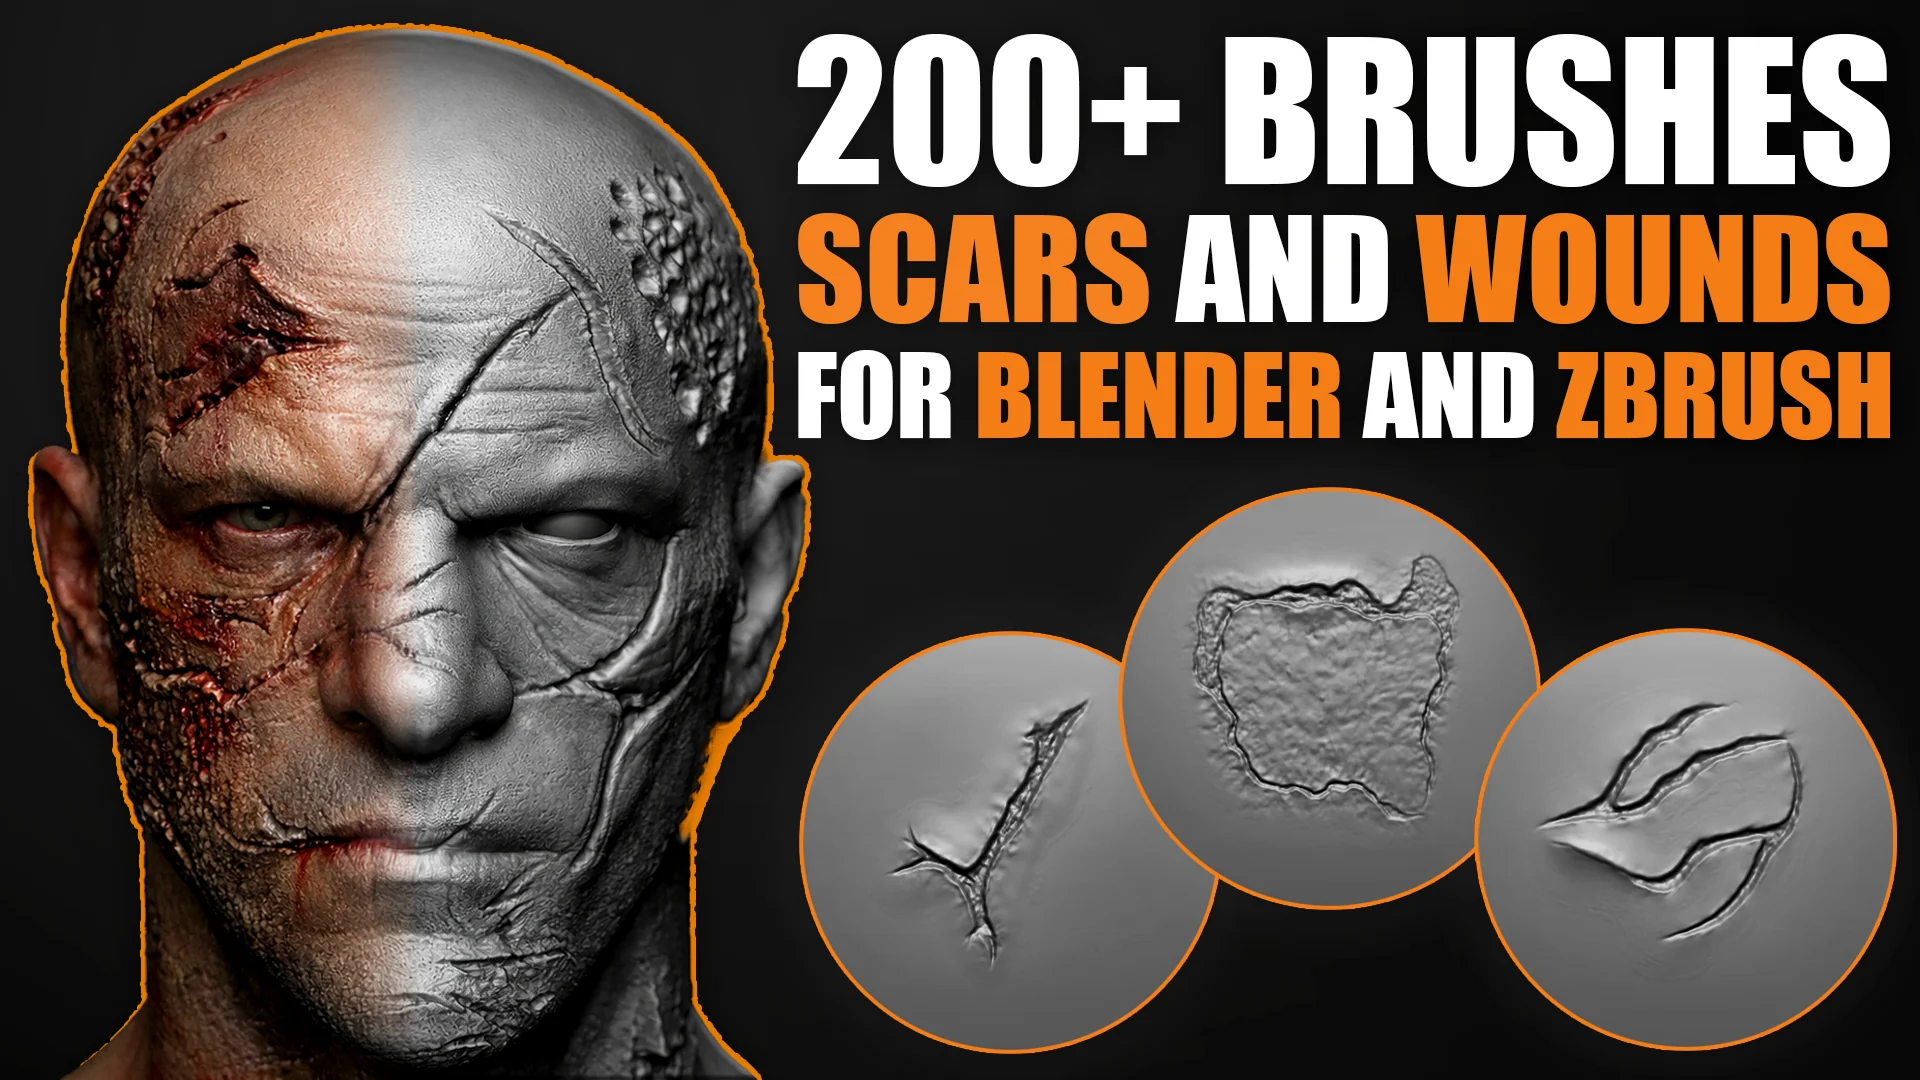
200+ Wounds & Scars Sculpting Brushes
Skin damage, scars, wounds, and organic surface breakup for Blender and ZBrush.
Blender to Unreal Animation Exporter
A workflow add-on for moving animation data from Blender into Unreal Engine.
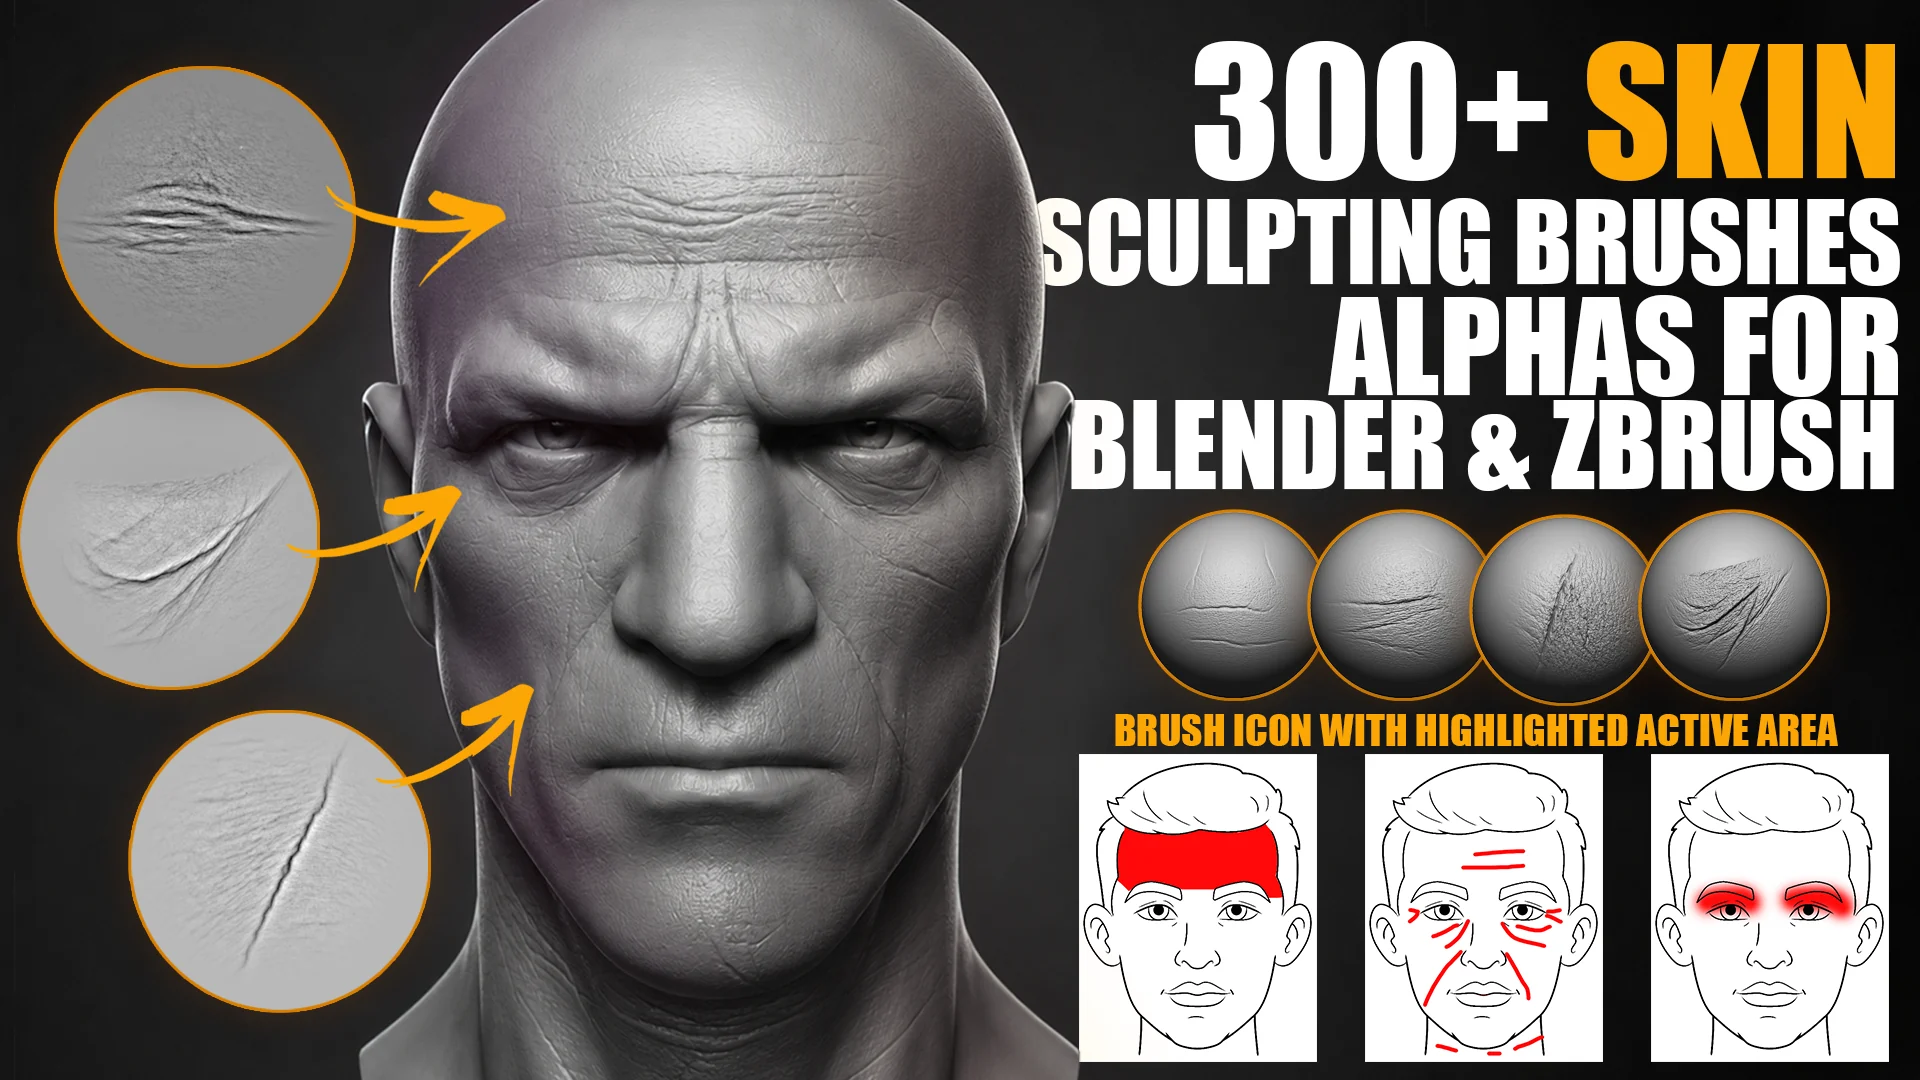
300+ Skin Sculpting Brushes
Face pores, wrinkles, skin breakup, and high-detail organic sculpting brushes.