Beginner workflow
Blender Interface Basics for Sculpting
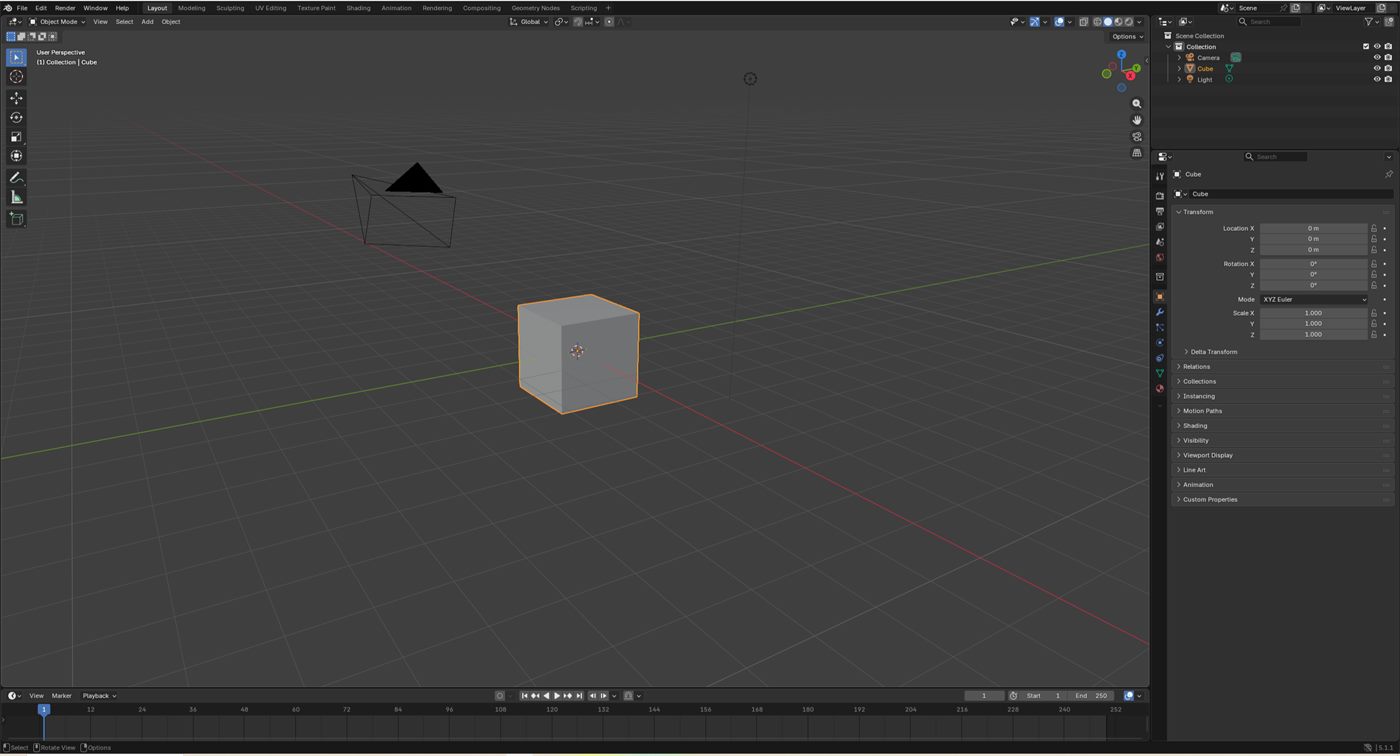
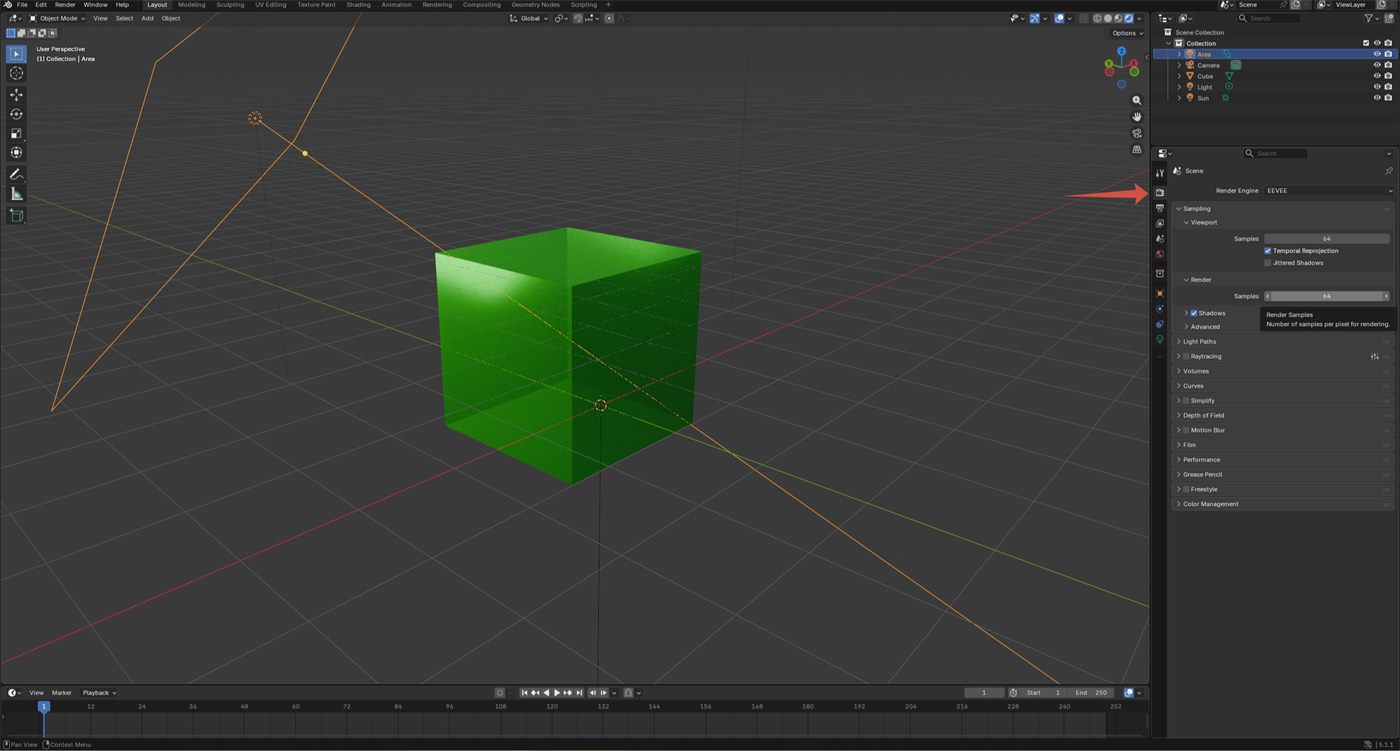
If you are new to Blender, the interface can feel like too much at once. For sculpting and asset creation, you only need a focused set of areas first: the Viewport, toolbar, N panel, Outliner, modifiers, material setup and a simple render preview.
Quick answer
For sculpting, learn the interface in this order: 3D Viewport, left toolbar, N panel, Outliner, modifiers, material preview, lighting and render output. This gives you enough control to block a model, add detail and check how the surface reads.
Once the basic interface is comfortable, brush libraries become much easier to use. The 3000+ Sculpting Brushes Bundle is most useful after you understand where Blender stores tools, assets and modifiers.
The interface areas that matter first
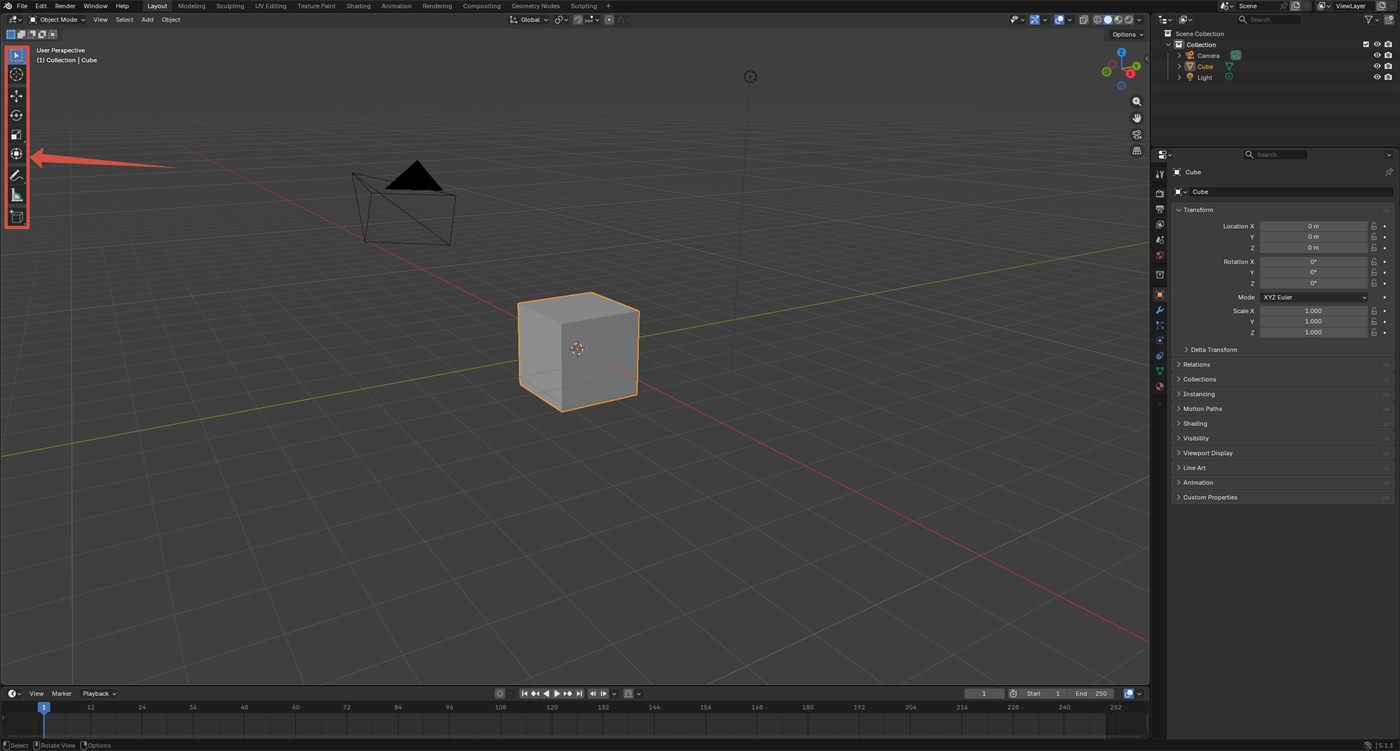
1. Left toolbar - choose the active tool
The left toolbar changes depending on the workspace and mode. In Object Mode it gives you selection and transform tools. In Sculpt Mode it becomes your brush area, so this is where beginners usually start recognizing the difference between moving an object and actually sculpting its surface.
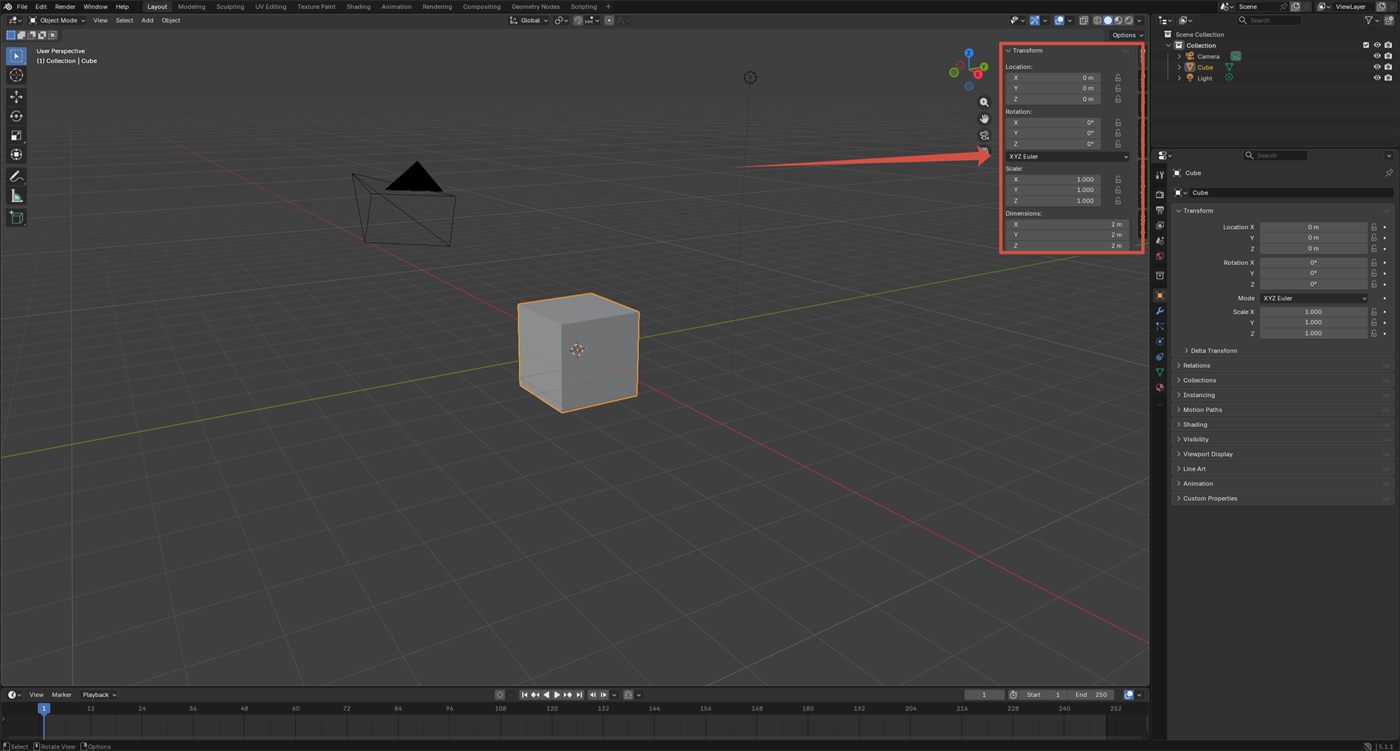
2. N panel - check transforms and tool settings
Press N in the 3D Viewport to open this sidebar. It is useful when you need exact object scale, location, rotation, view settings, or add-on panels. If a brush, asset browser tool, or add-on seems to be missing, this panel is often the first place to check.
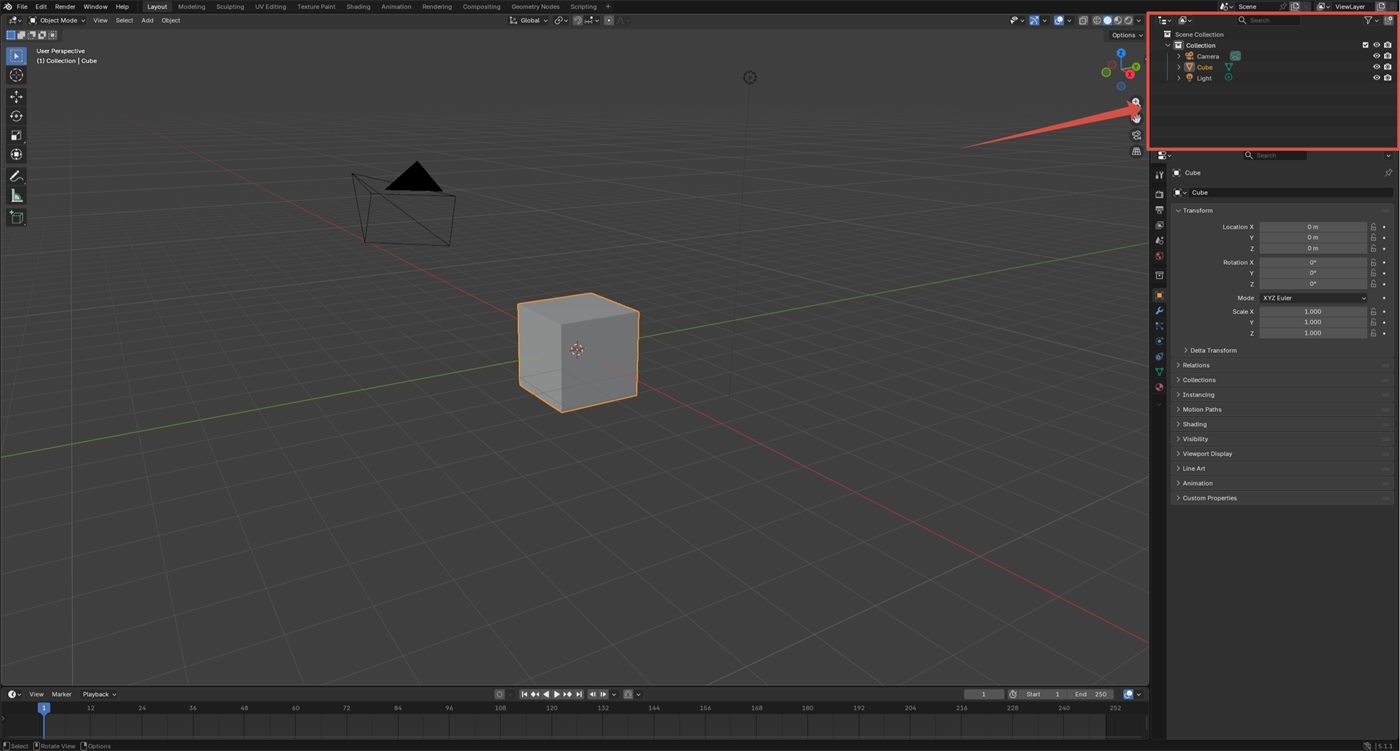
3. Outliner - keep the scene organized
The Outliner lists every object in the scene: mesh, camera, lights and collections. When you start using multiple sculpting objects, imported brush demos, references, or render lights, the Outliner prevents the project from turning into a confusing list of unnamed objects.
4. Add menu - create the base mesh
Most Blender sculpting practice starts from a simple mesh: sphere, cube, plane or base head. Create the base object first, then switch to Sculpt Mode and build the large forms before adding pores, folds, scales, rock cracks or other detail brushes.
Viewport and mesh control
The 3D Viewport is not just a window. It controls how you inspect form, switch shading modes, isolate objects and judge silhouette. Beginners should spend time orbiting, zooming, framing objects and switching between solid, material preview and rendered views.
For sculpting, clean mesh density matters. If the model is too low resolution, pores, folds and surface alphas will not hold. If it is too dense too early, the scene becomes heavy. A practical workflow is to block broad forms first, then add detail brushes later.
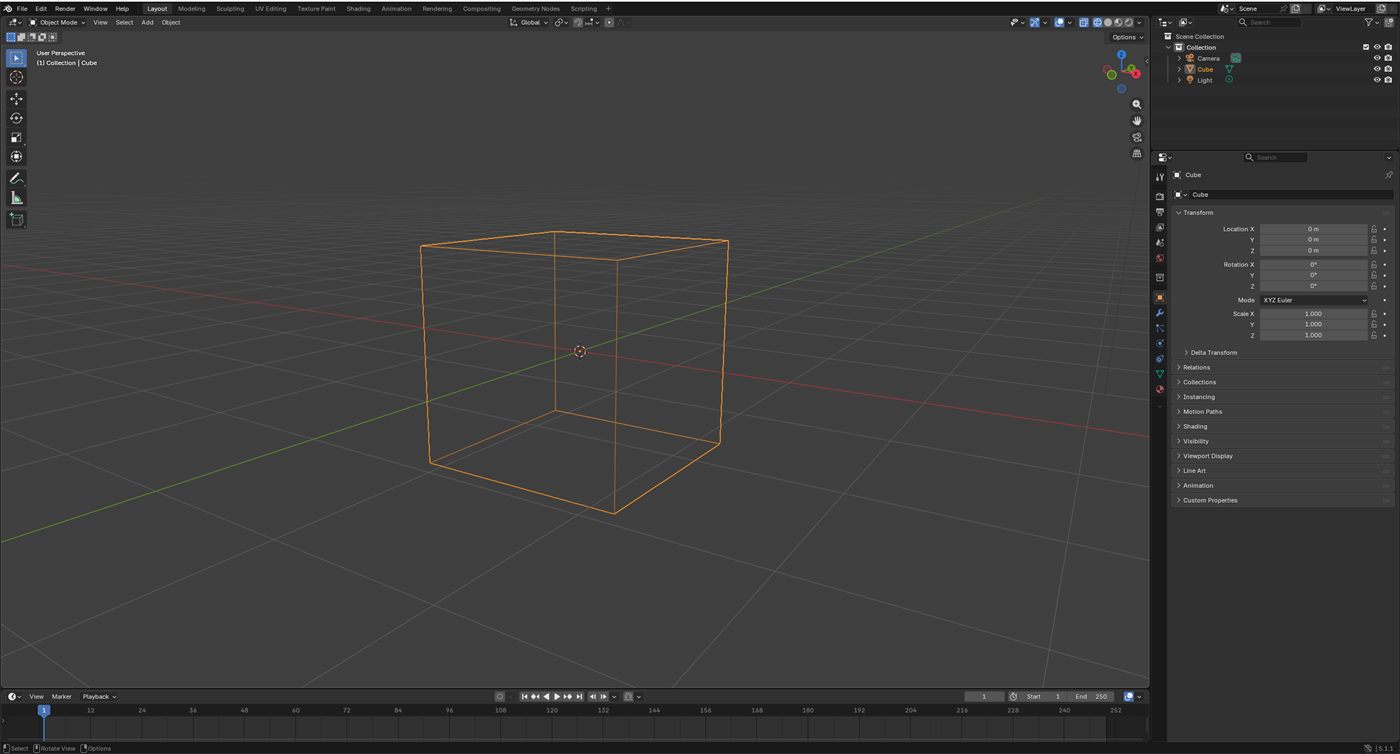
Use Wireframe Mode before adding detail
Wireframe Mode helps you see whether the mesh has enough geometry for sculpting. Before using skin pores, fabric wrinkles, wood grain, stone cracks, or other alpha-based brushes, check that the model can actually support the detail.
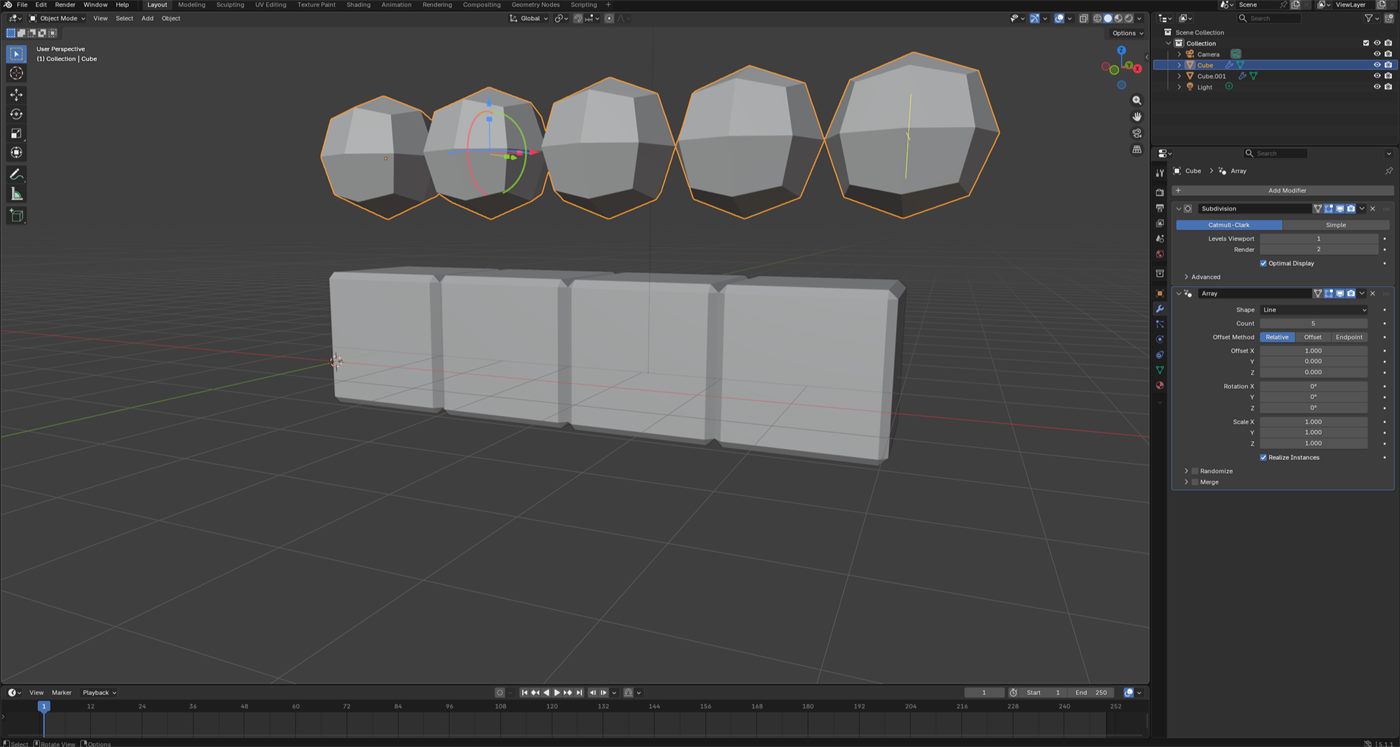
Modifiers beginners should know
You do not need every modifier at the beginning. For asset work and sculpt preparation, focus on a few tools that solve common problems.
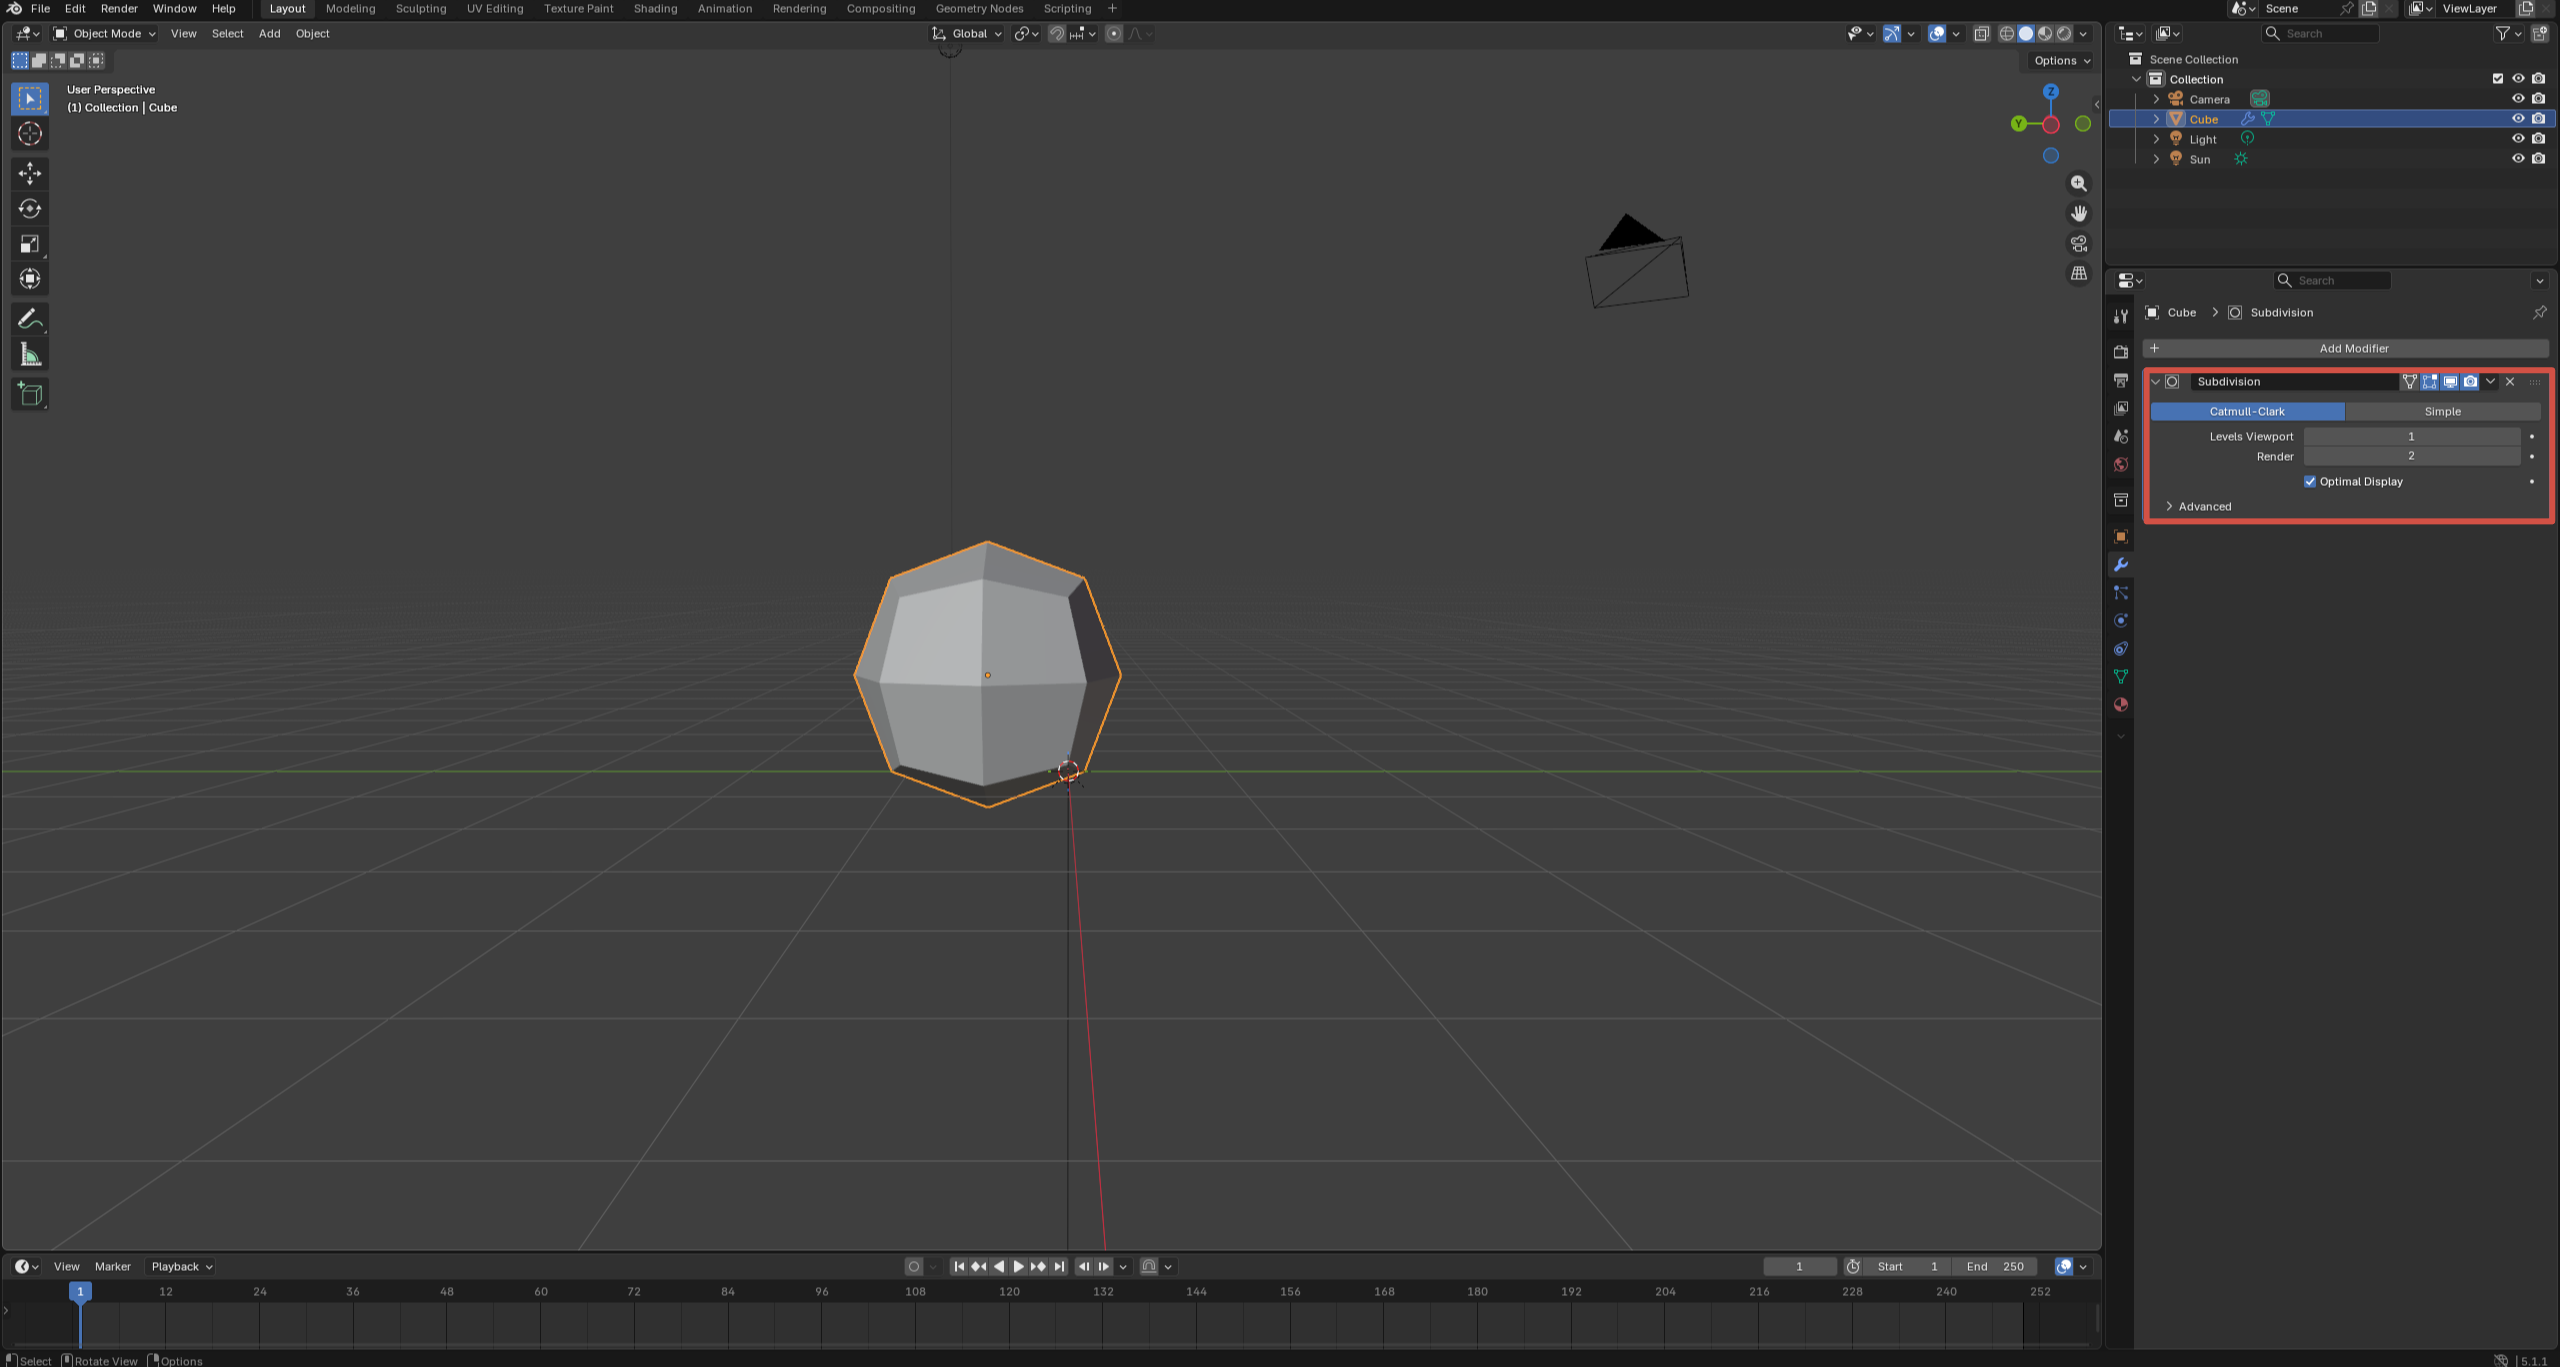
Subdivision Surface - smoother forms before sculpting
Subdivision Surface is useful when the base mesh is too angular. Use it to smooth large forms, then apply sculpting brushes only after the silhouette and main volumes are already readable.
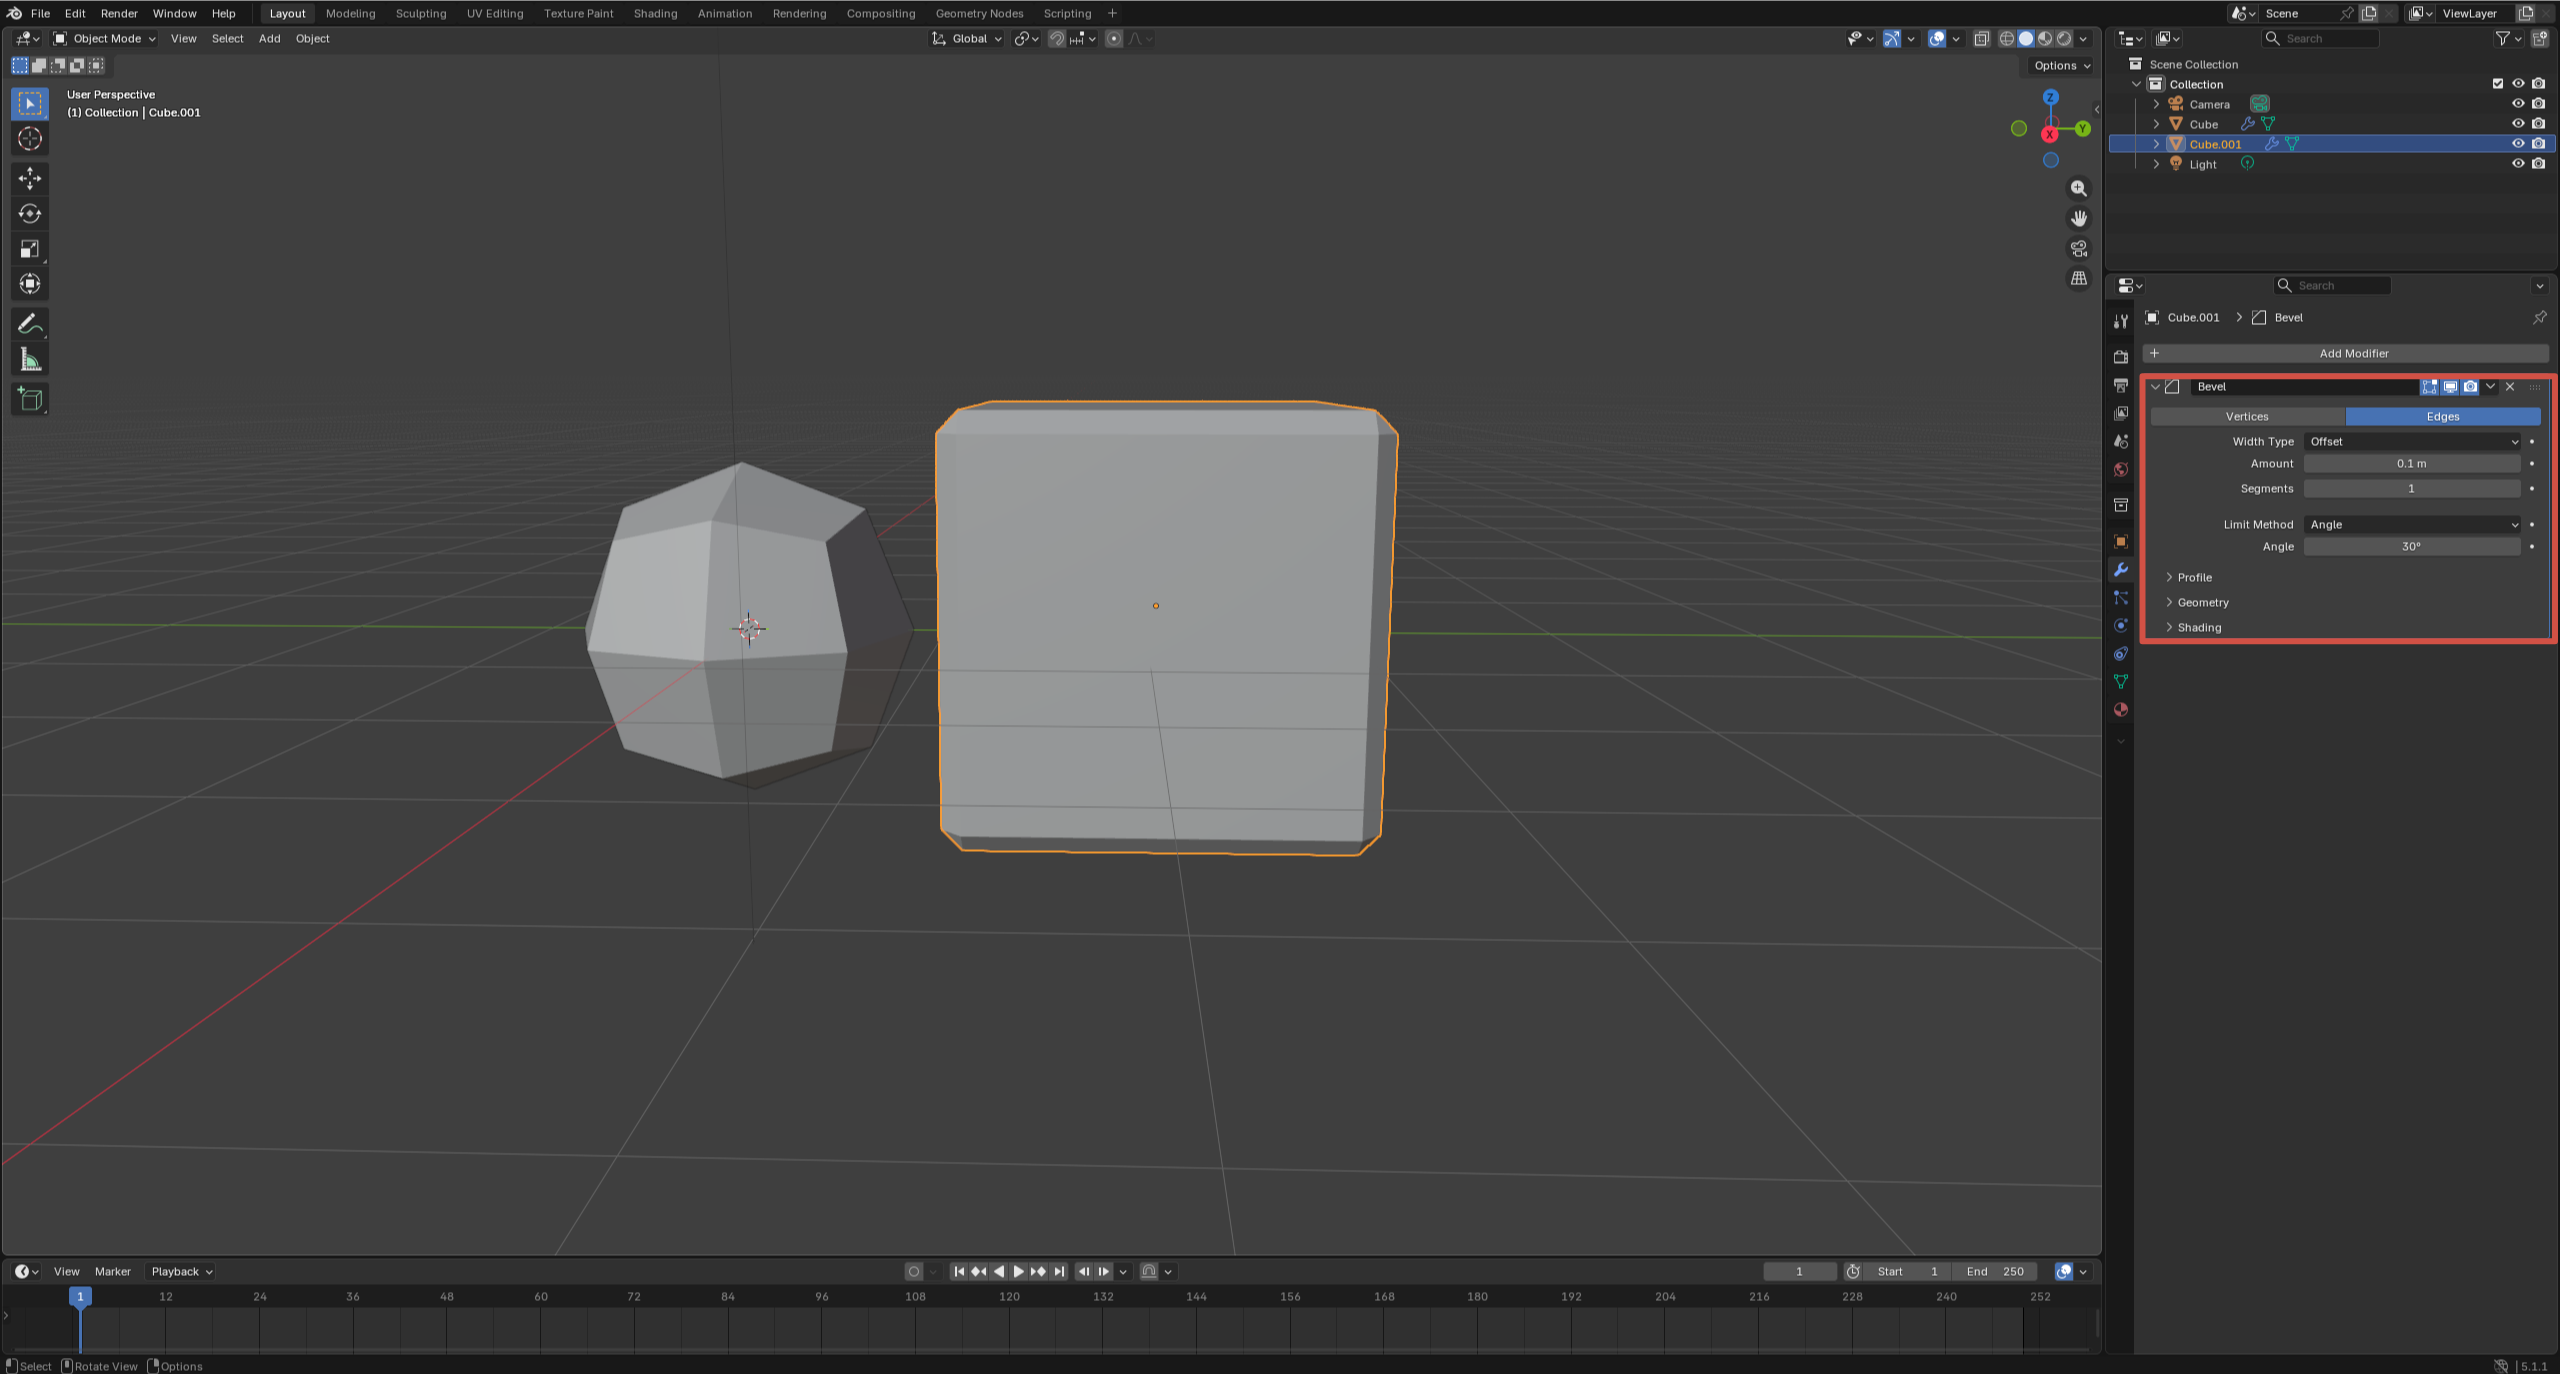
Bevel - better edges for props and hard-surface assets
Bevel creates readable highlights on hard edges. It is especially useful for shields, armor, weapons, furniture and props before you add damage, scratches, dents, stitches or ornamental details.
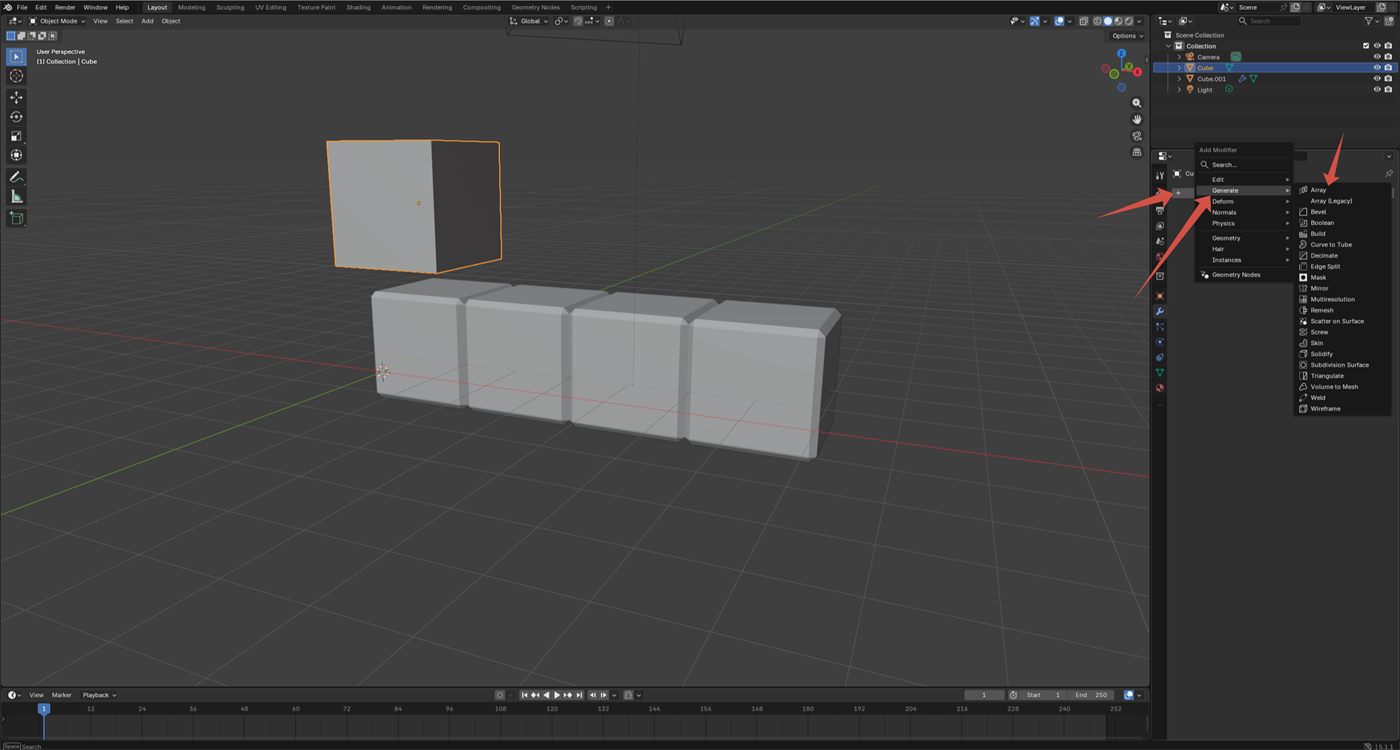
Array - repeat details without manual duplication
Array repeats an object in a controlled way. Use it for rivets, planks, bolts, decorative strips or repeated cloth elements, then add sculpted breakup later so the repetition does not look too clean.
Materials, lighting and first render
Even if the final asset will be textured later, basic material and lighting setup helps you judge surface detail. A neutral material with clear lighting makes sculpted pores, fabric folds, cracks and wood grain much easier to read.
This is where a product workflow becomes practical: sculpt the large shapes with Blender tools, use dedicated brushes for material-specific detail, then preview the surface under simple lighting before committing to final renders.
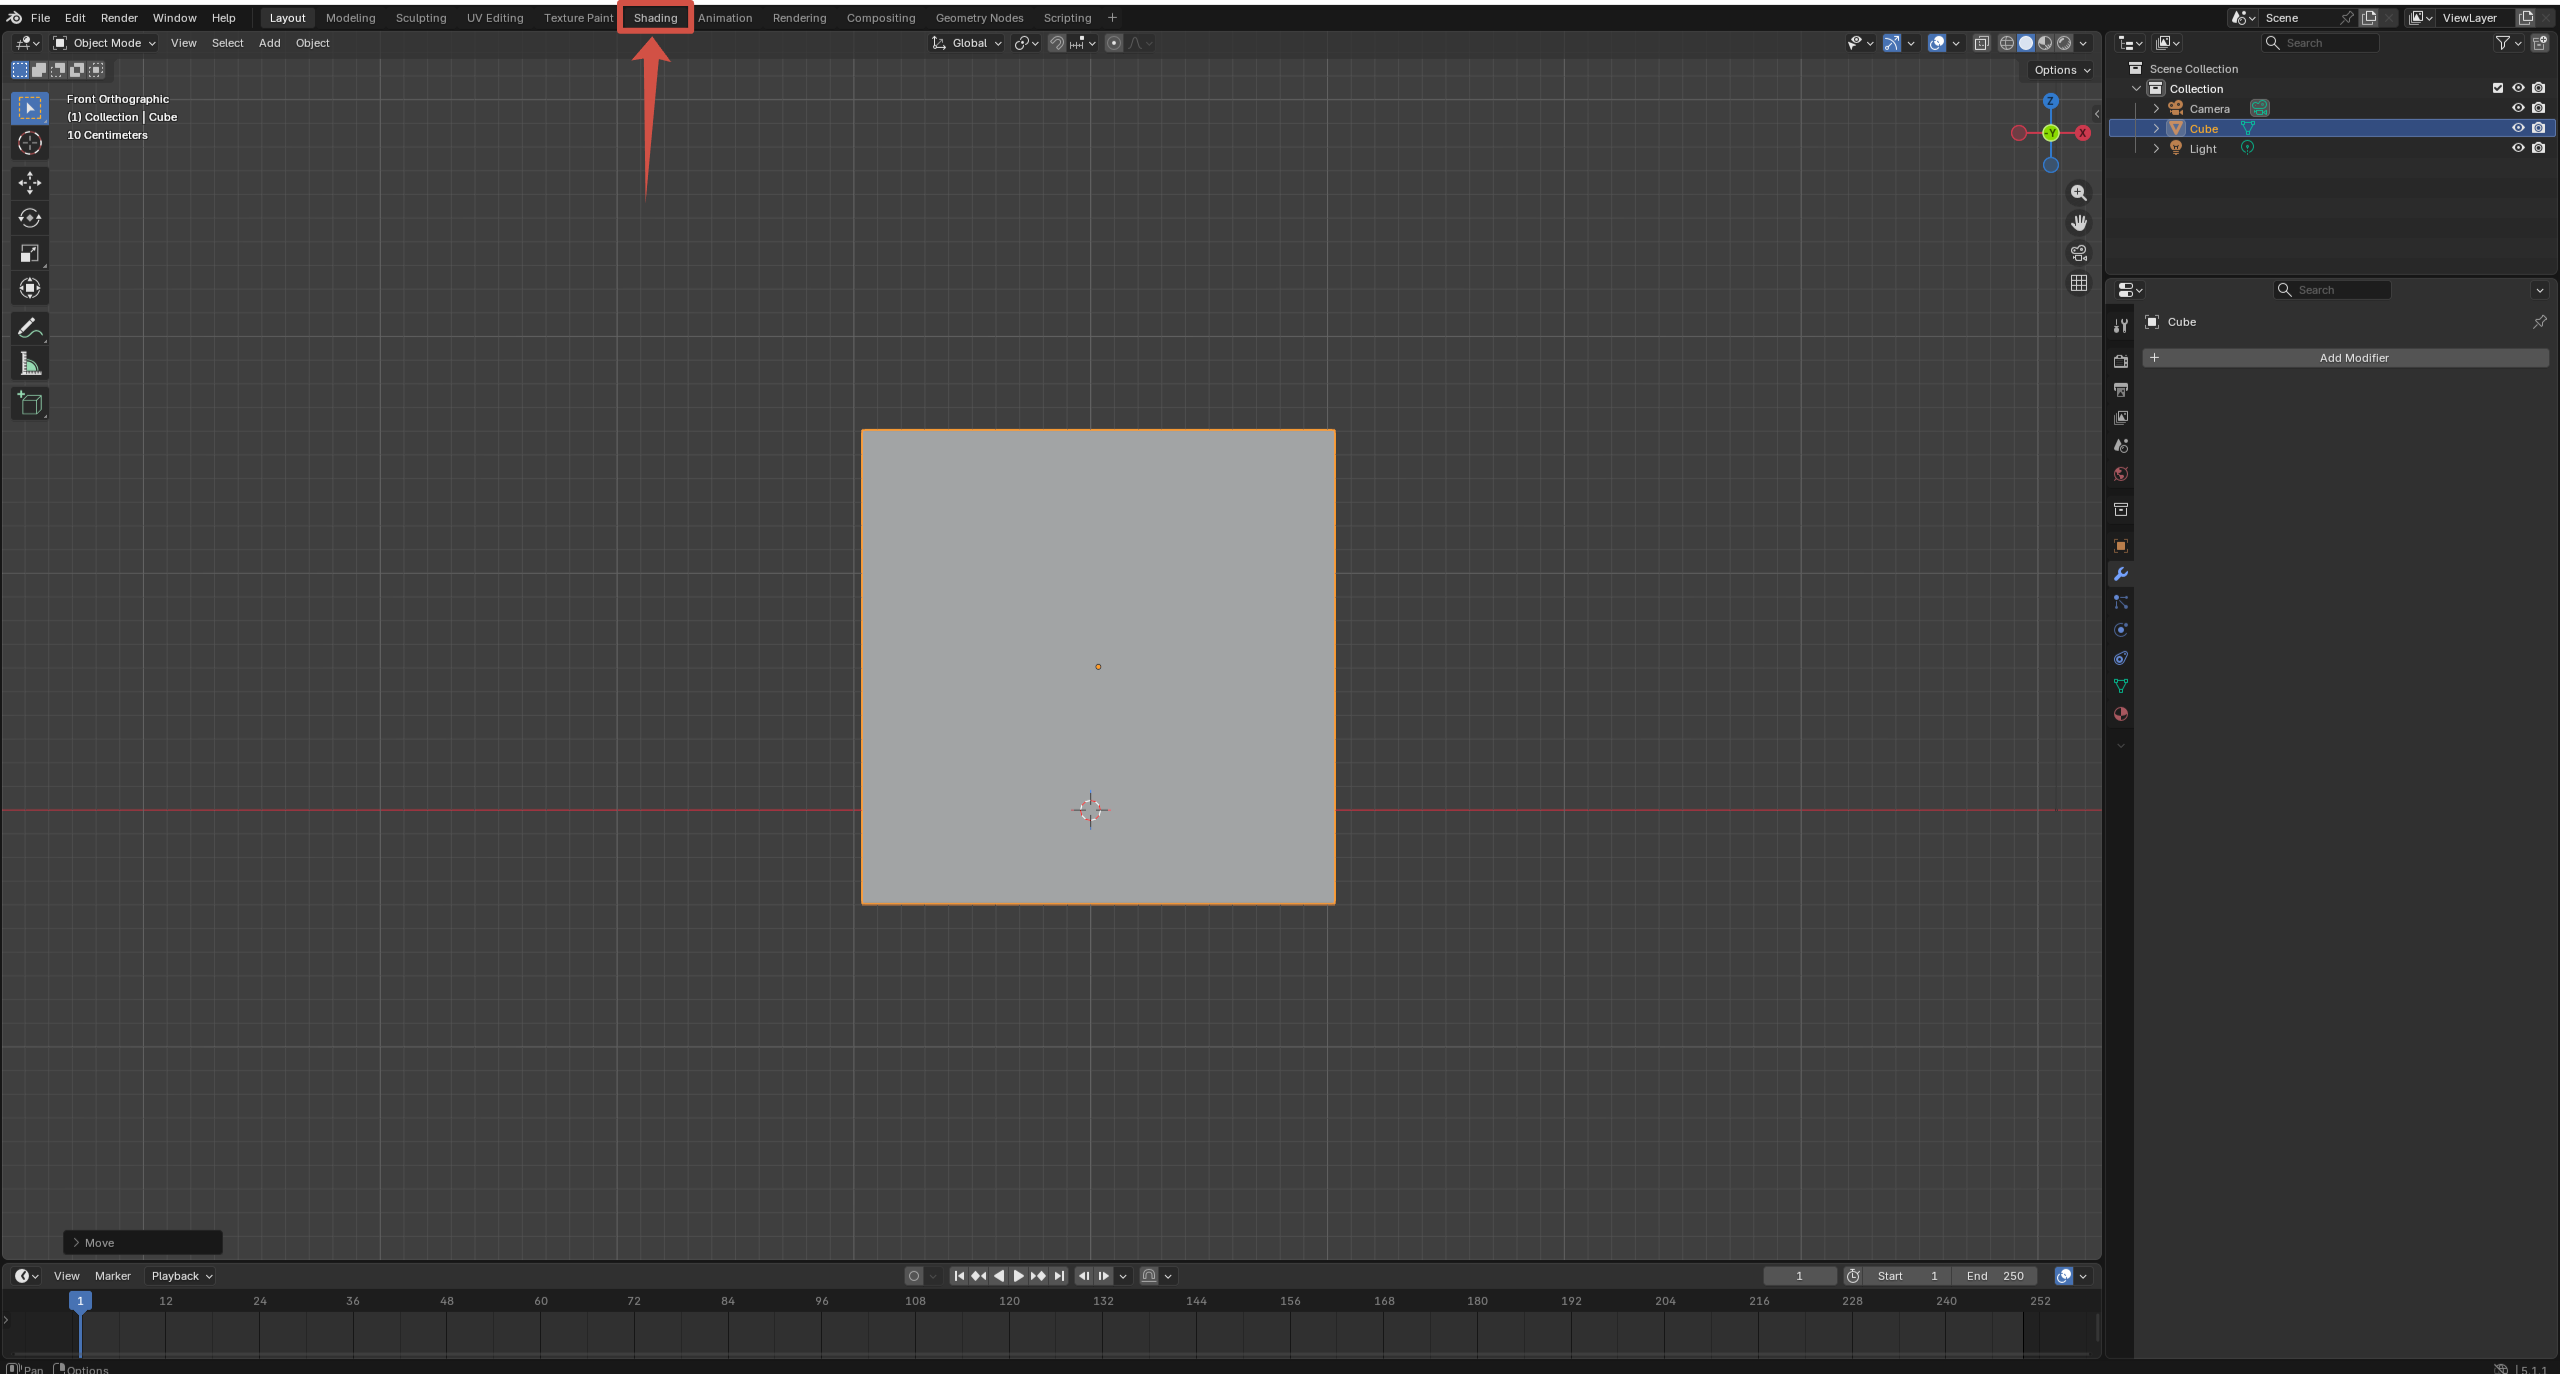
Shader Editor - understand where materials are built
The Shader Editor is where Blender materials are connected with nodes. You do not need complex node setups at the beginning, but knowing where materials live helps you preview sculpted surfaces with more control.
Principled BSDF - start with one clean material
For sculpting previews, a simple Principled BSDF material is enough. Keep roughness and lighting readable, then check whether pores, fabric folds, rock cracks or wood grain are visible without over-texturing the model.
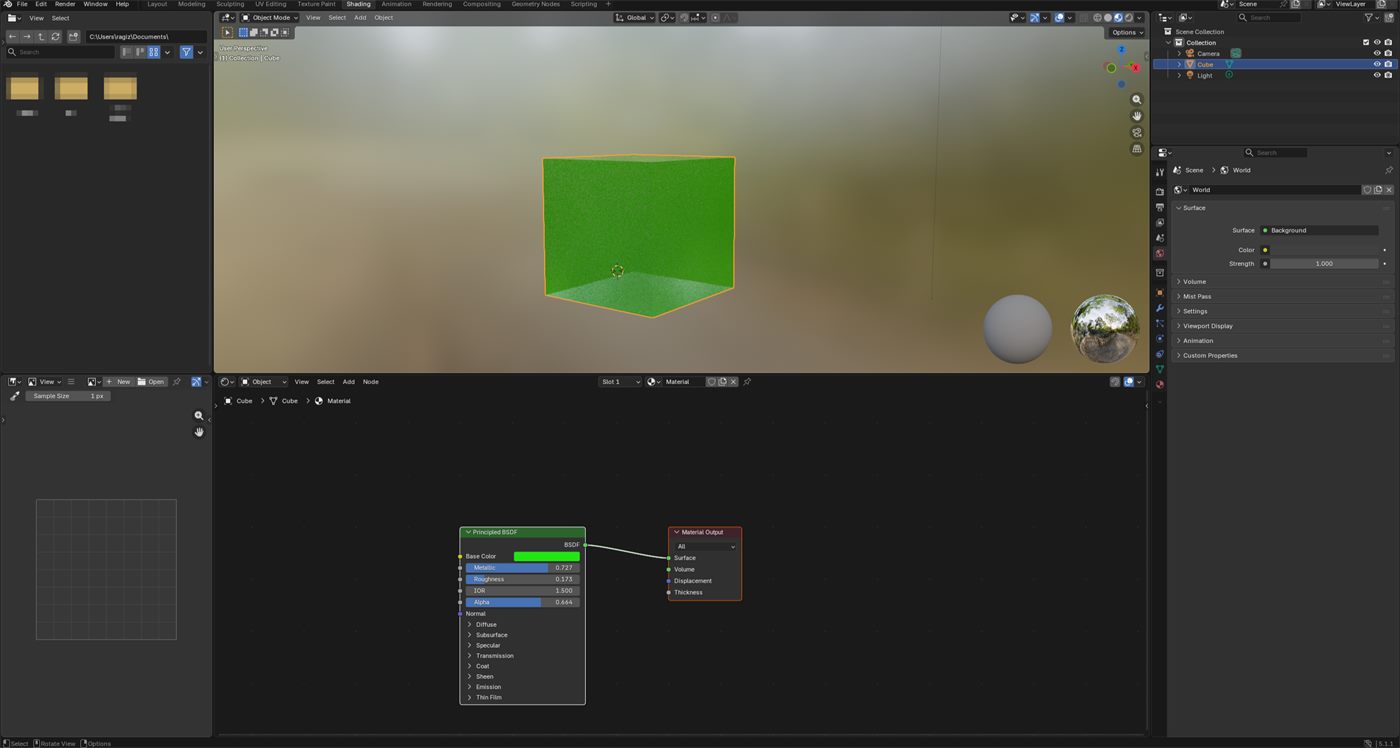
Lighting - reveal the surface forms
Good lighting makes detail easier to evaluate. A single flat viewport light can hide sculpting problems, while a simple key light and soft fill can reveal whether your brush detail is too deep, too noisy or too repetitive.
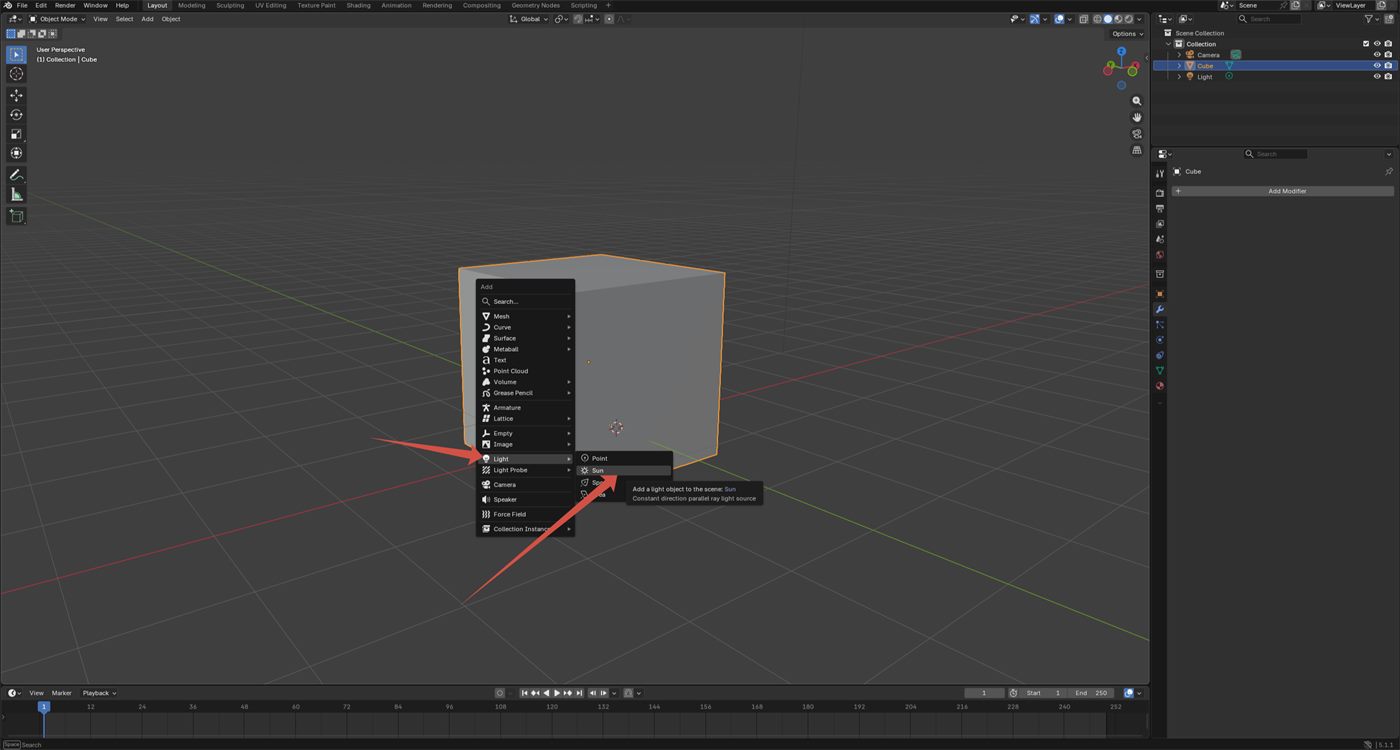
First render - check the asset like a viewer
A first render does not need to be final. Use it to check silhouette, material readability and surface detail. If the sculpt reads well here, then dedicated brush detail from a focused pack or the main 3000+ bundle will look much more convincing.
Where sculpting brushes fit
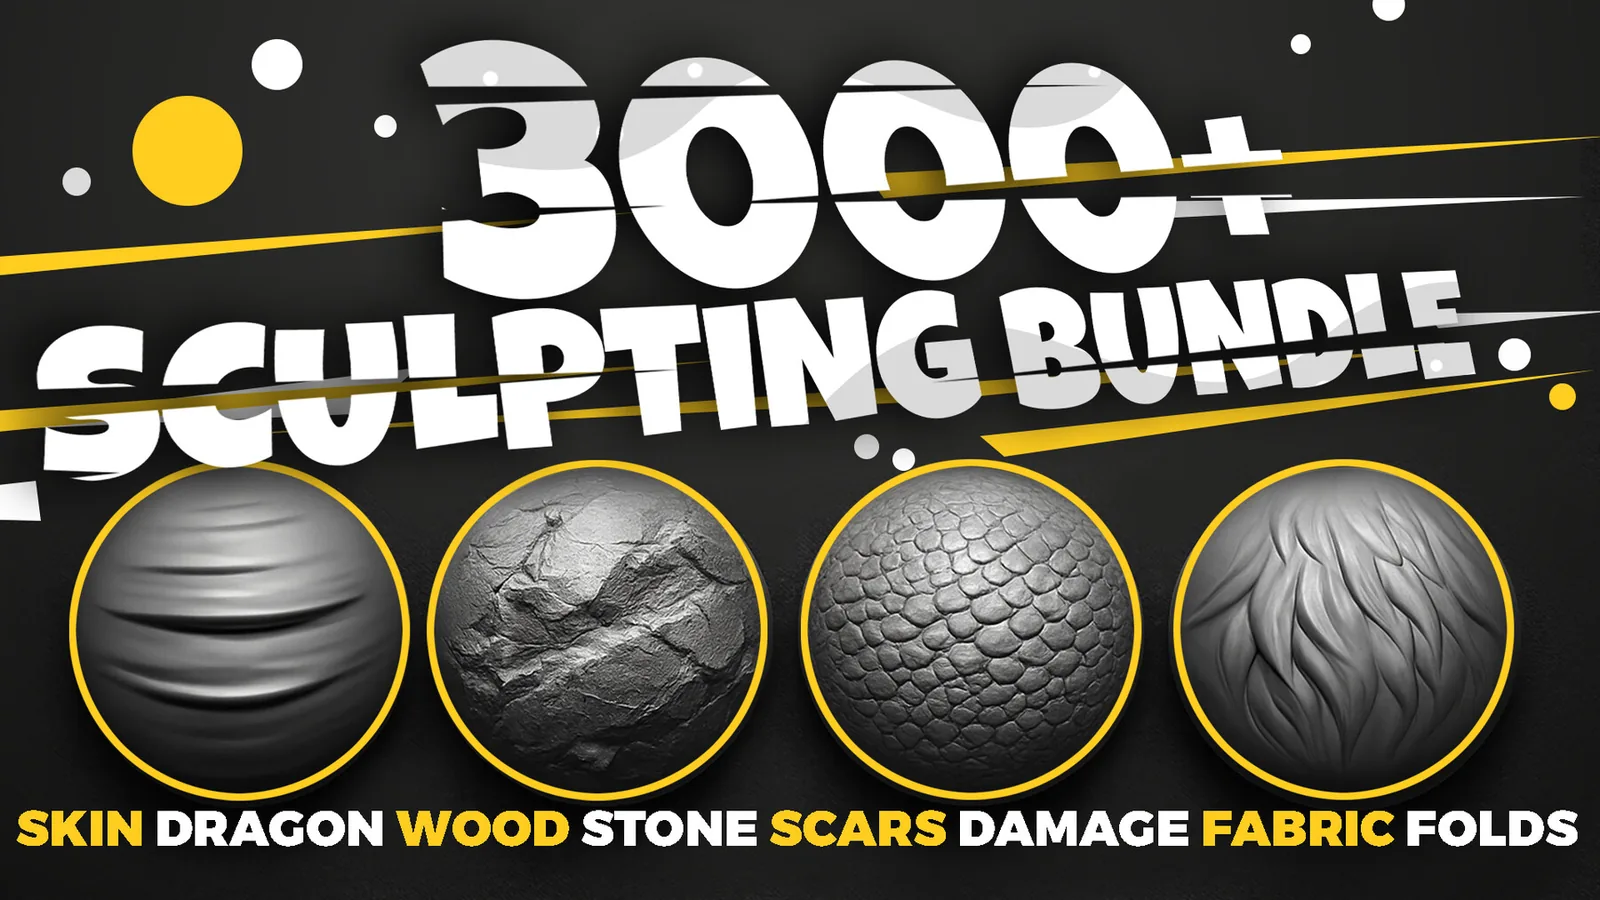
Main brush library
3000+ Sculpting Brushes Bundle
One library for characters, creatures, props, cloth and environment surfaces. Use it after the base form is ready to add pores, folds, cracks, scales, wood grain, damage and other production details faster.
View the bundleUseful links
FAQ
Is Blender hard for beginners?
Blender feels complex at first, but the beginner path is manageable if you learn only the panels needed for your current workflow.
Should I learn modeling before sculpting?
Learn the basics of object creation, modifiers and viewport control first. Then sculpting becomes much easier.
Do brush packs replace learning Blender?
No. Brush packs speed up detail work, but the best results come from combining solid Blender fundamentals with focused detail brushes.