Category
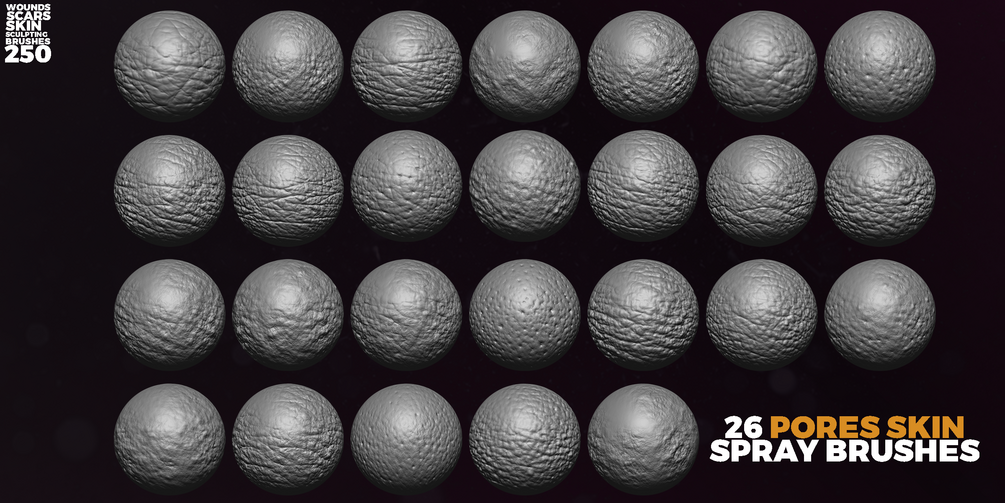
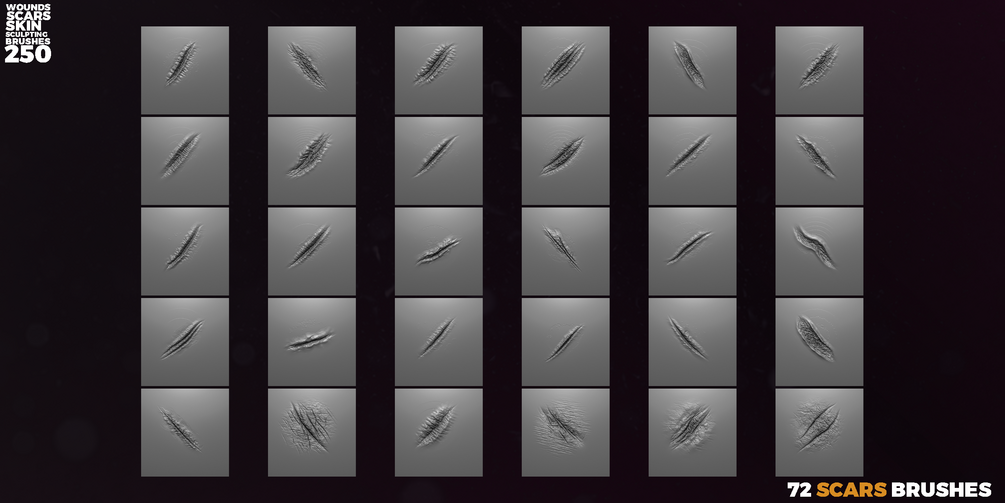
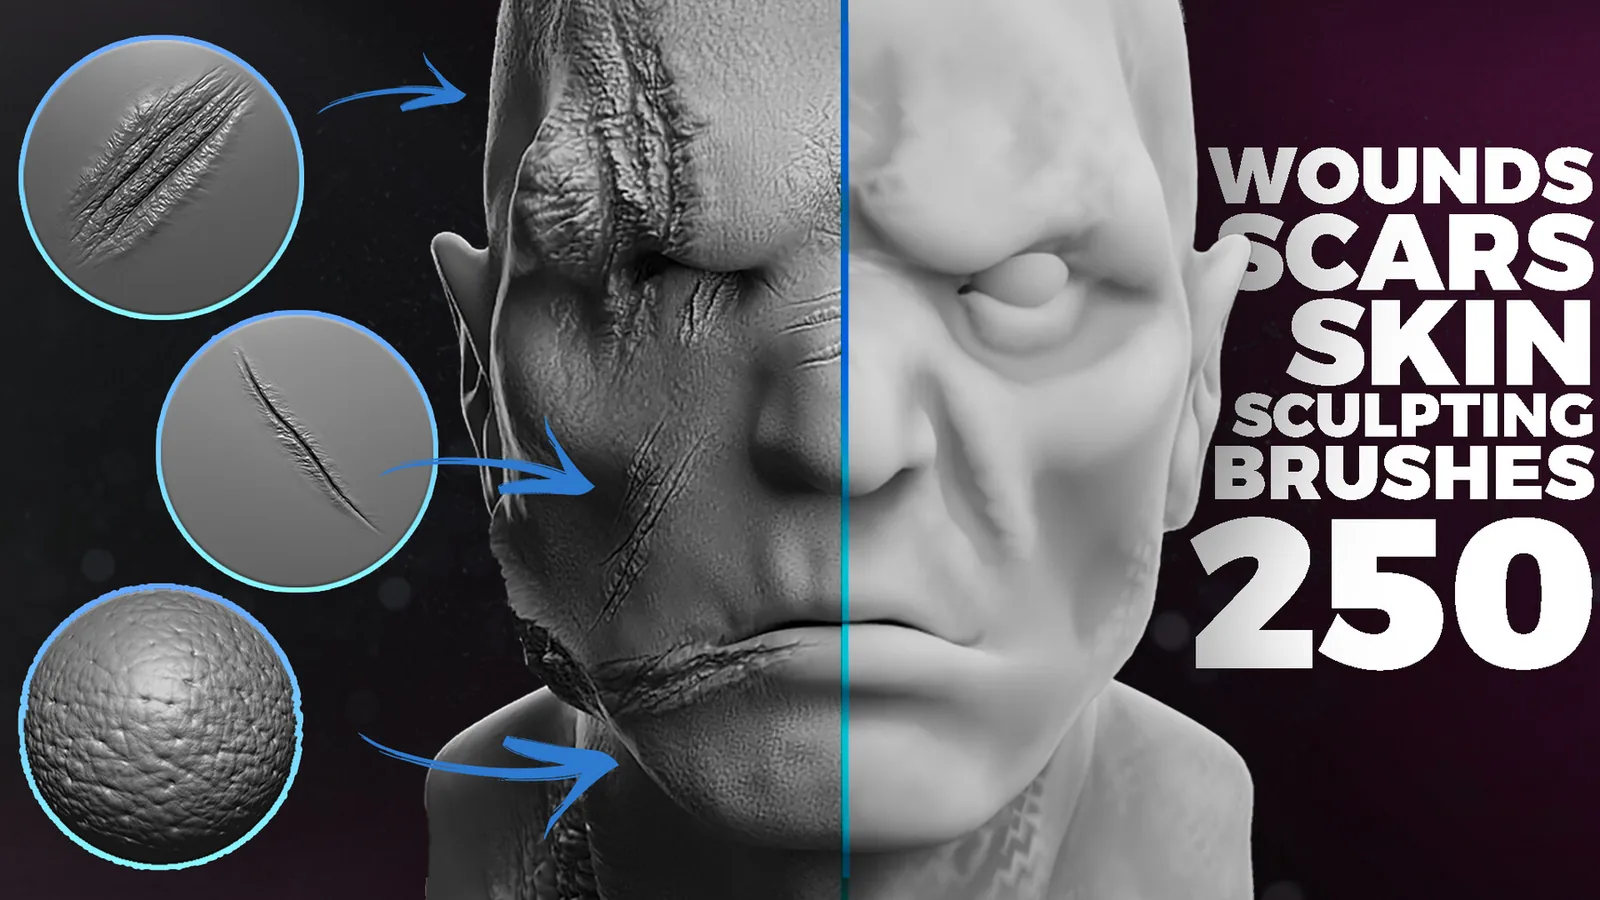
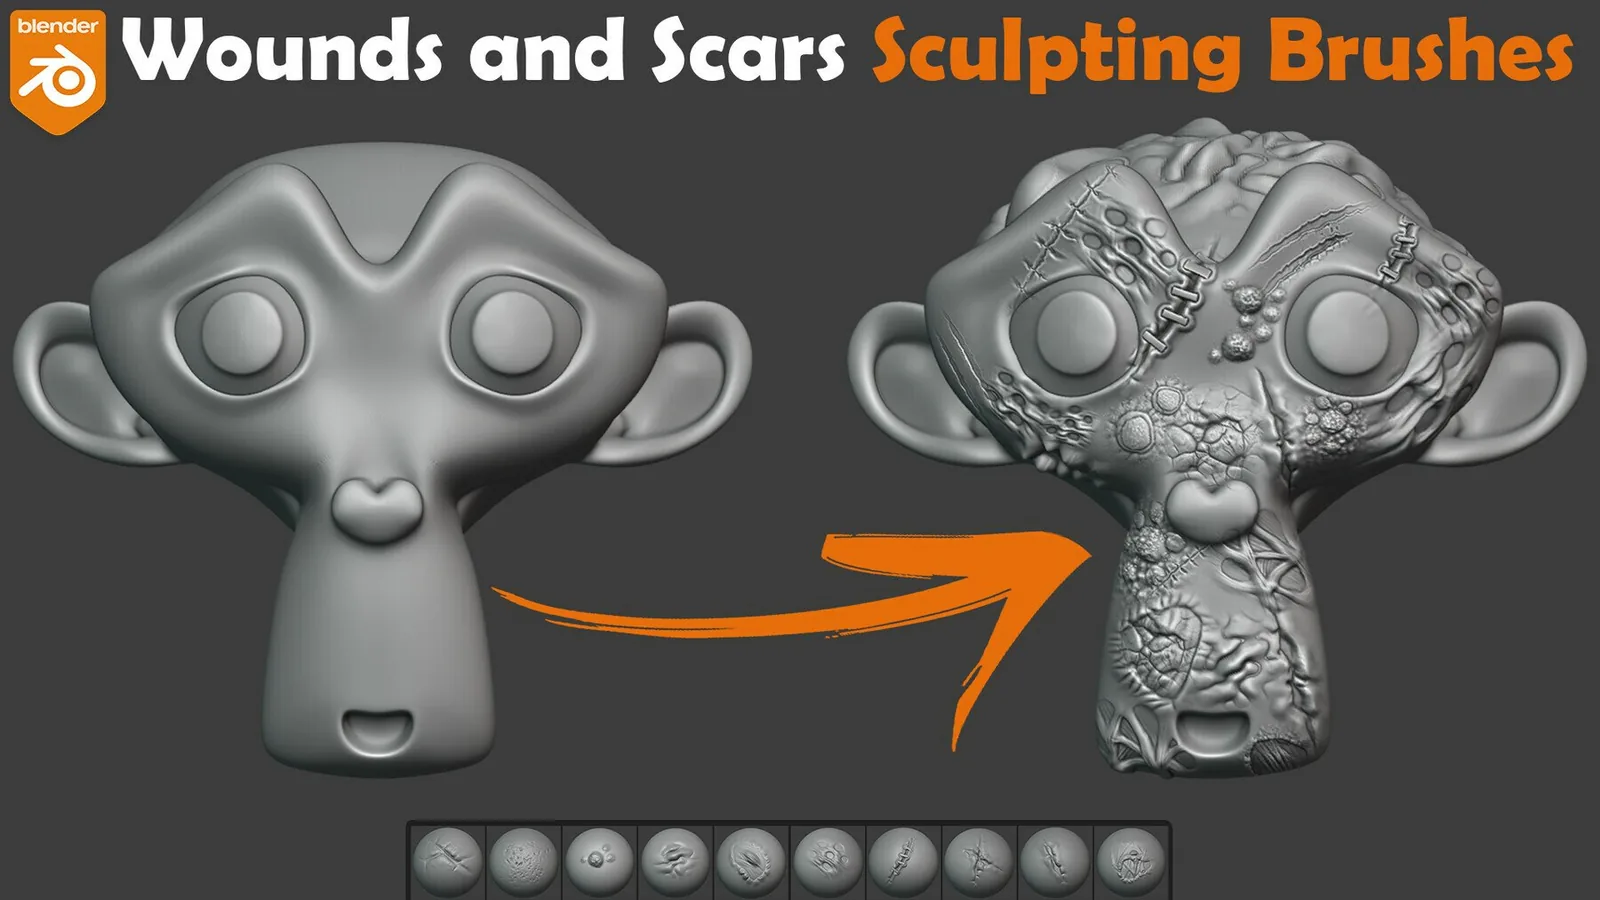
Damage and Scars Brushes
Damage and scars add story by showing age, battle history, and material wear. This category covers brushes for cuts, tears, dents, abrasion, and scars across characters, creatures, armor, and hard-surface props, balancing sharp impact detail with soft deformation.
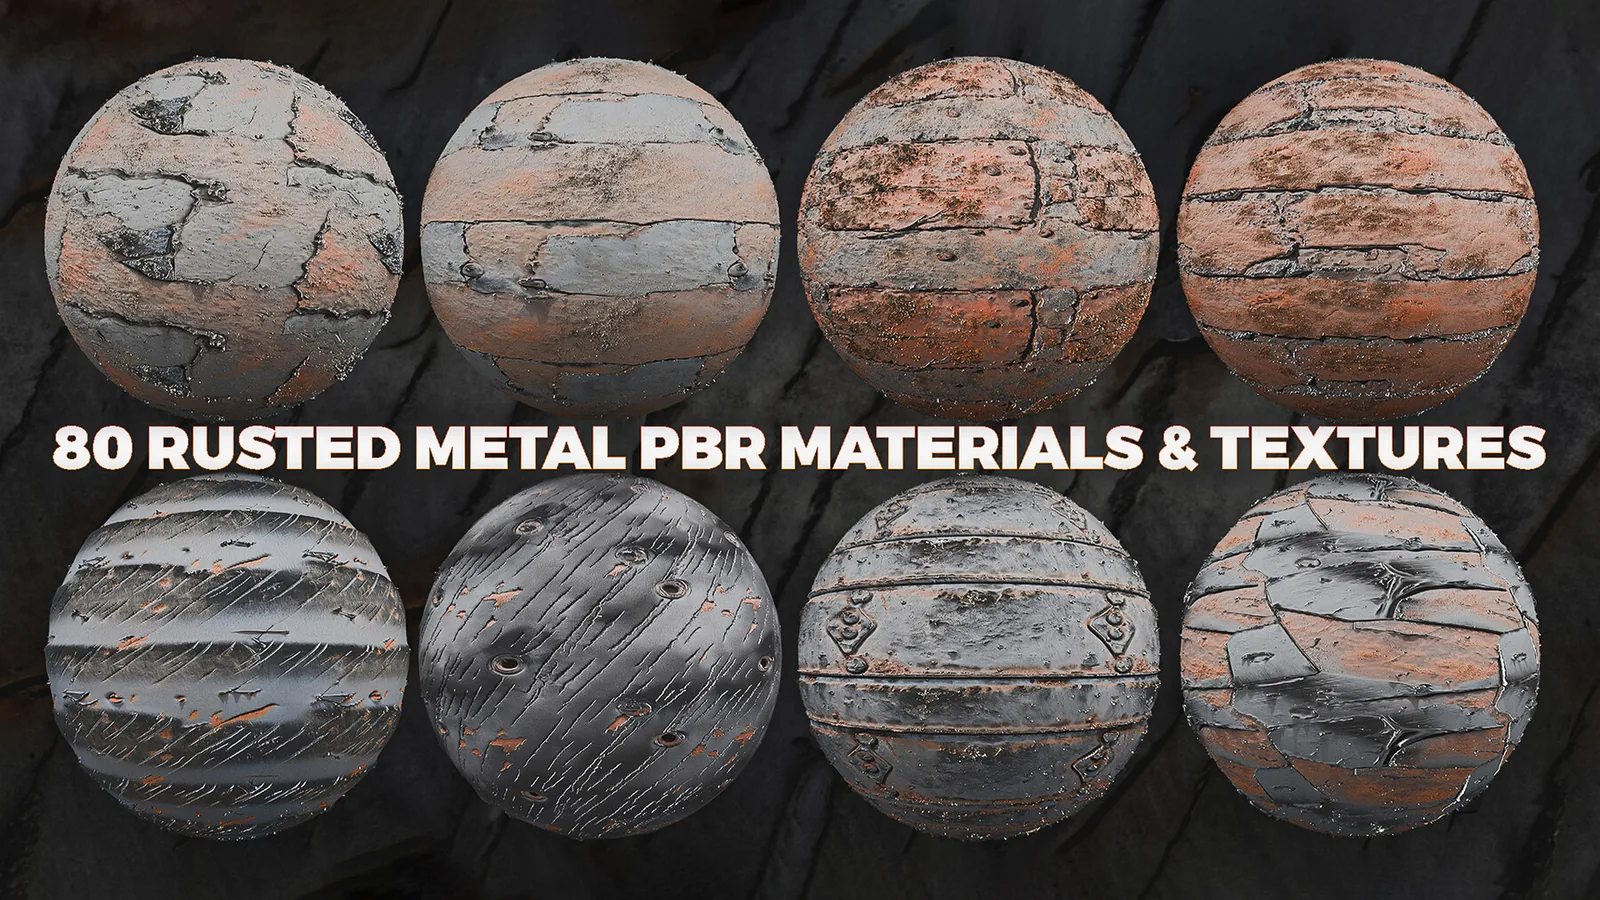
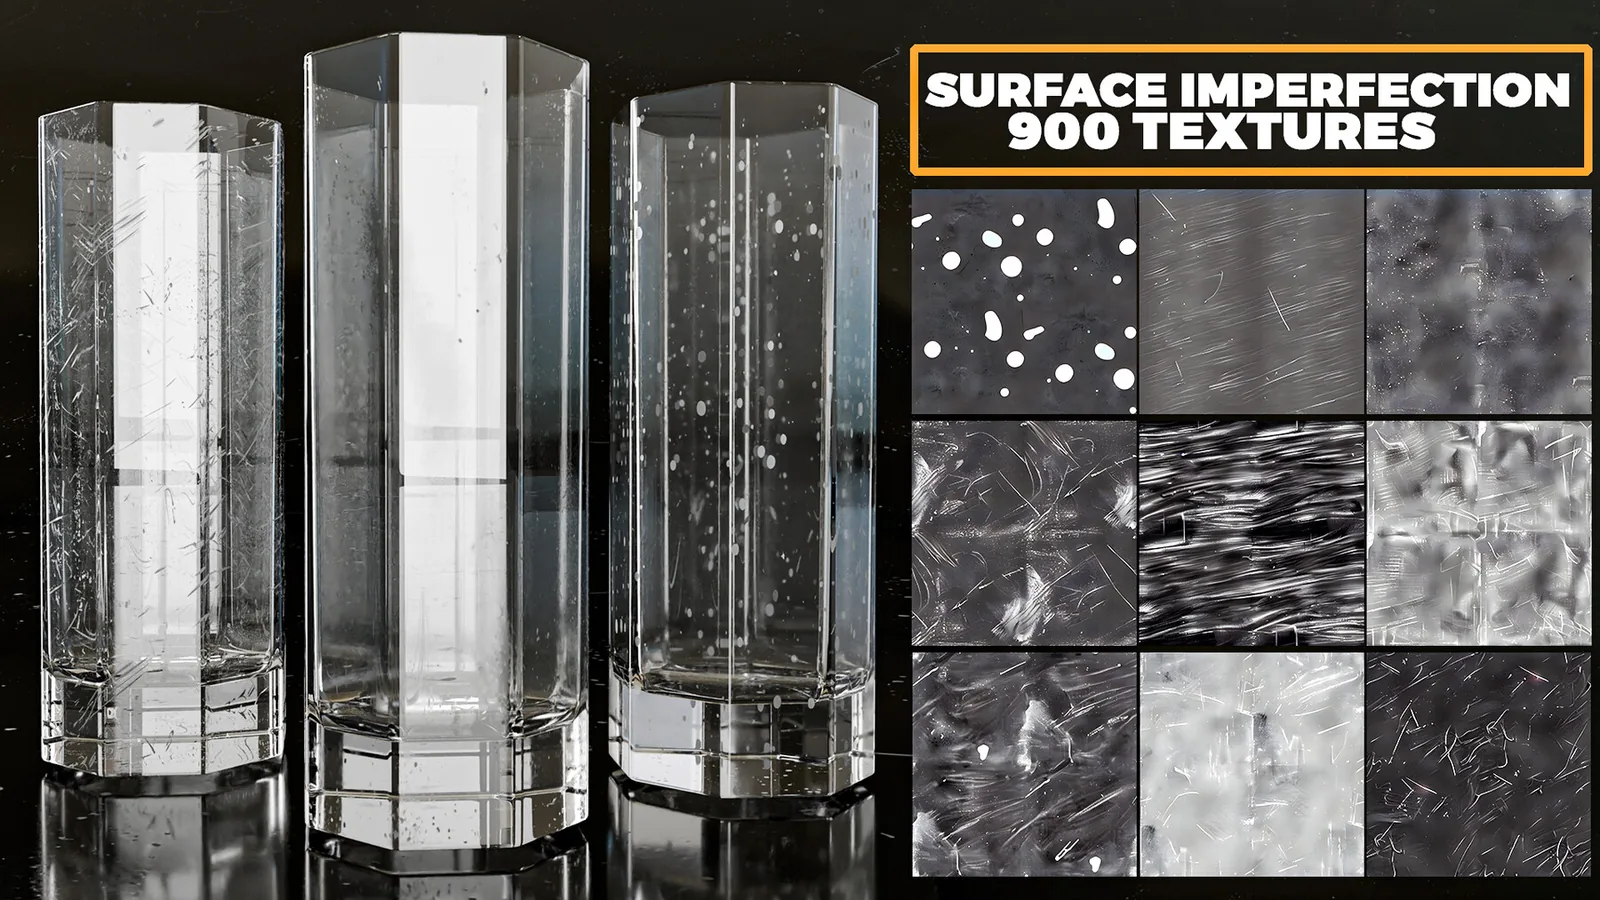
Damage should follow material response: skin needs soft edges and swelling, metal needs crisp breaks with secondary dents. These packs cover both organic and hard-surface damage for consistent workflows.
Define the material response first and build depth in light passes; skin scars need softer edges, metal dents need crisp breaks.
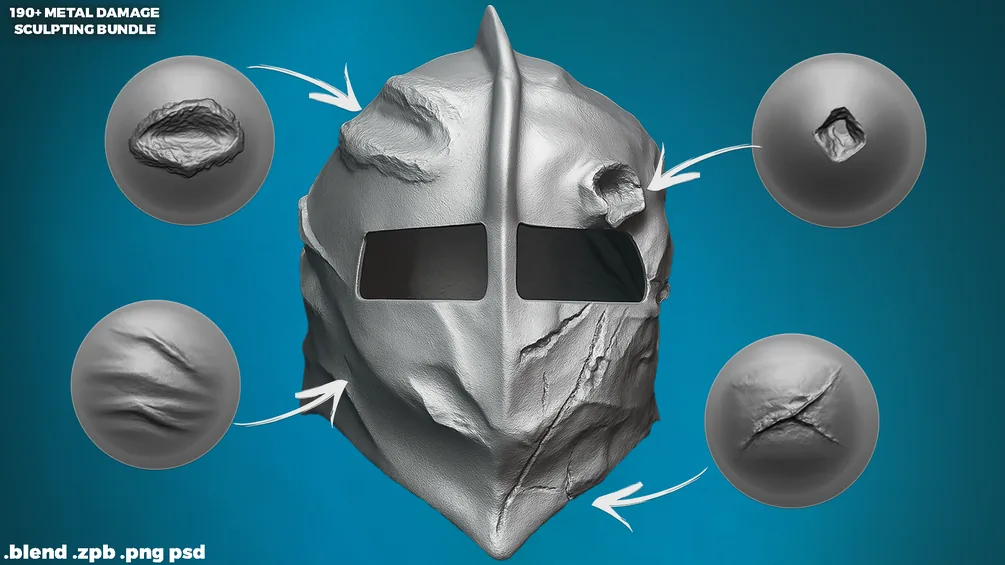
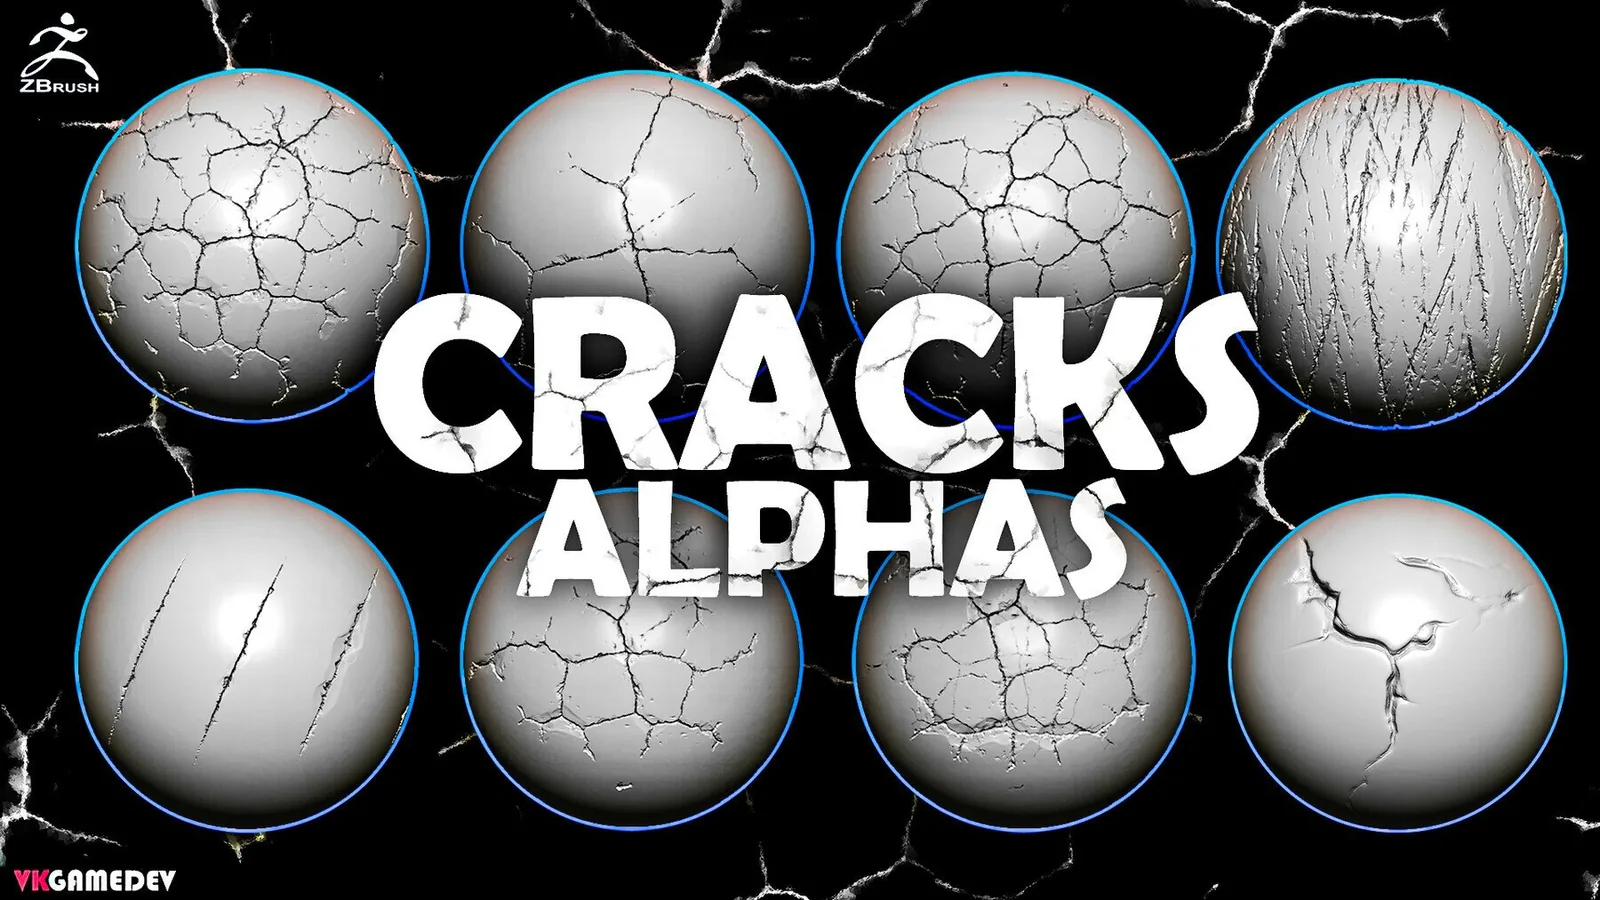
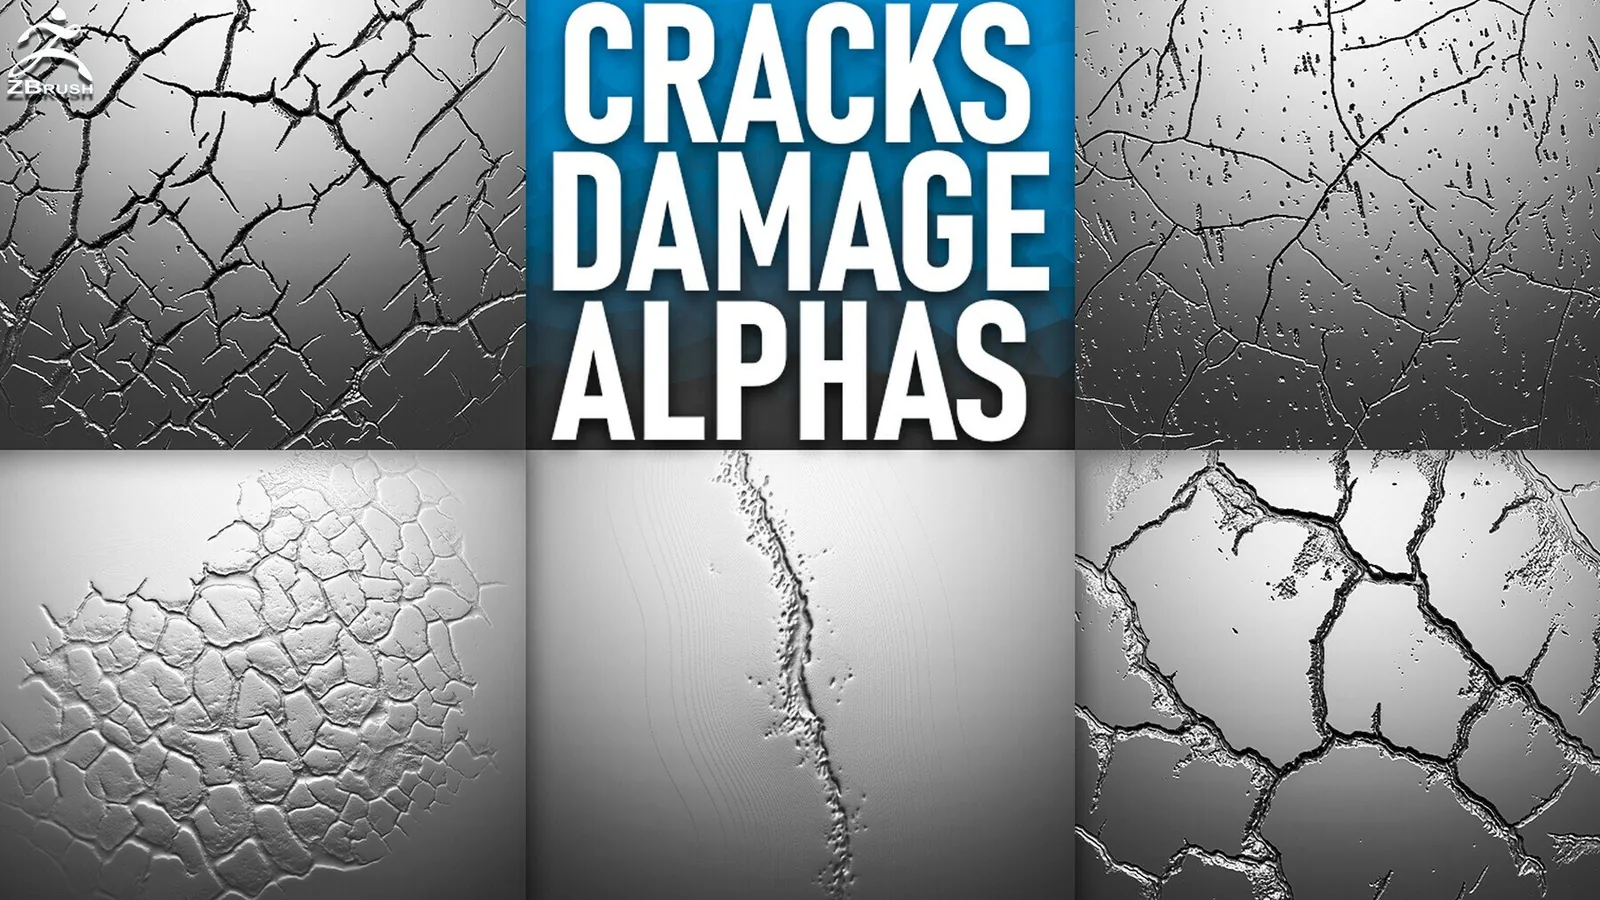
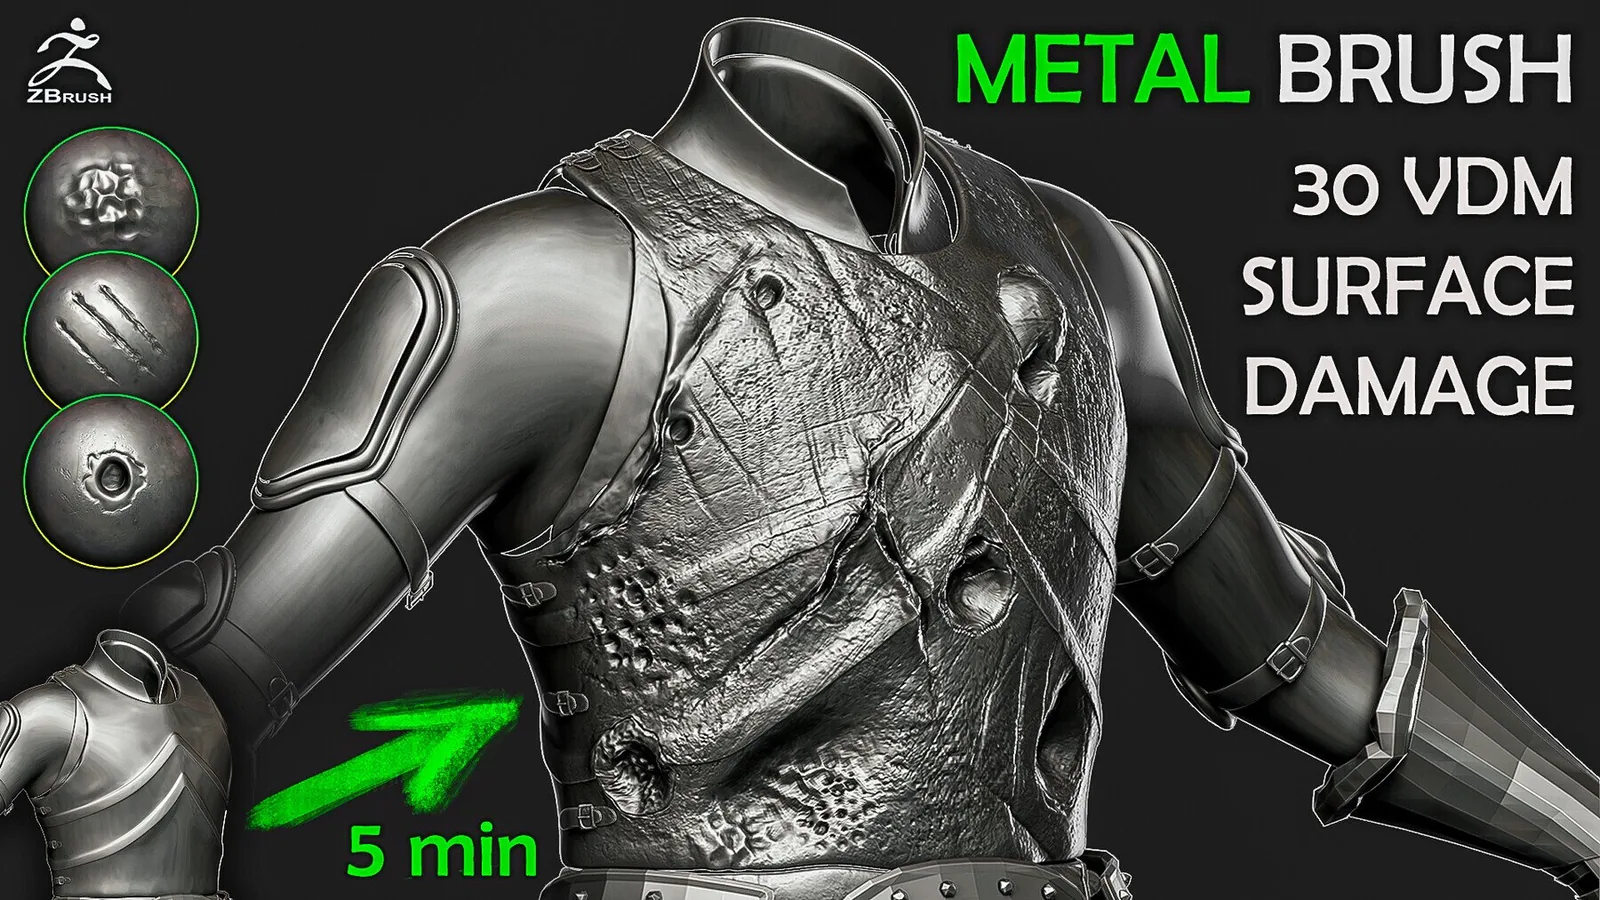
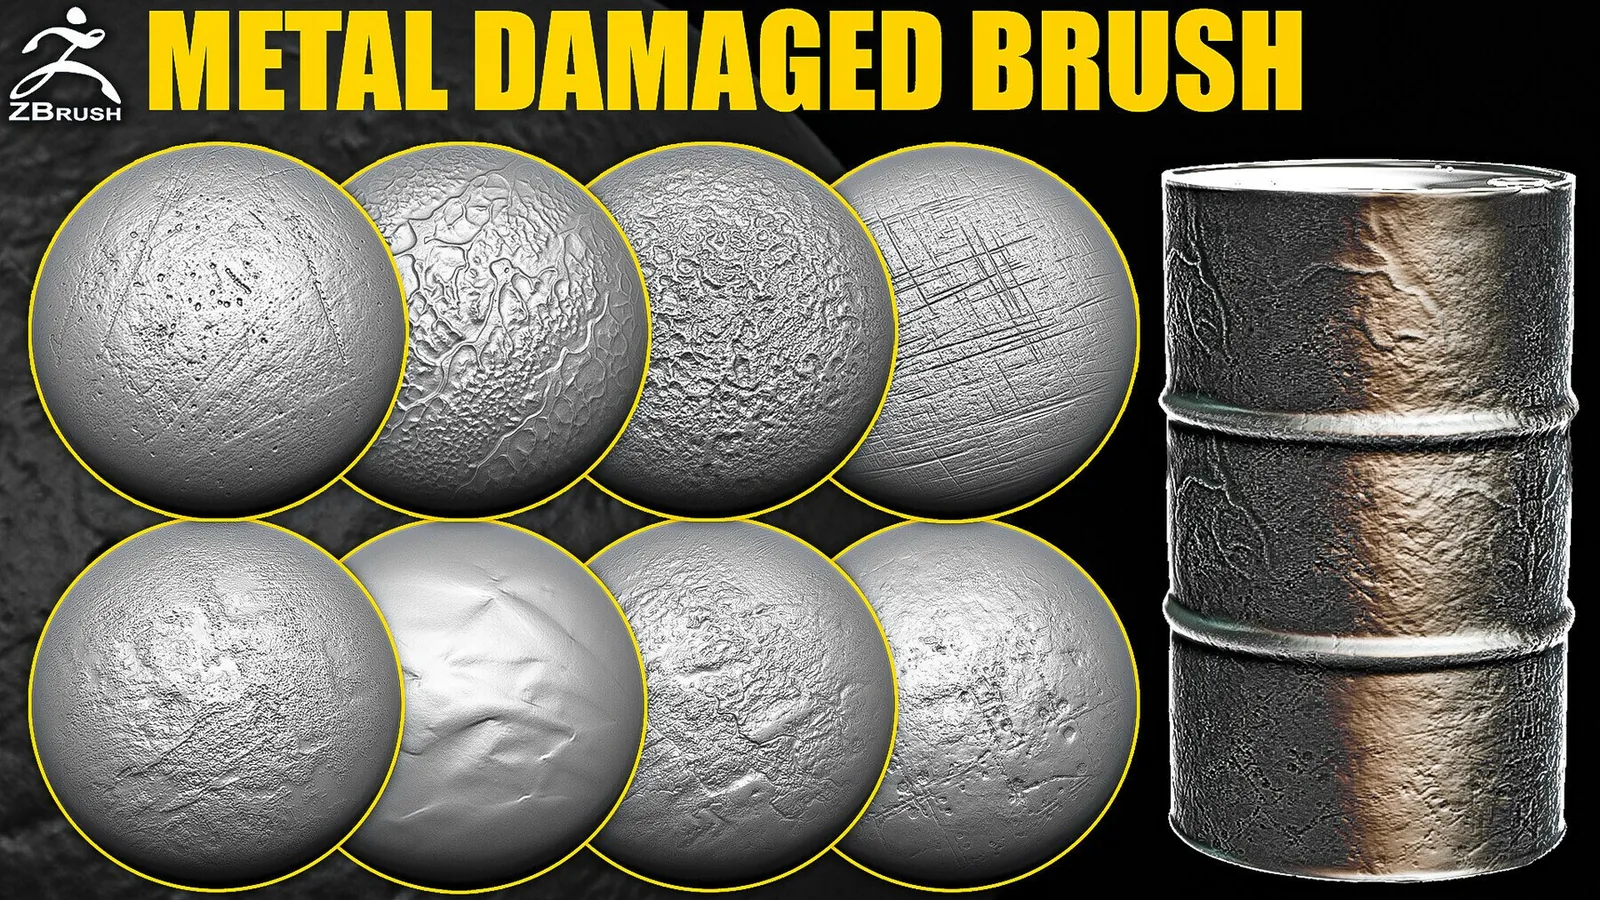
Cluster metal damage on corners, edges, and impact points; add small scratches in motion direction and keep focal hits readable.
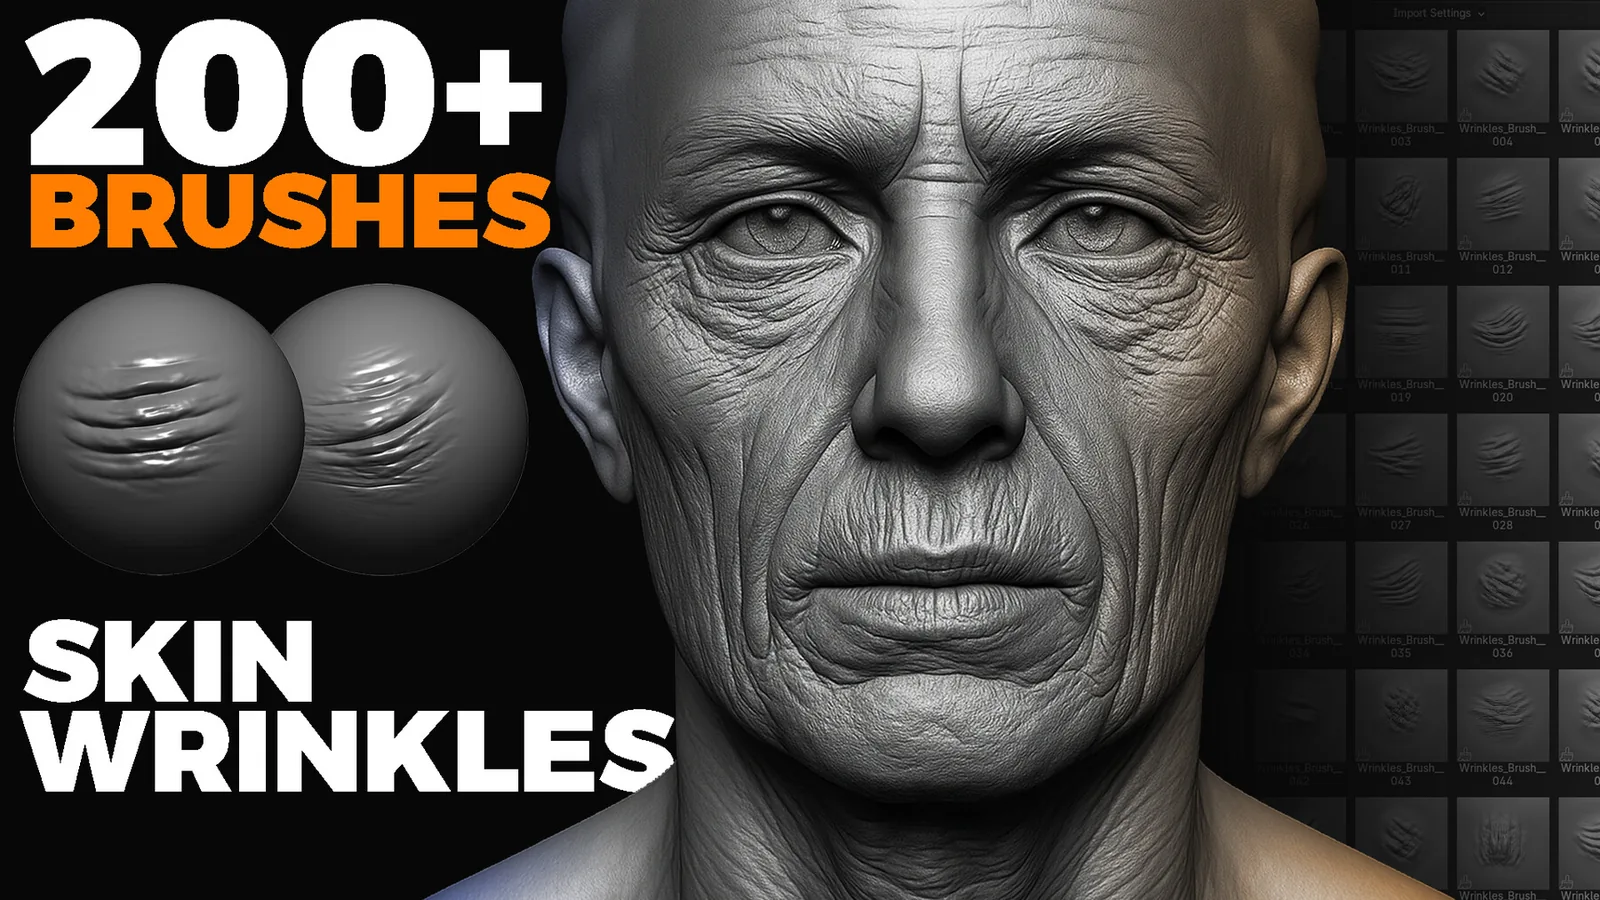
Align scars to anatomy and tension lines, mixing indented cuts with raised ridges, then blend into surrounding pores.
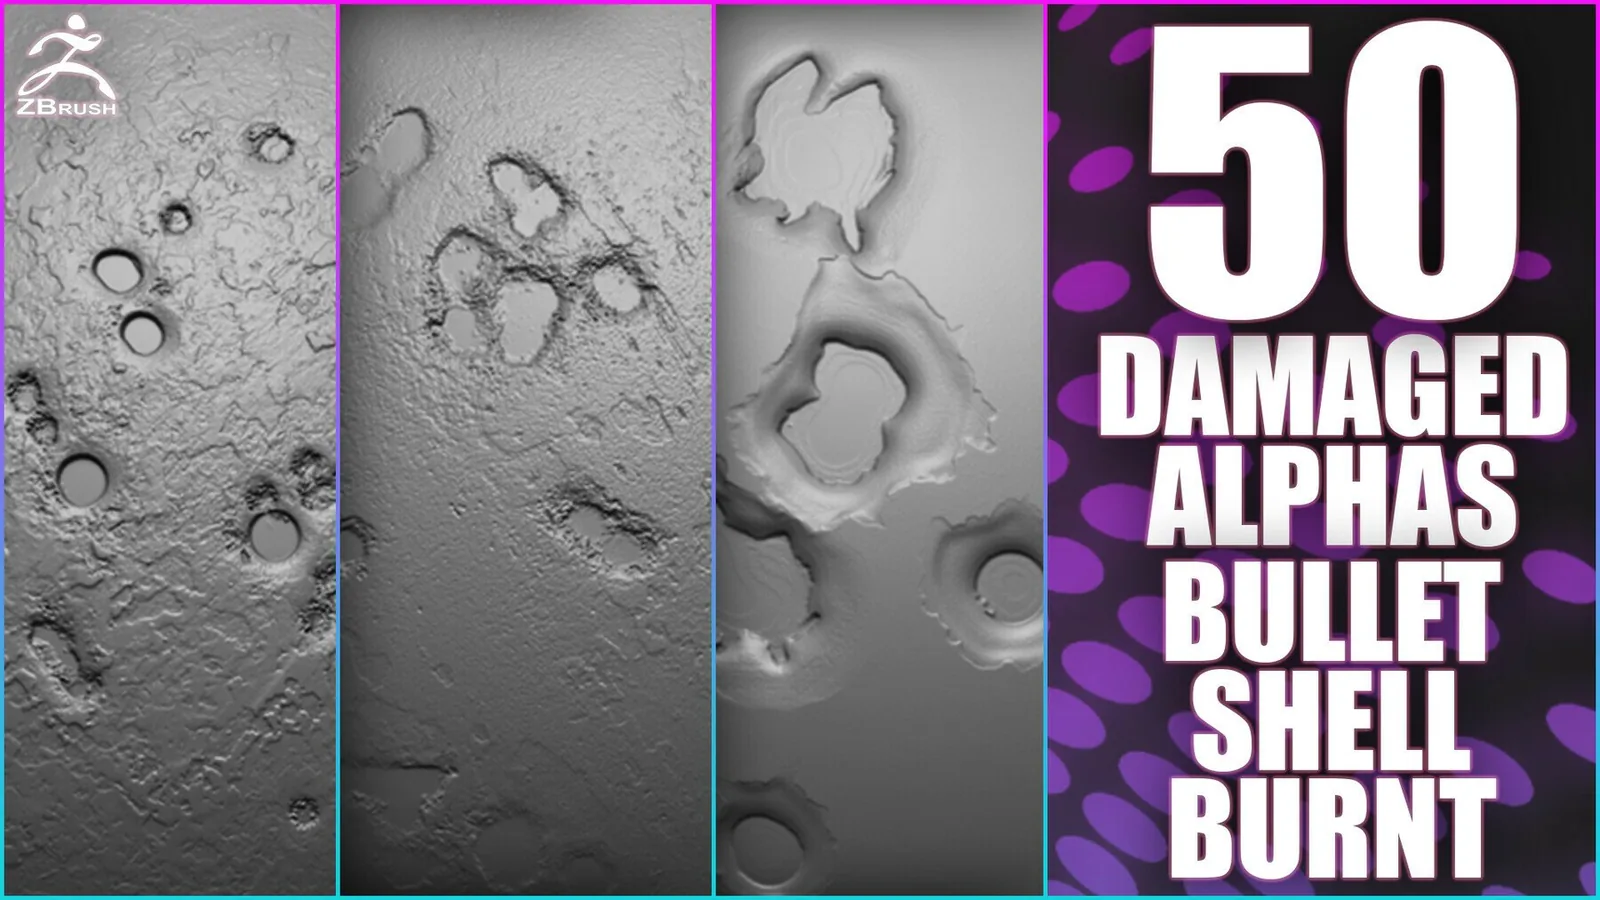
Build wounds in layers: base cut, torn edges, abrasion, and bruising; mask when you need open wound thickness.
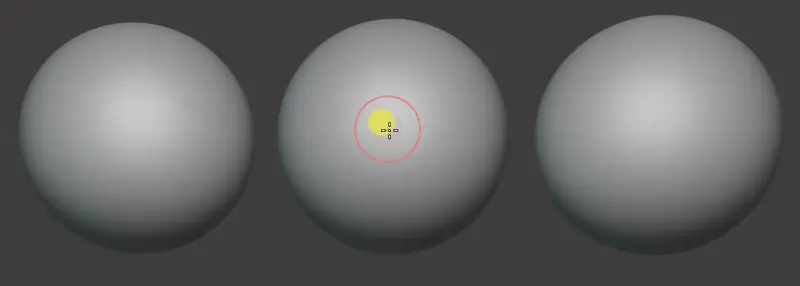
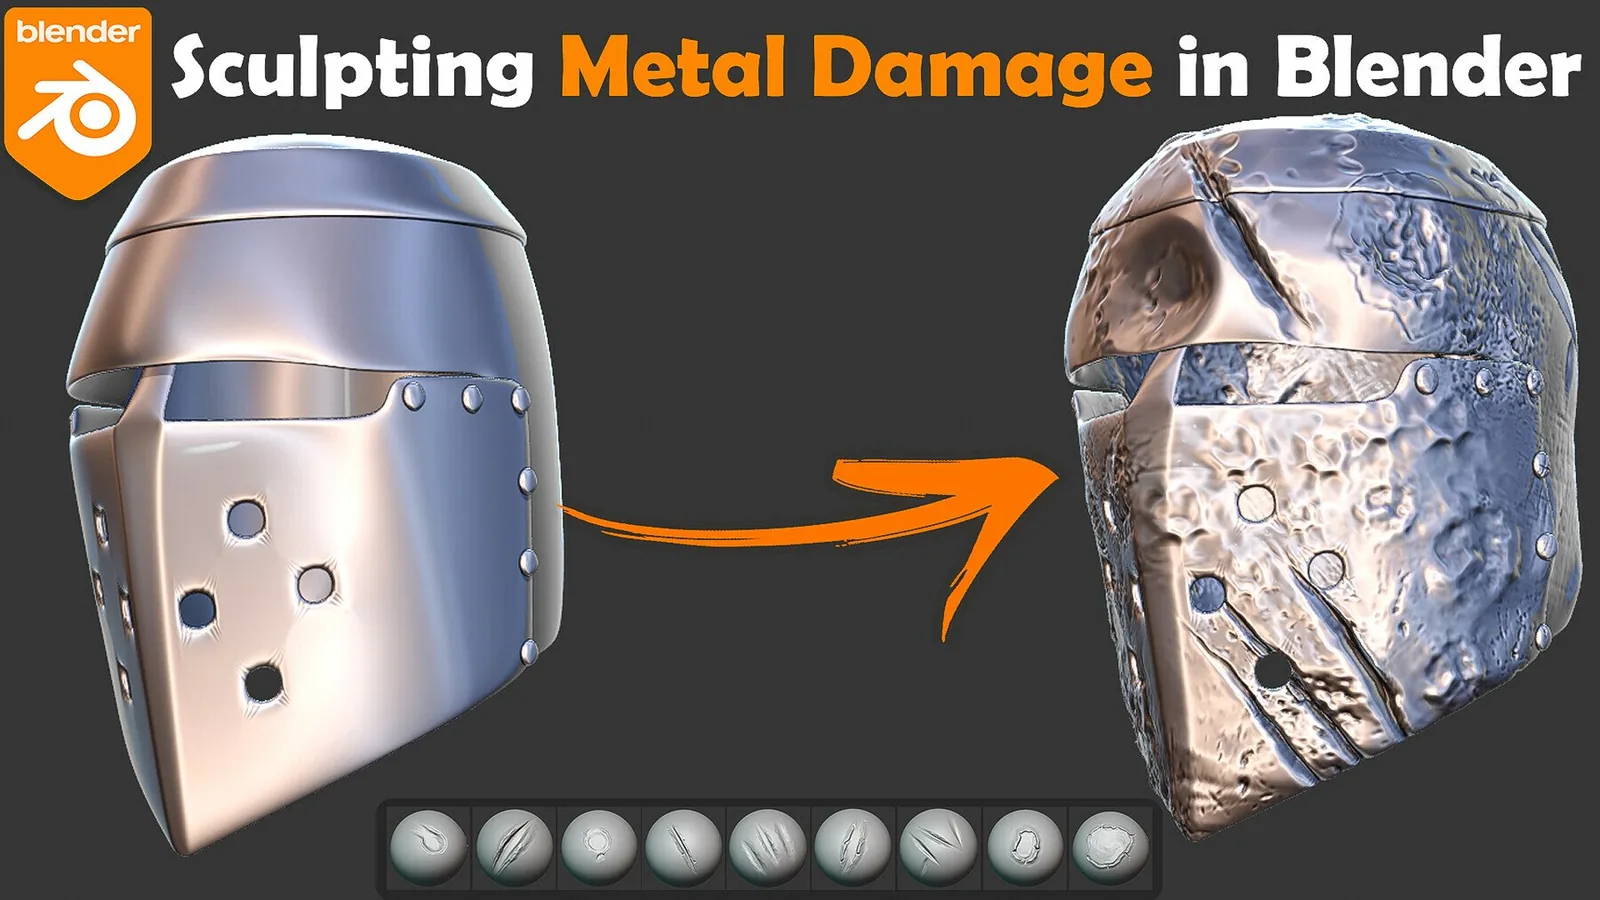
In Blender, catalog damage brushes and test depth on a plane; in ZBrush, use layers to separate scratches from major dents.
Preview baked damage in the target shader and adjust depth so it reads at mid distance.
Use variation in size and age to tell a story, mixing old smooth scars with fresh sharp wounds.
Place wear where contact happens and cracks where force concentrates; real references prevent random noise.
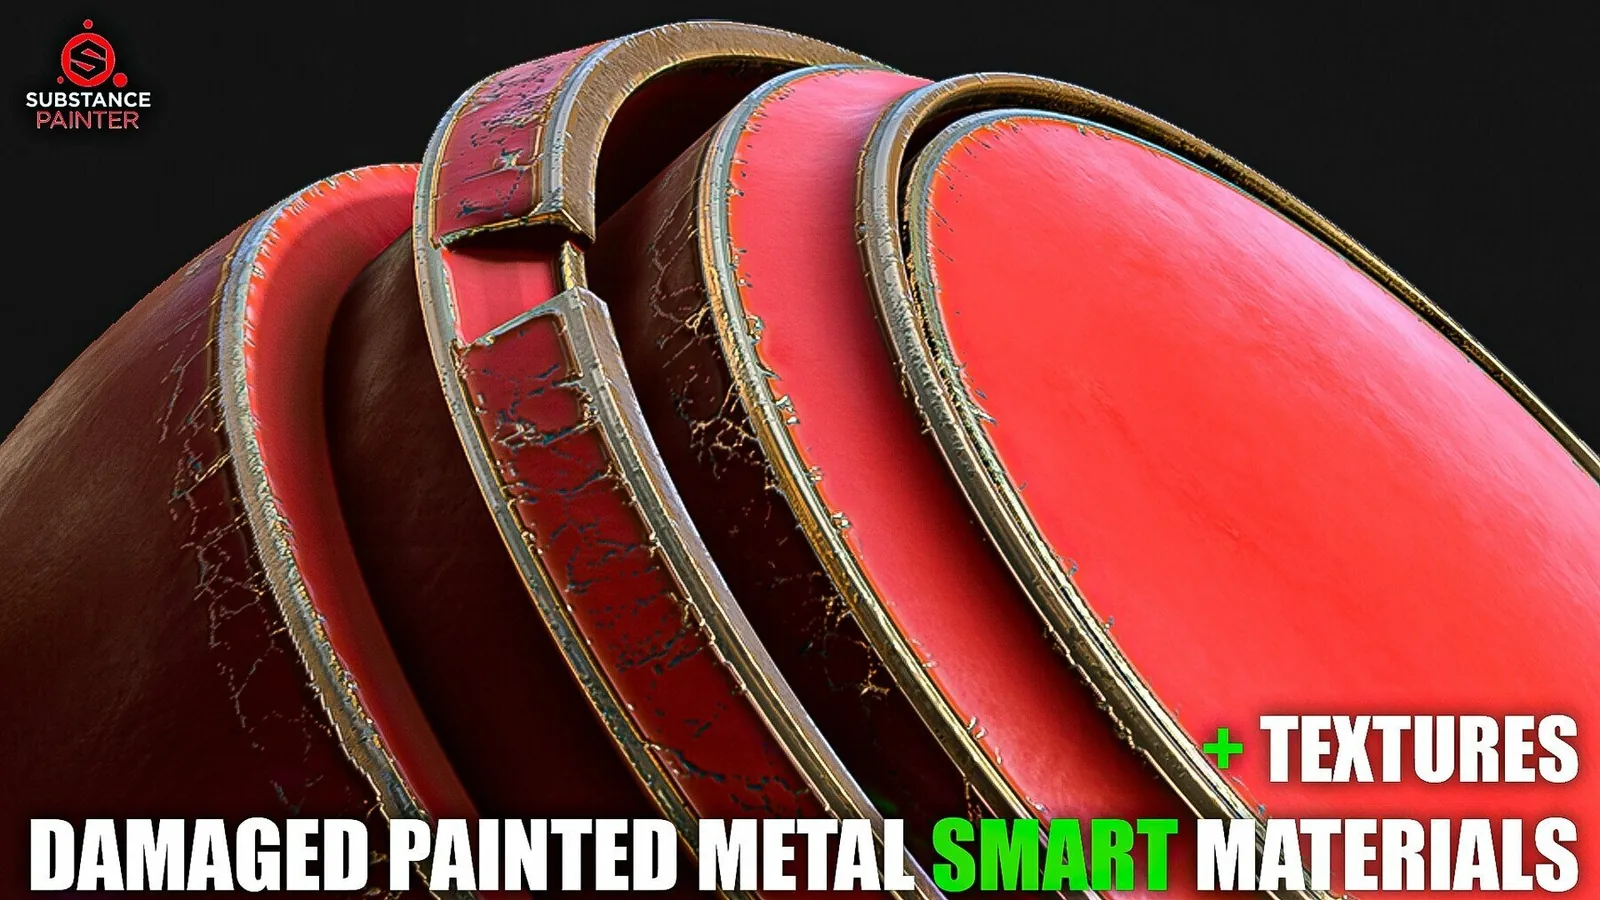
Combine metal damage and organic scar sets for a unified damage language; see best sets and examples below.
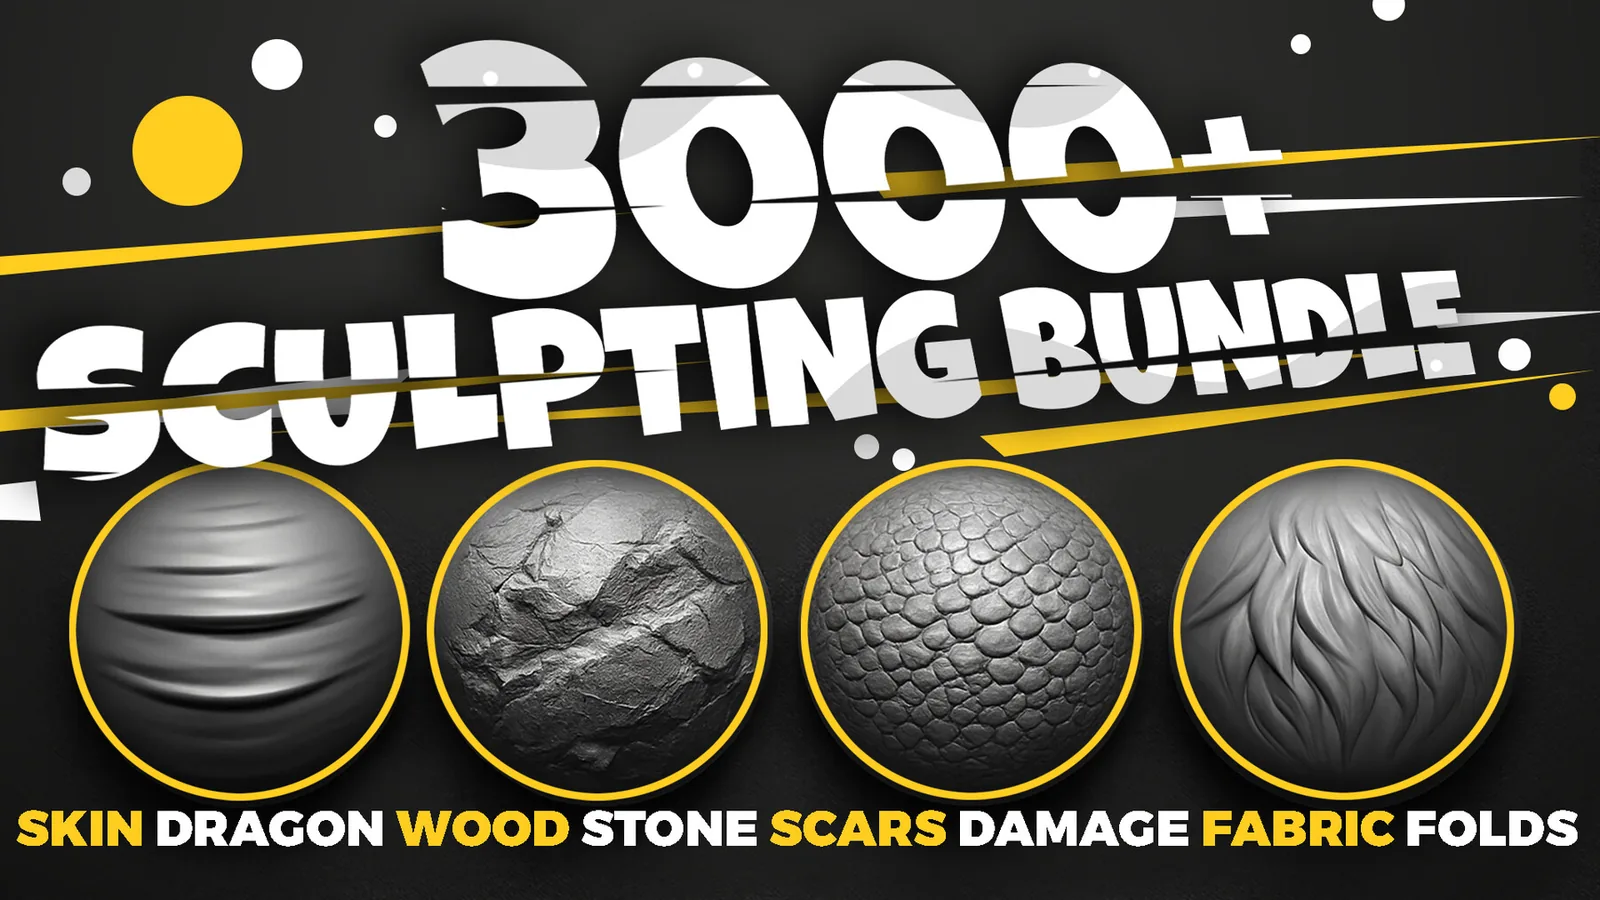
Best sets
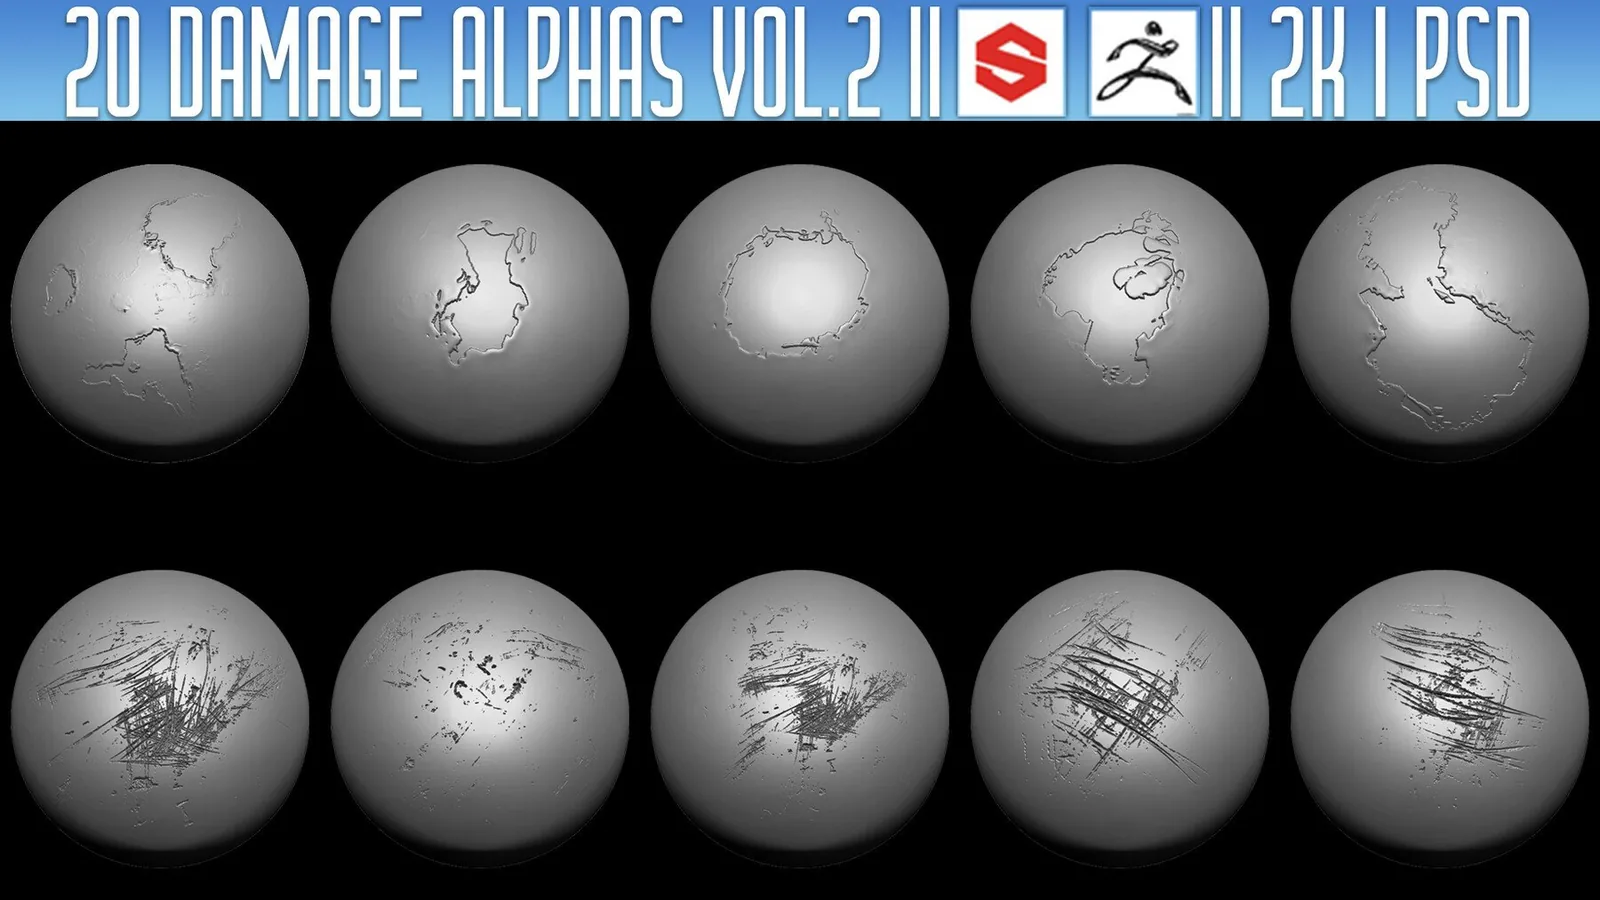
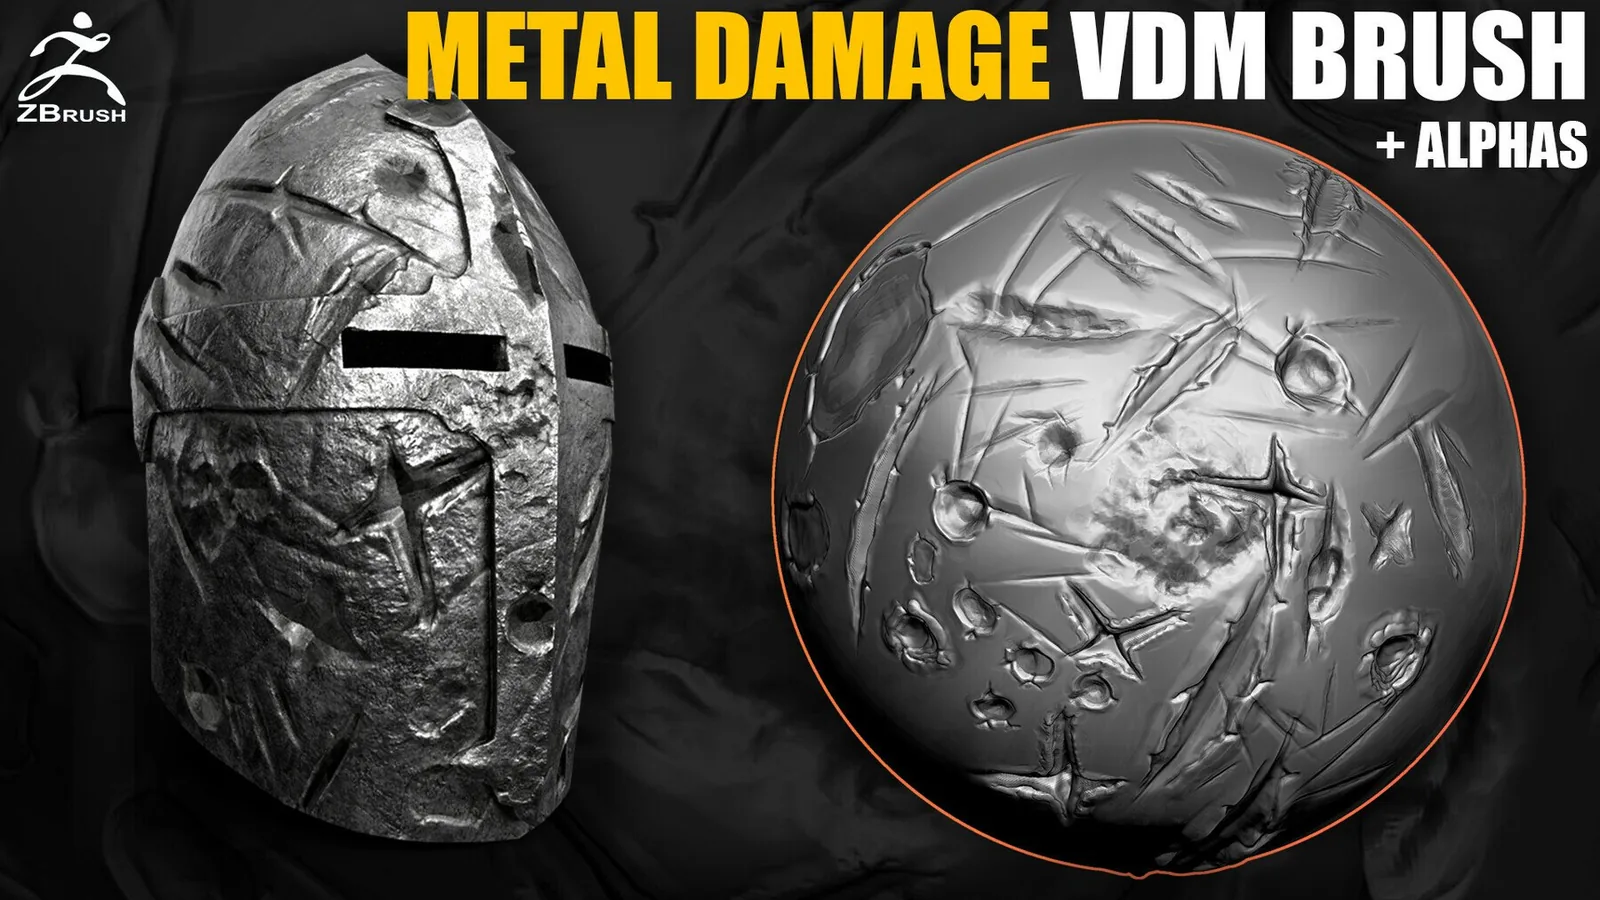
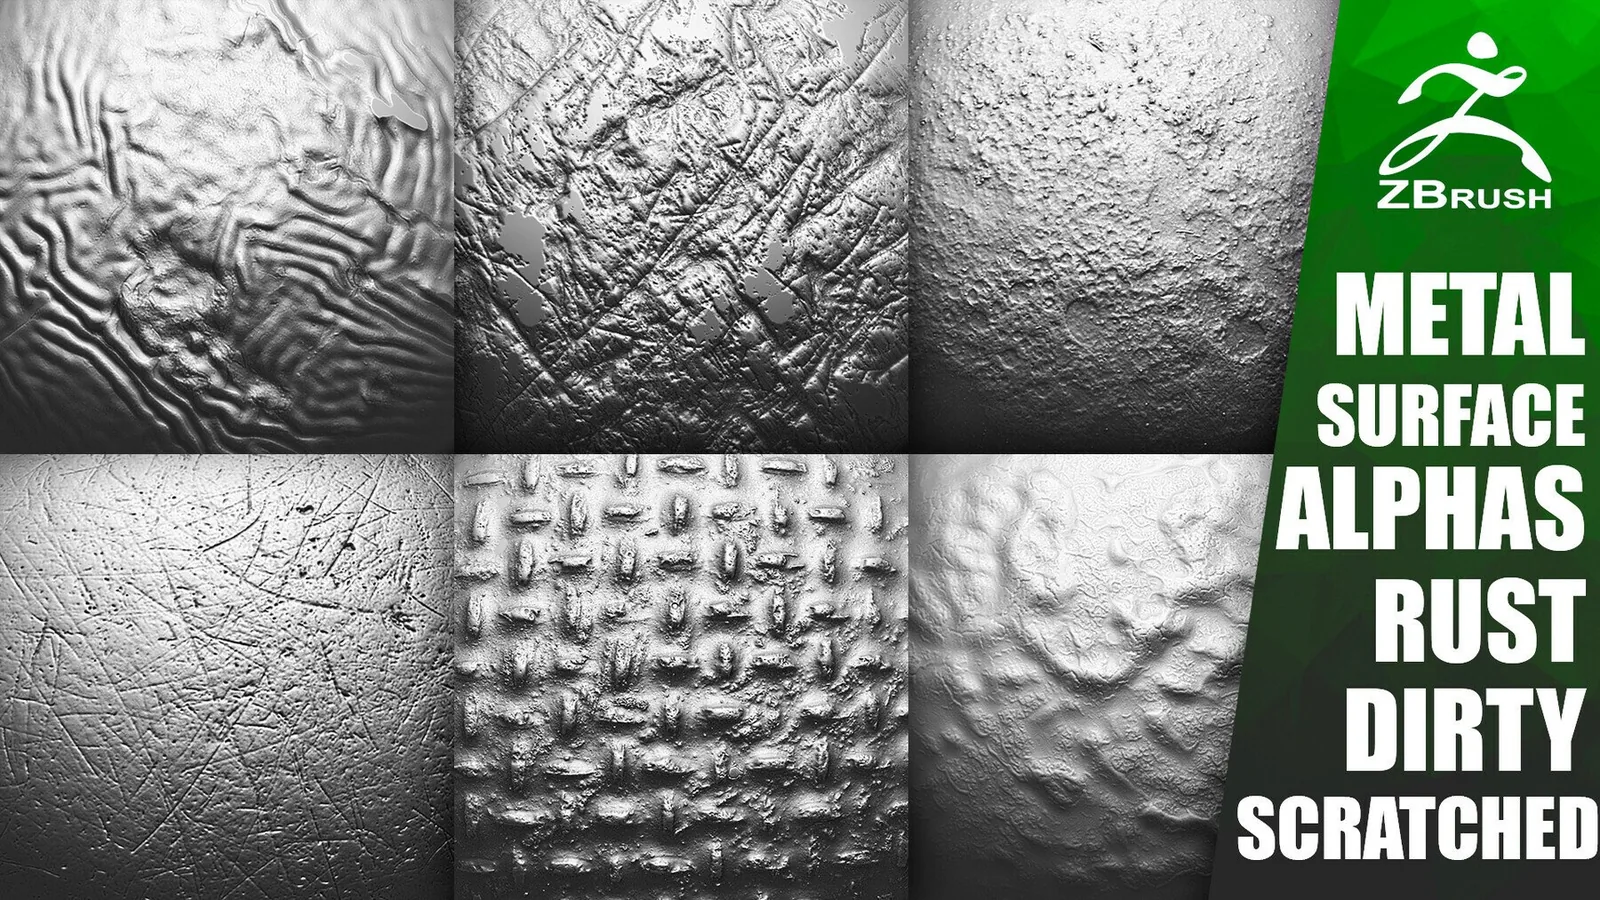
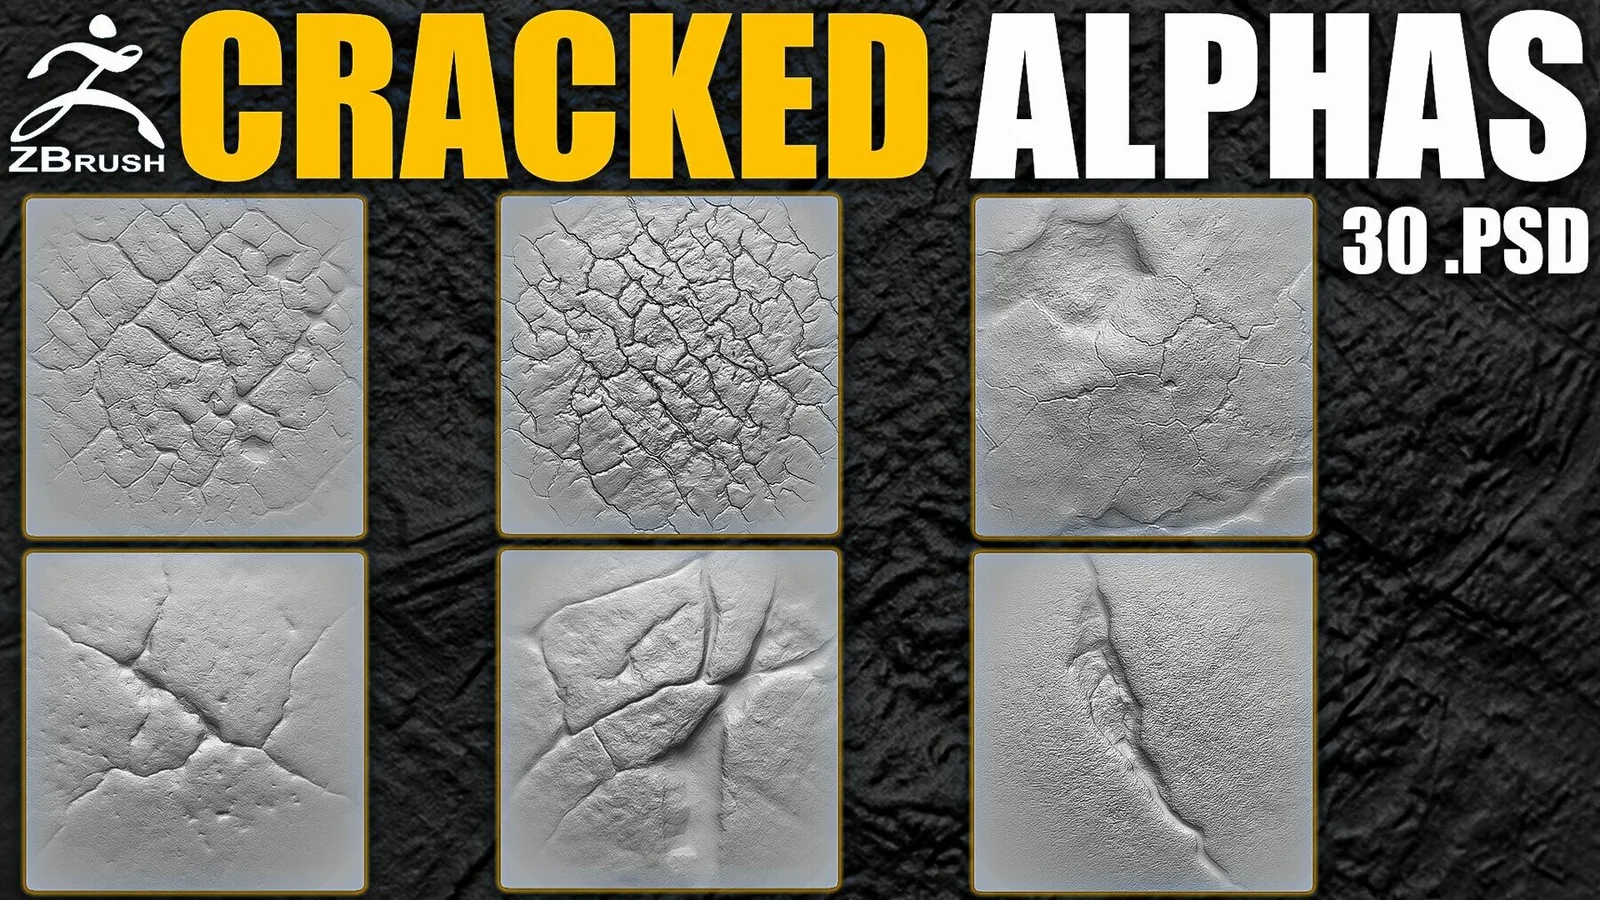
These packs are the strongest fits for damage work. Each set is organized for fast browsing and includes previews so you can judge scratch depth and scar shape before committing.
All products
Full catalog of products currently listed in this category.
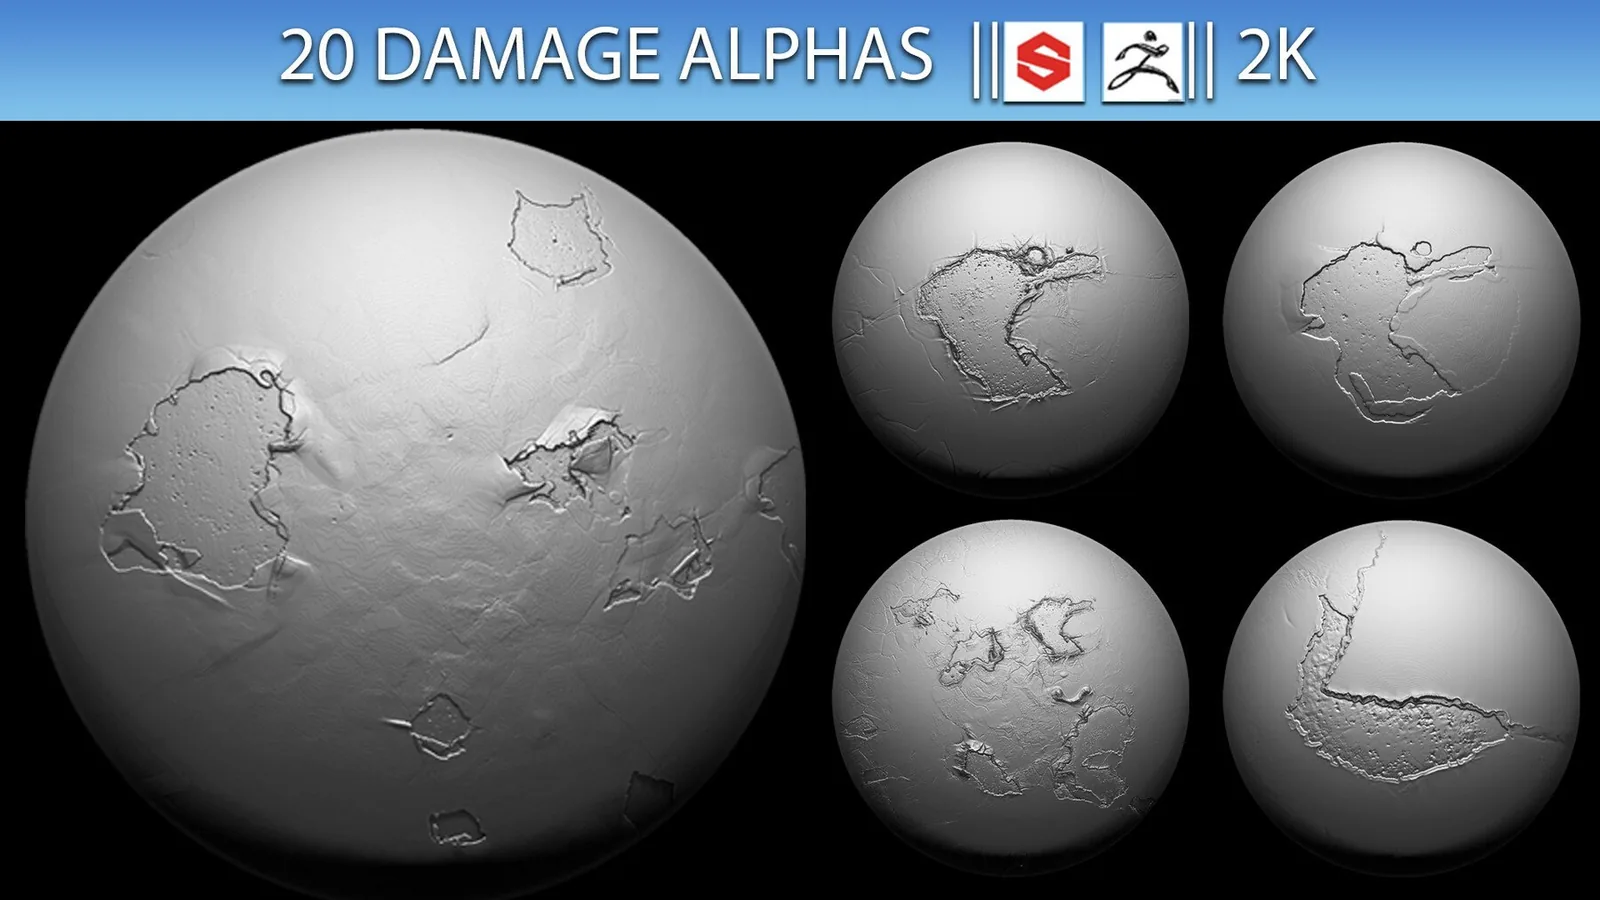

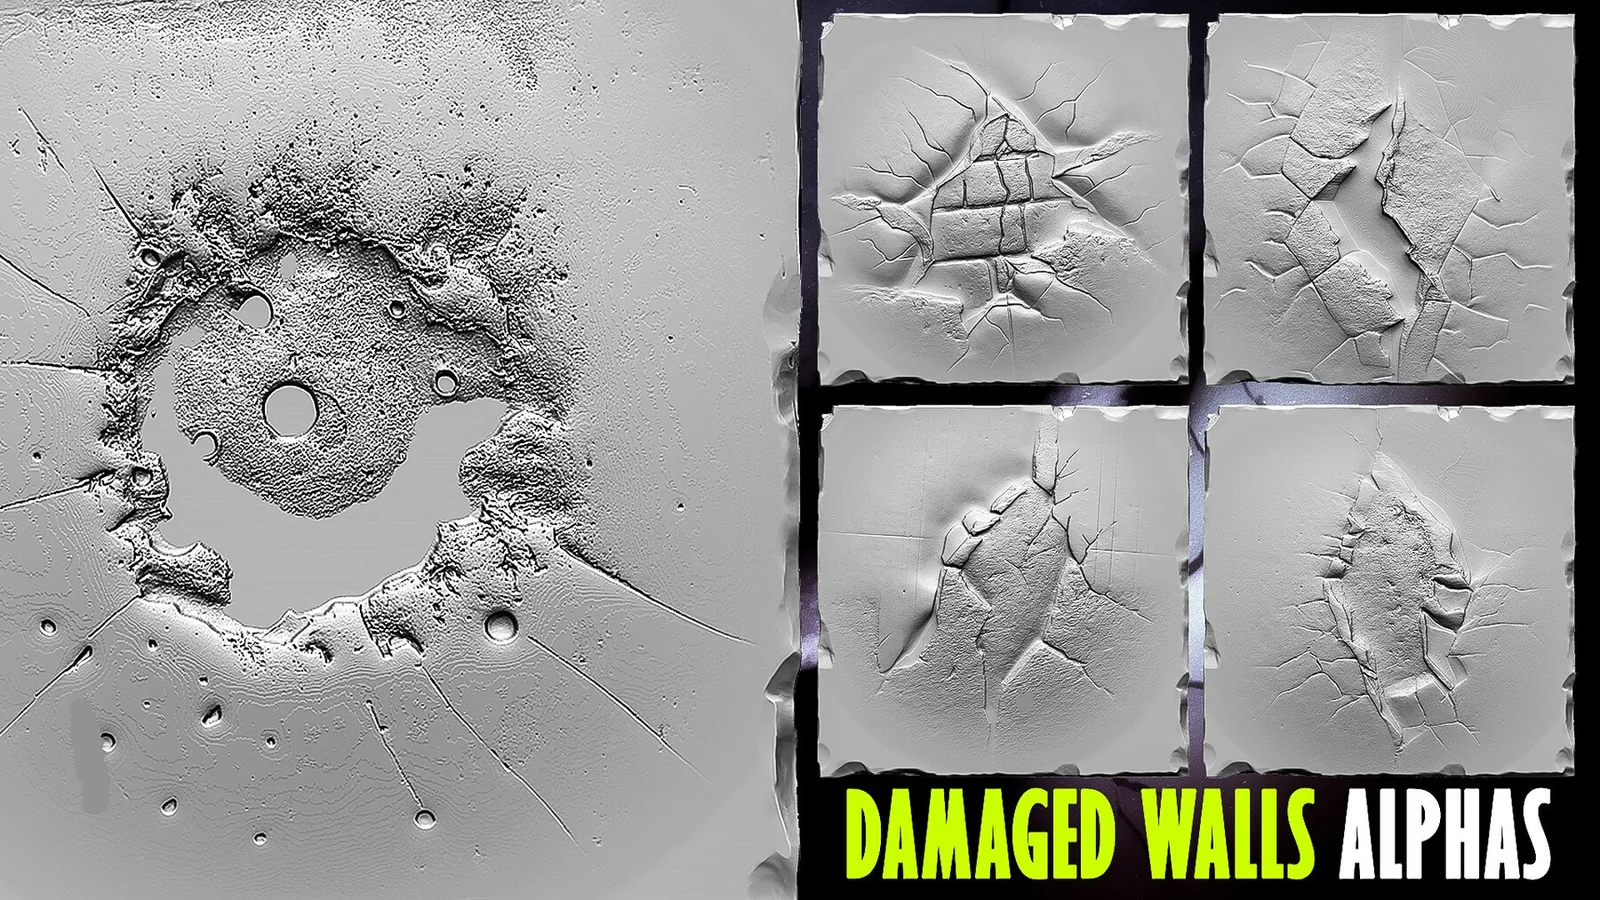

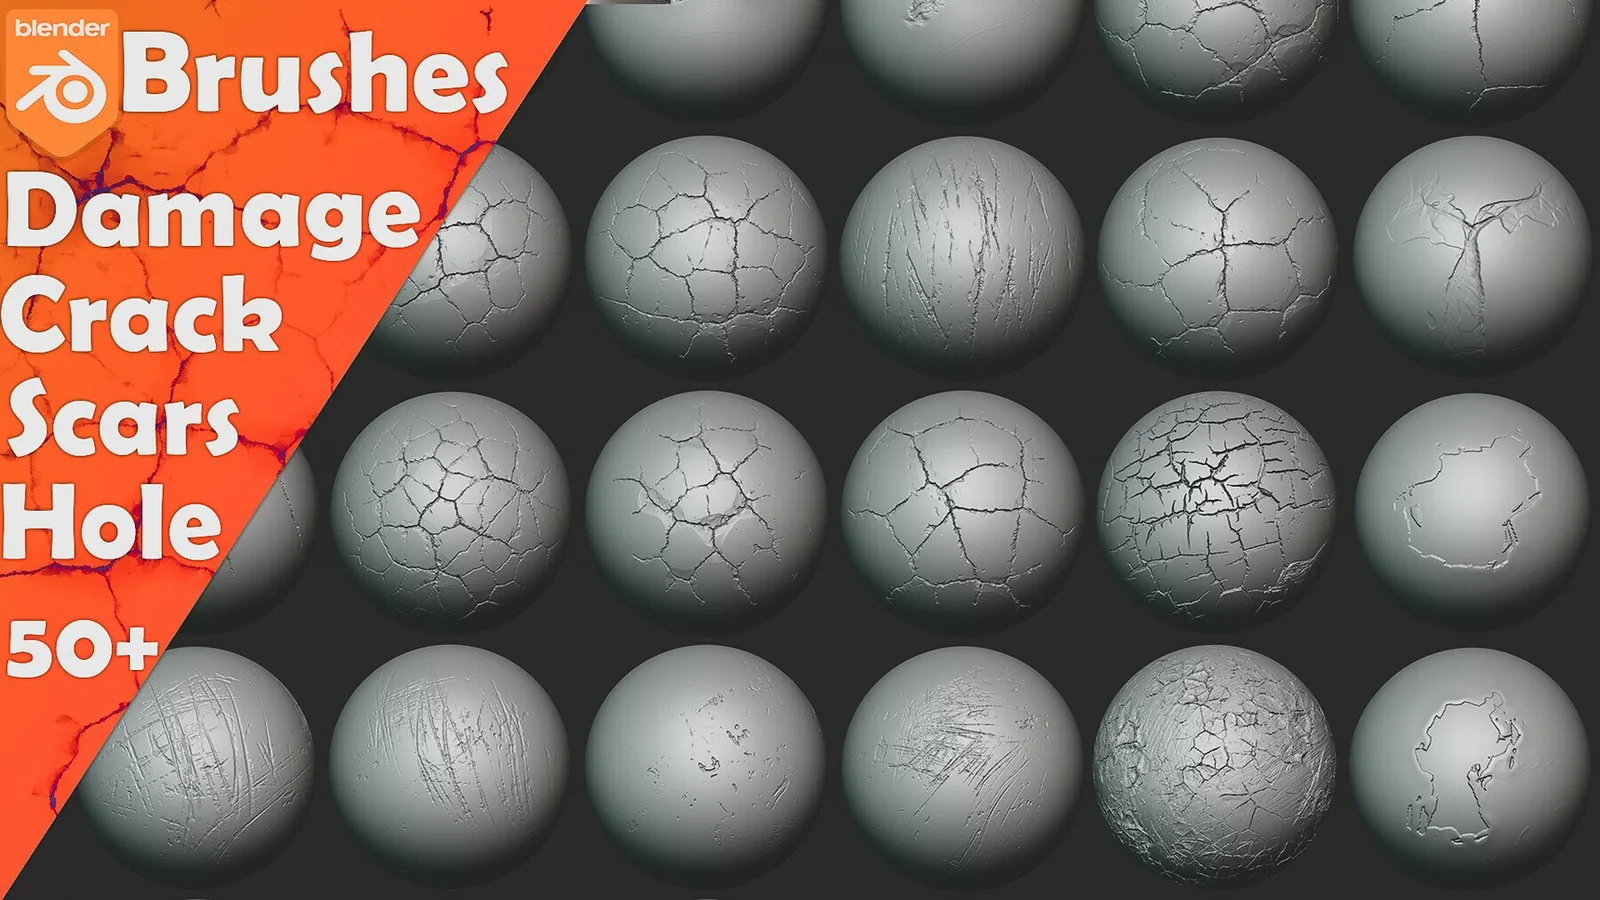
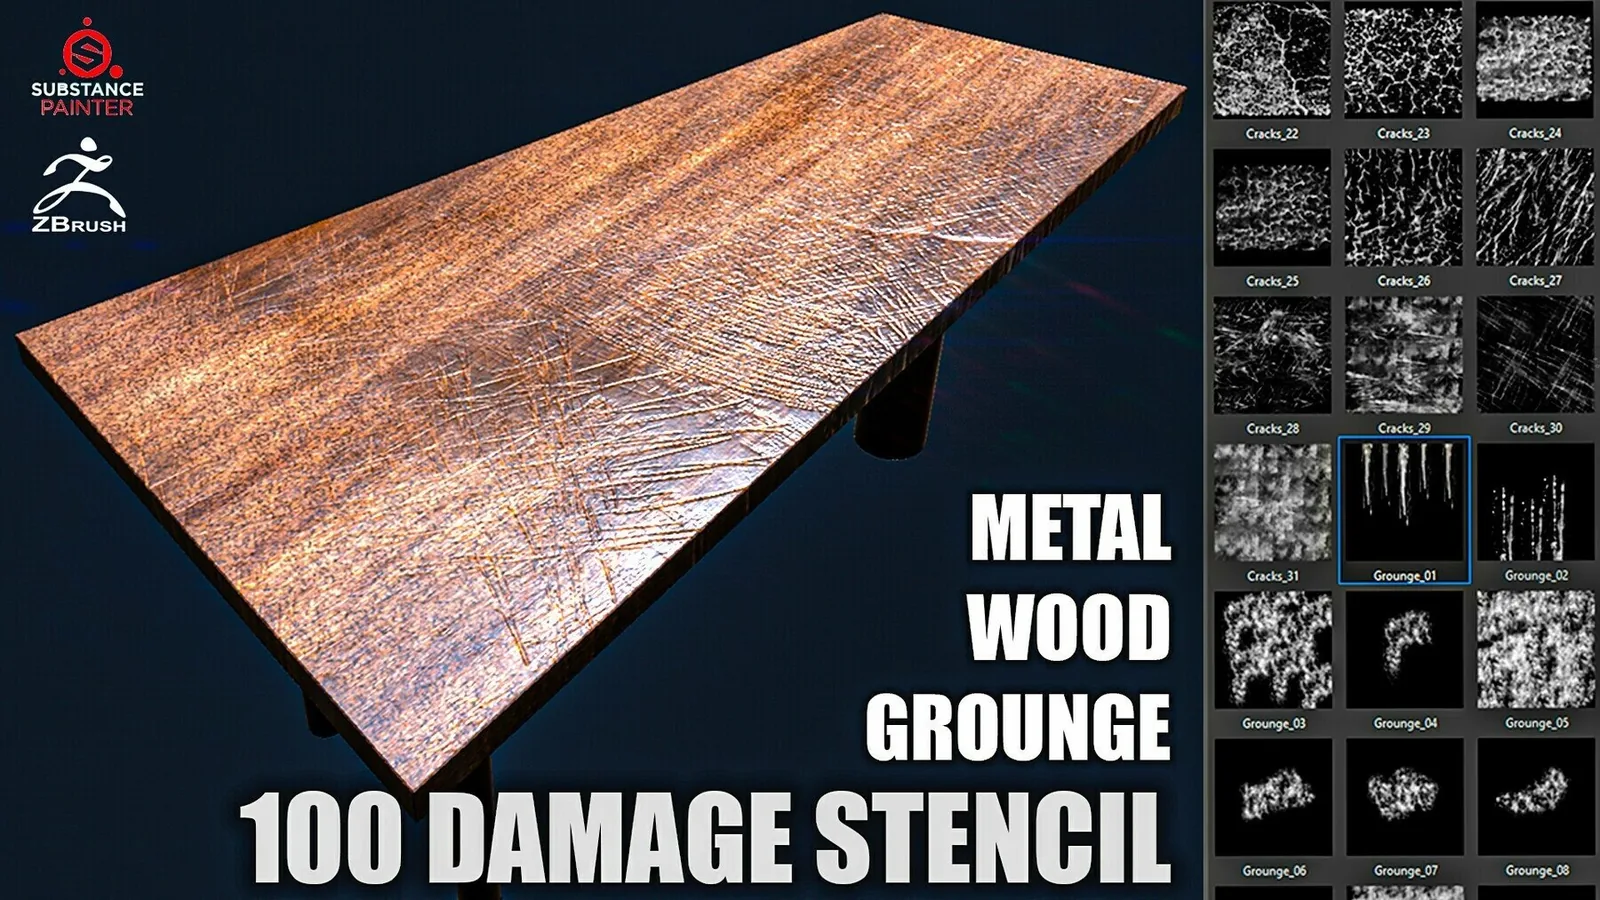

Examples
Real product previews showing how damage brushes and scars read on organic and hard surfaces.