Category
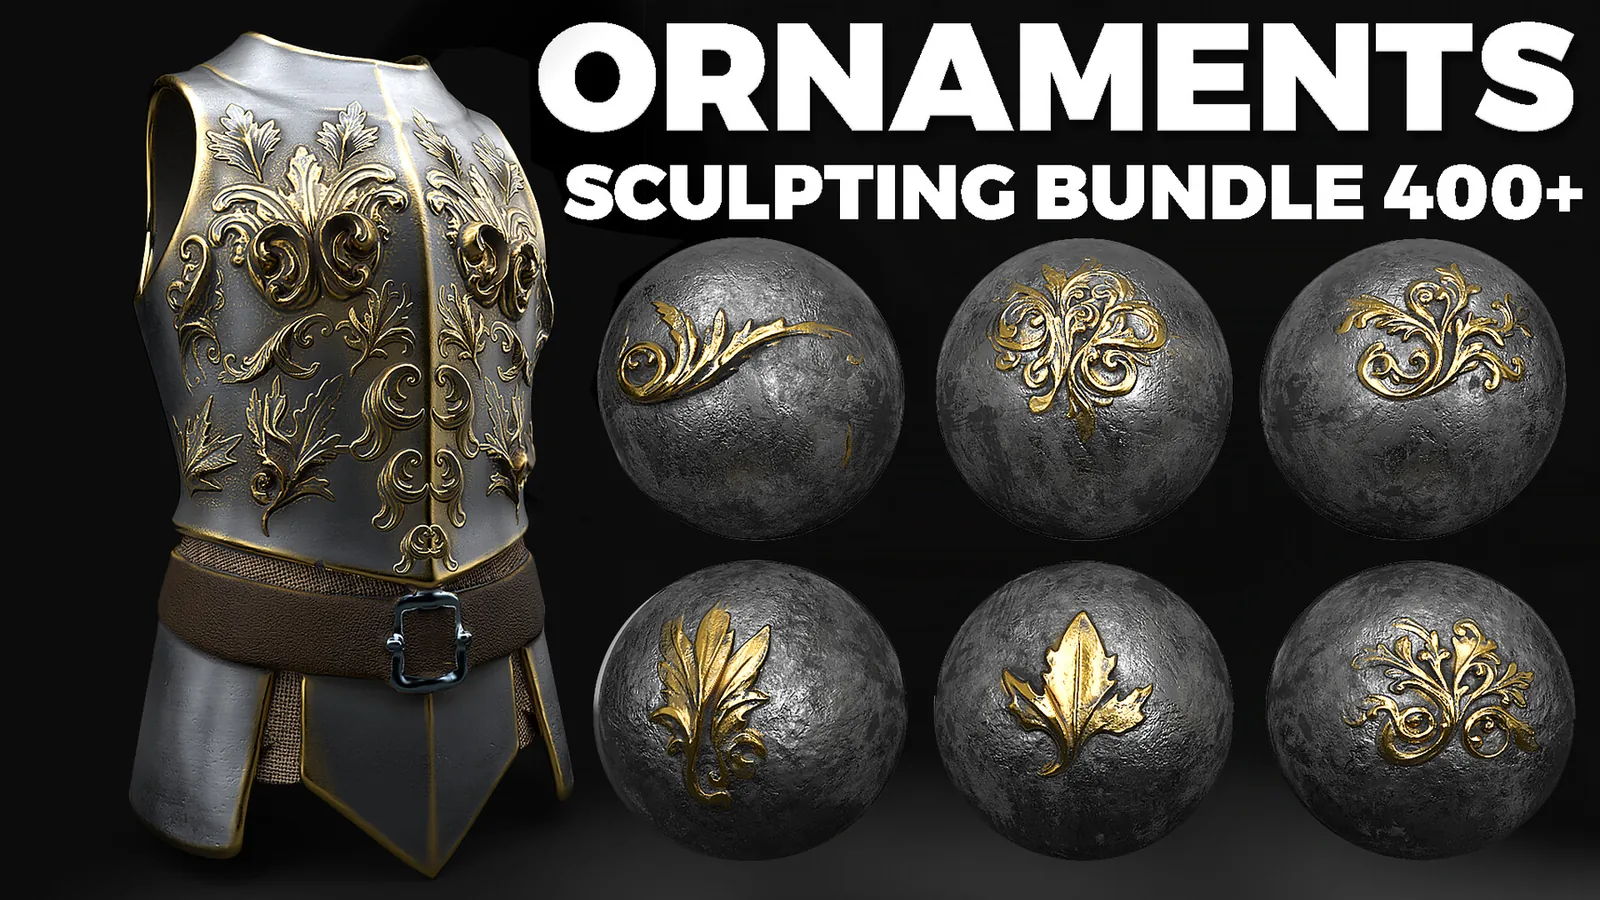
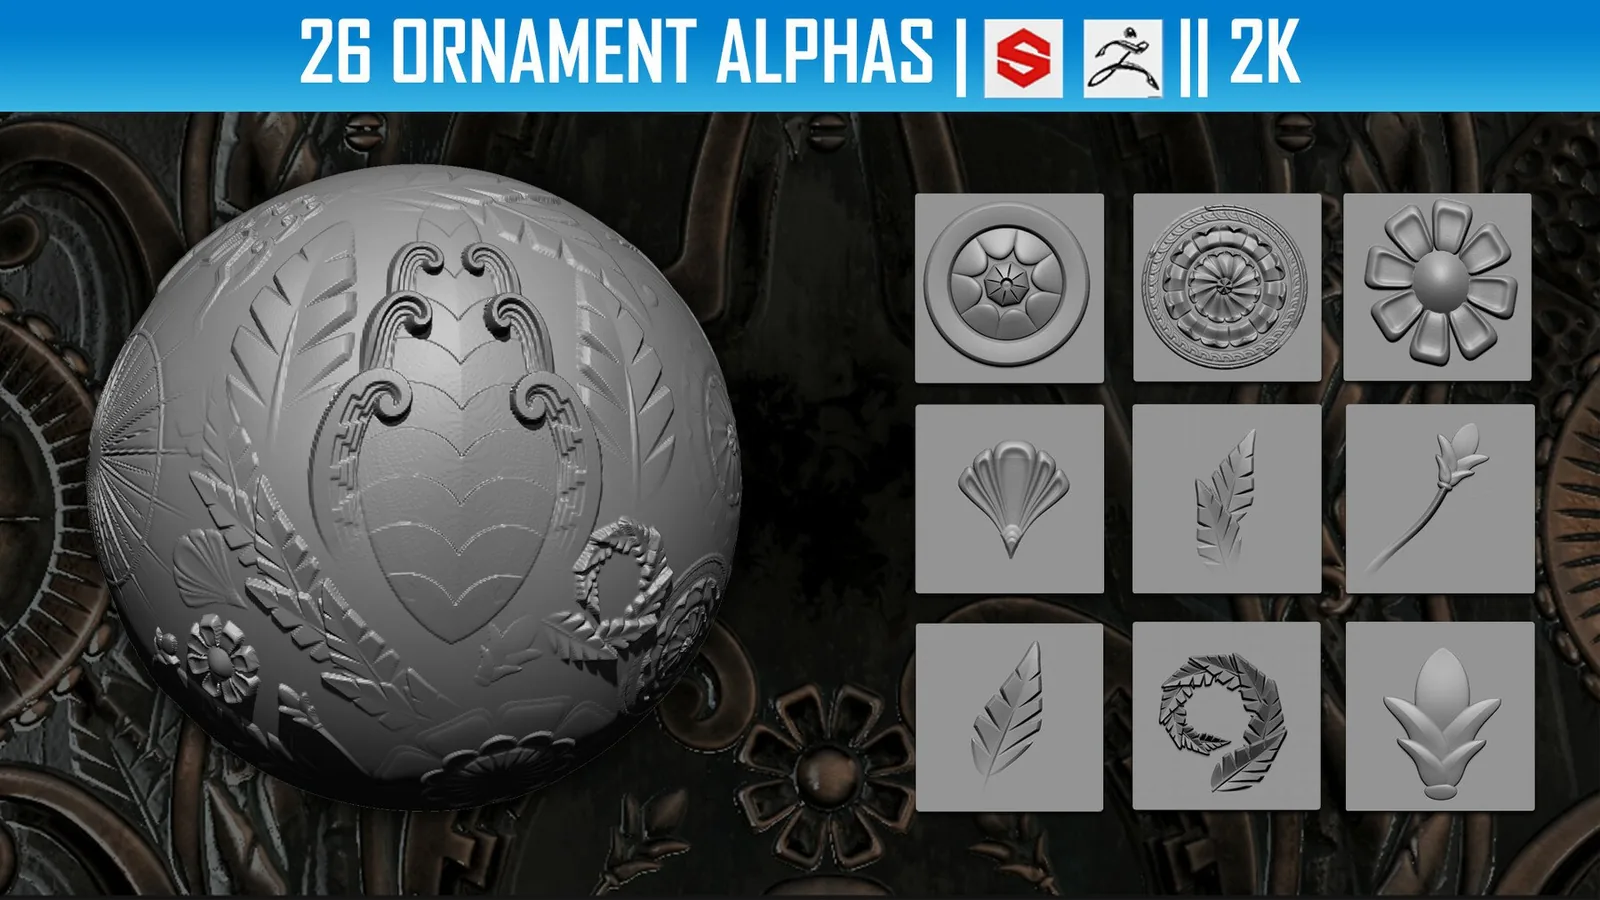
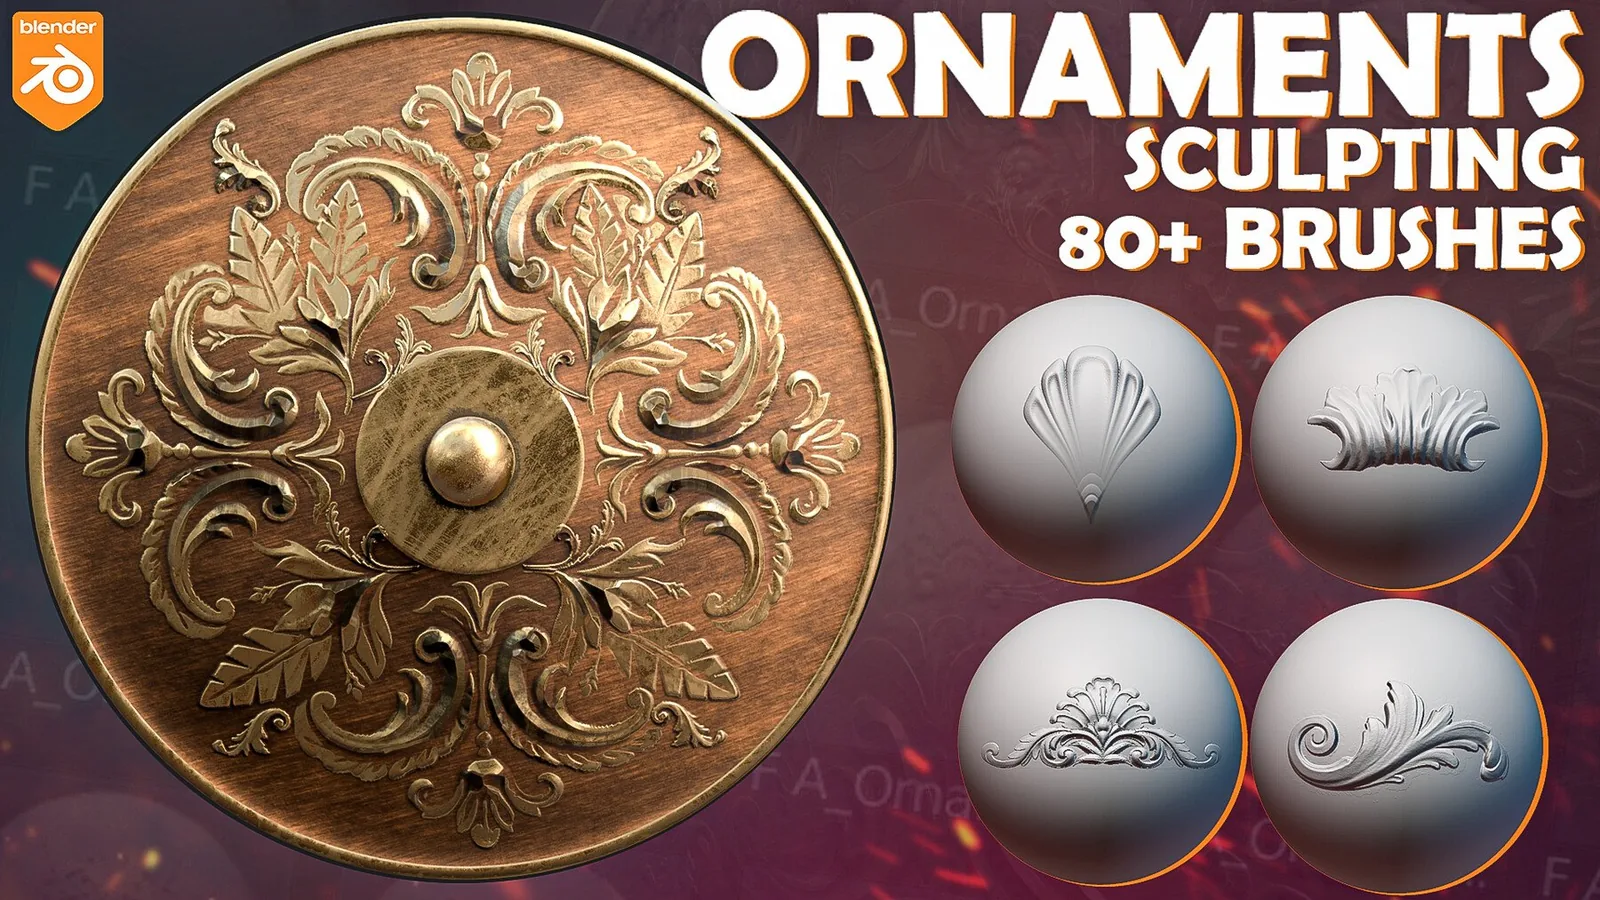
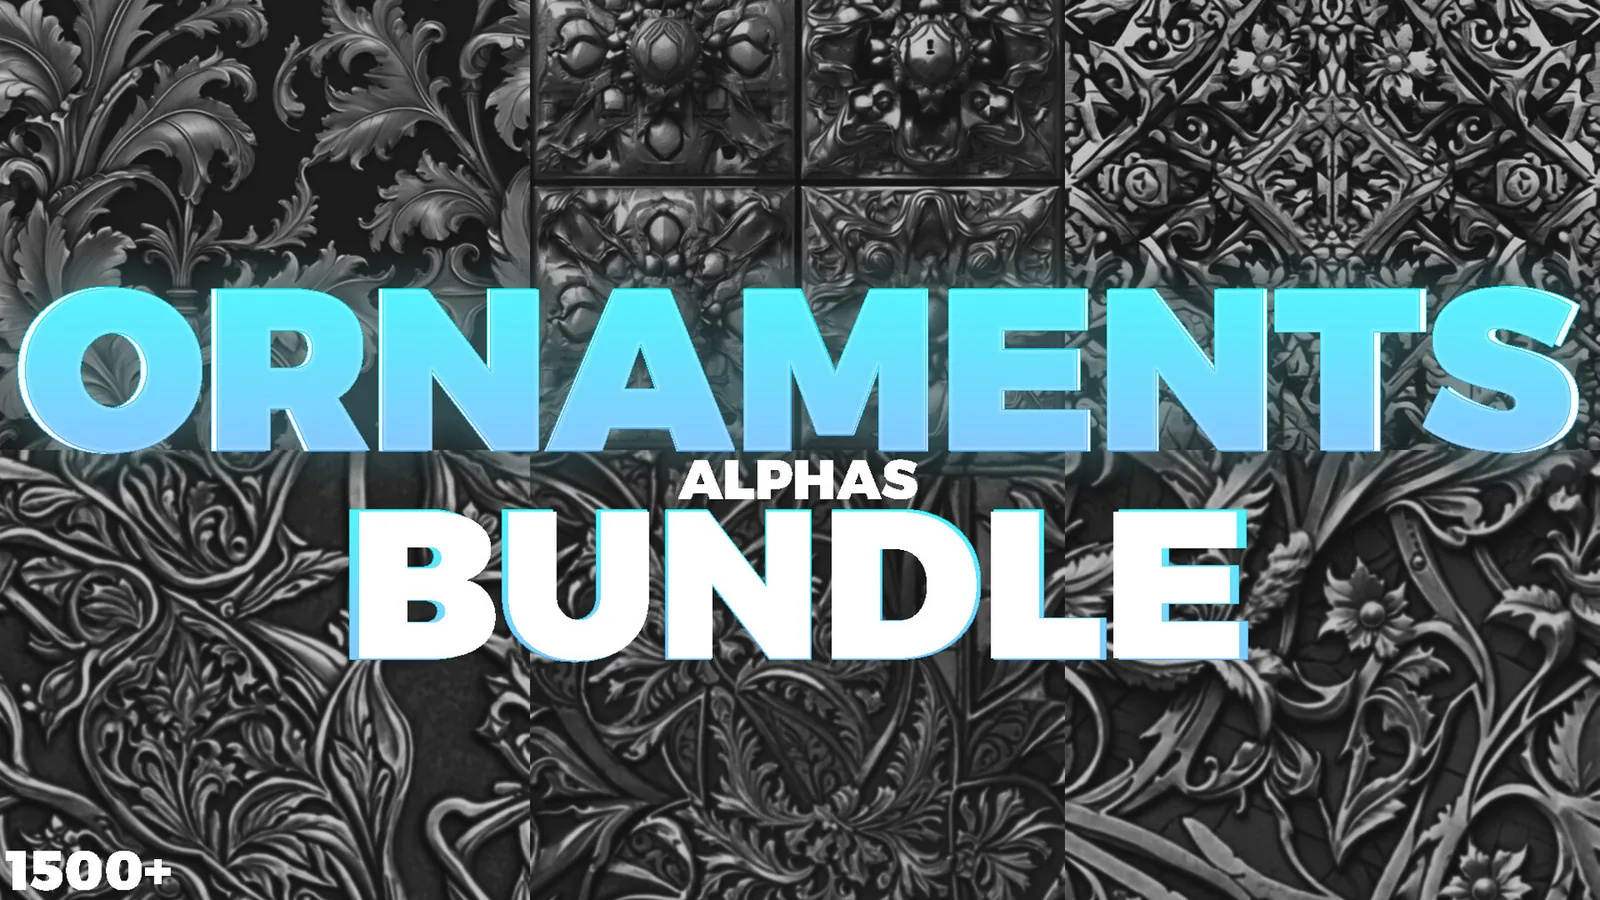
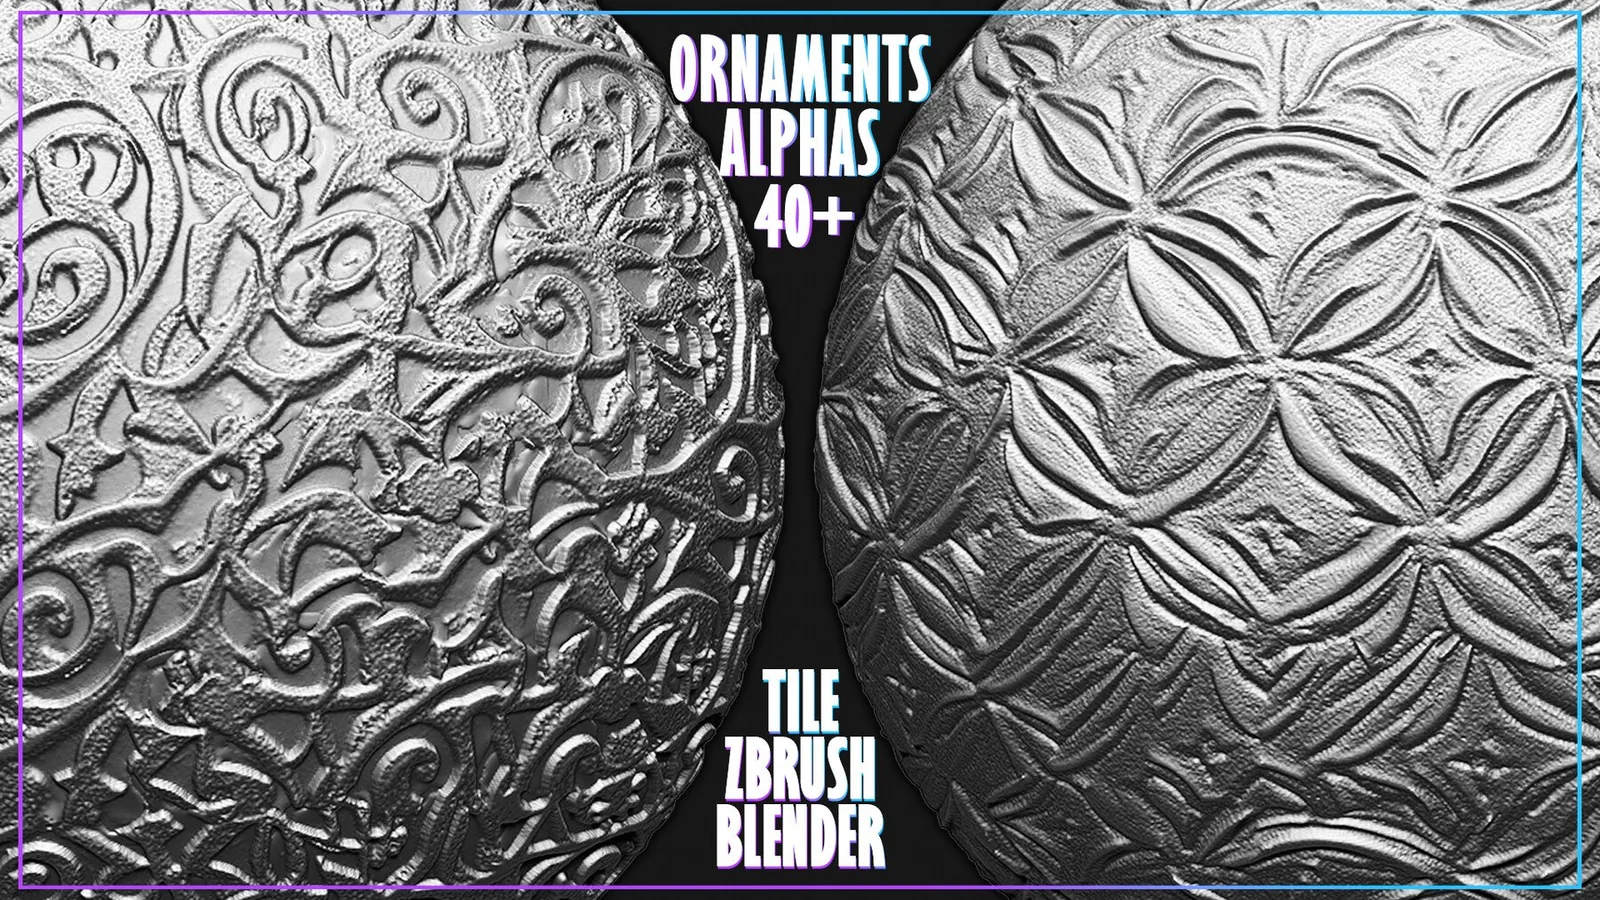
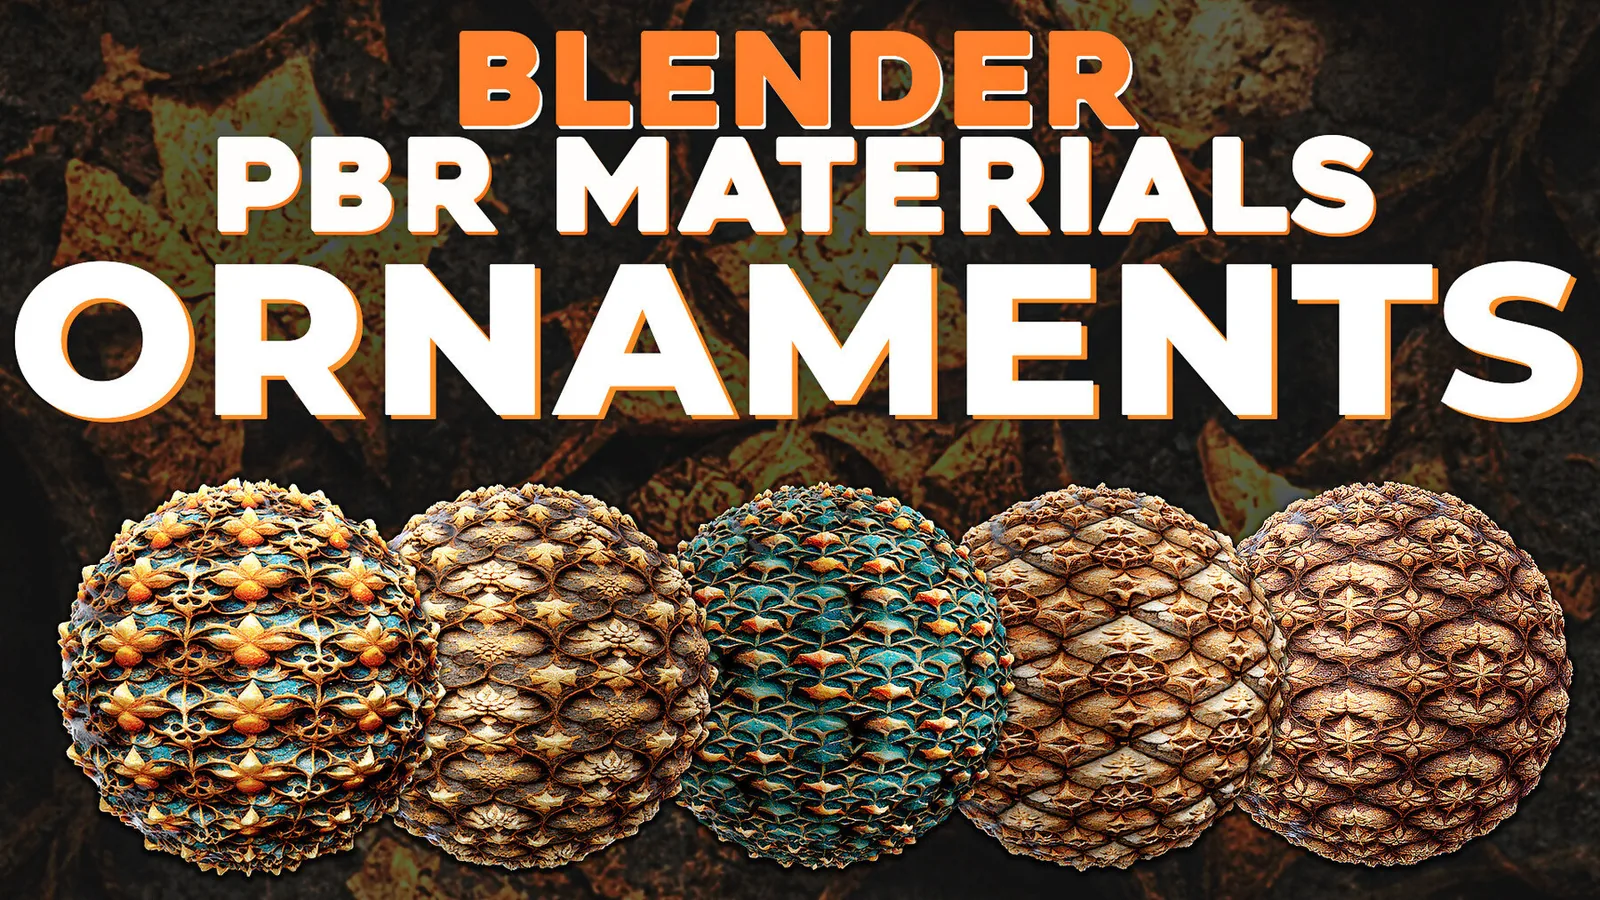
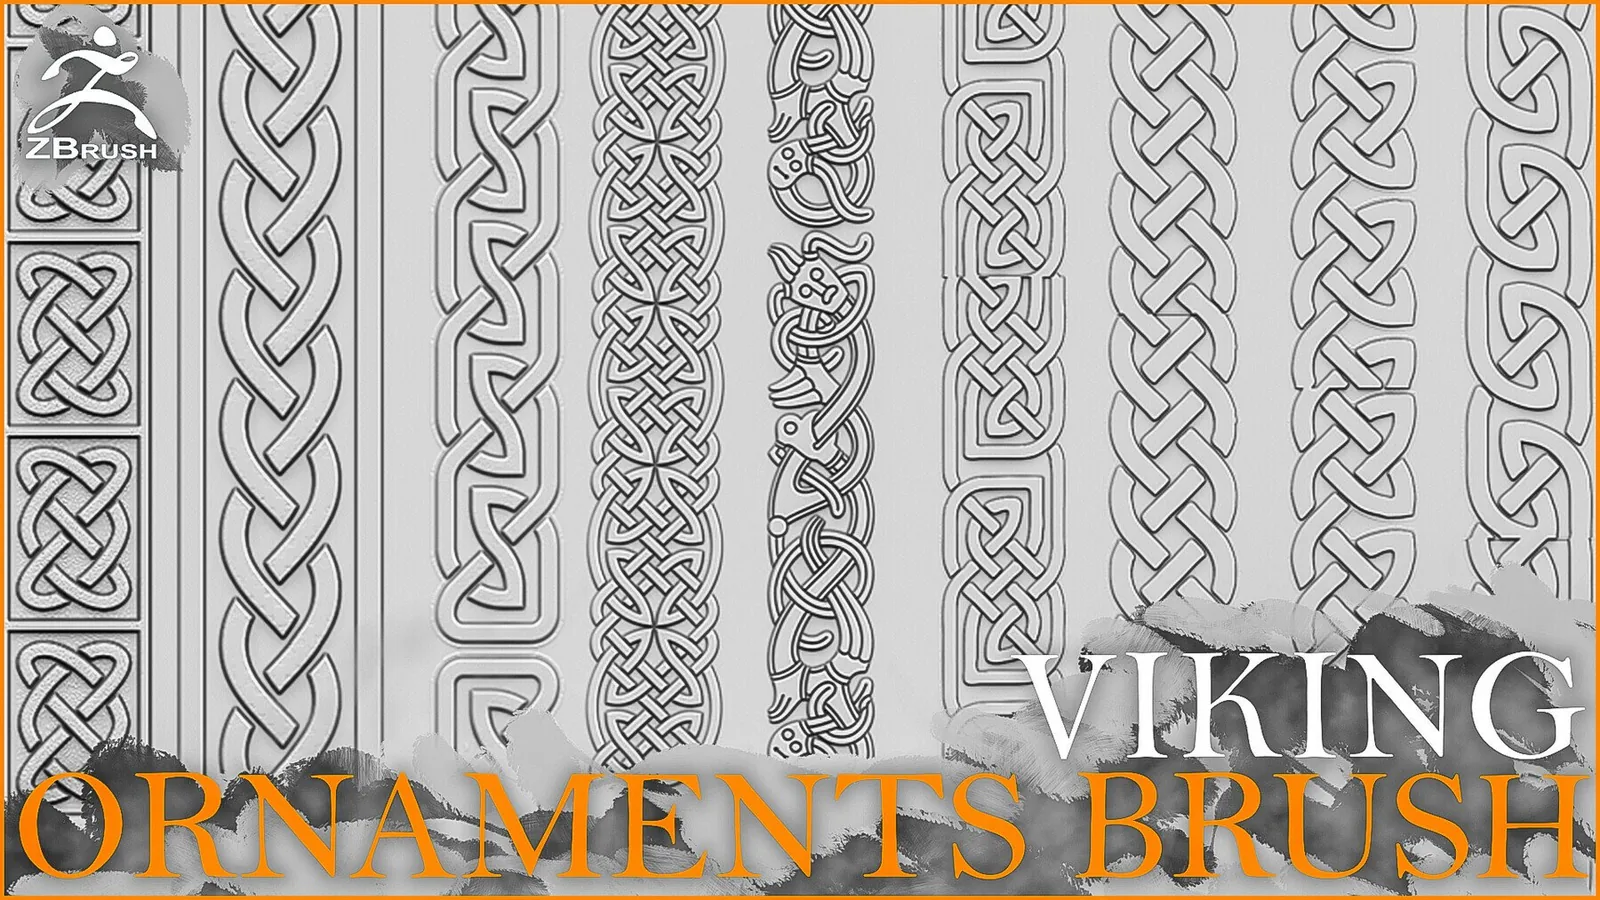
Ornament Sculpting Brushes
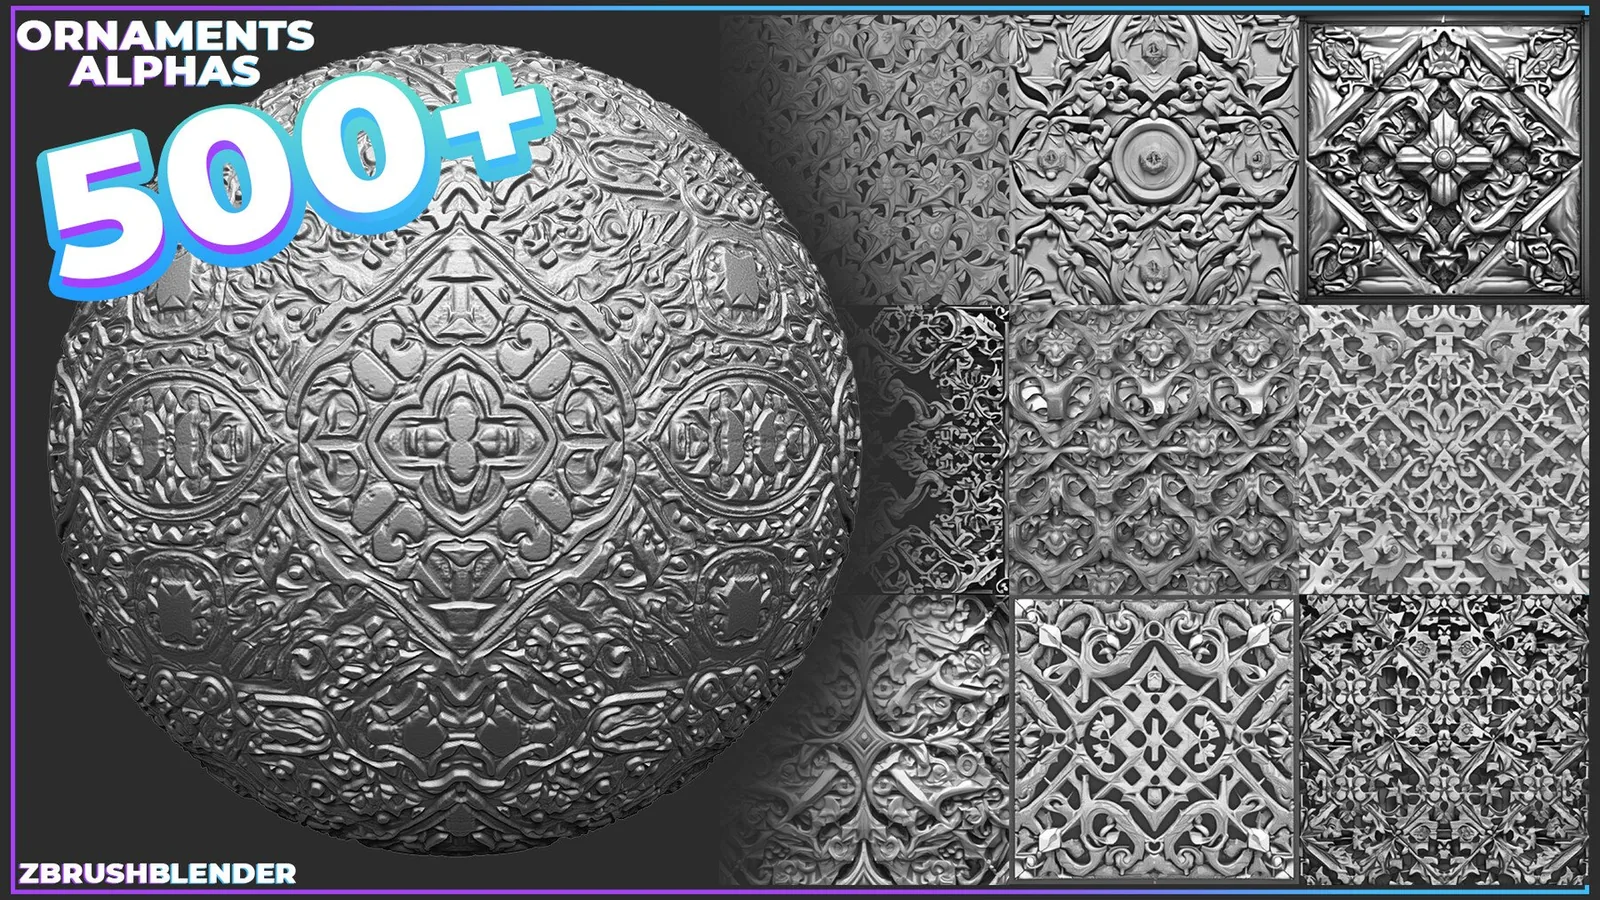
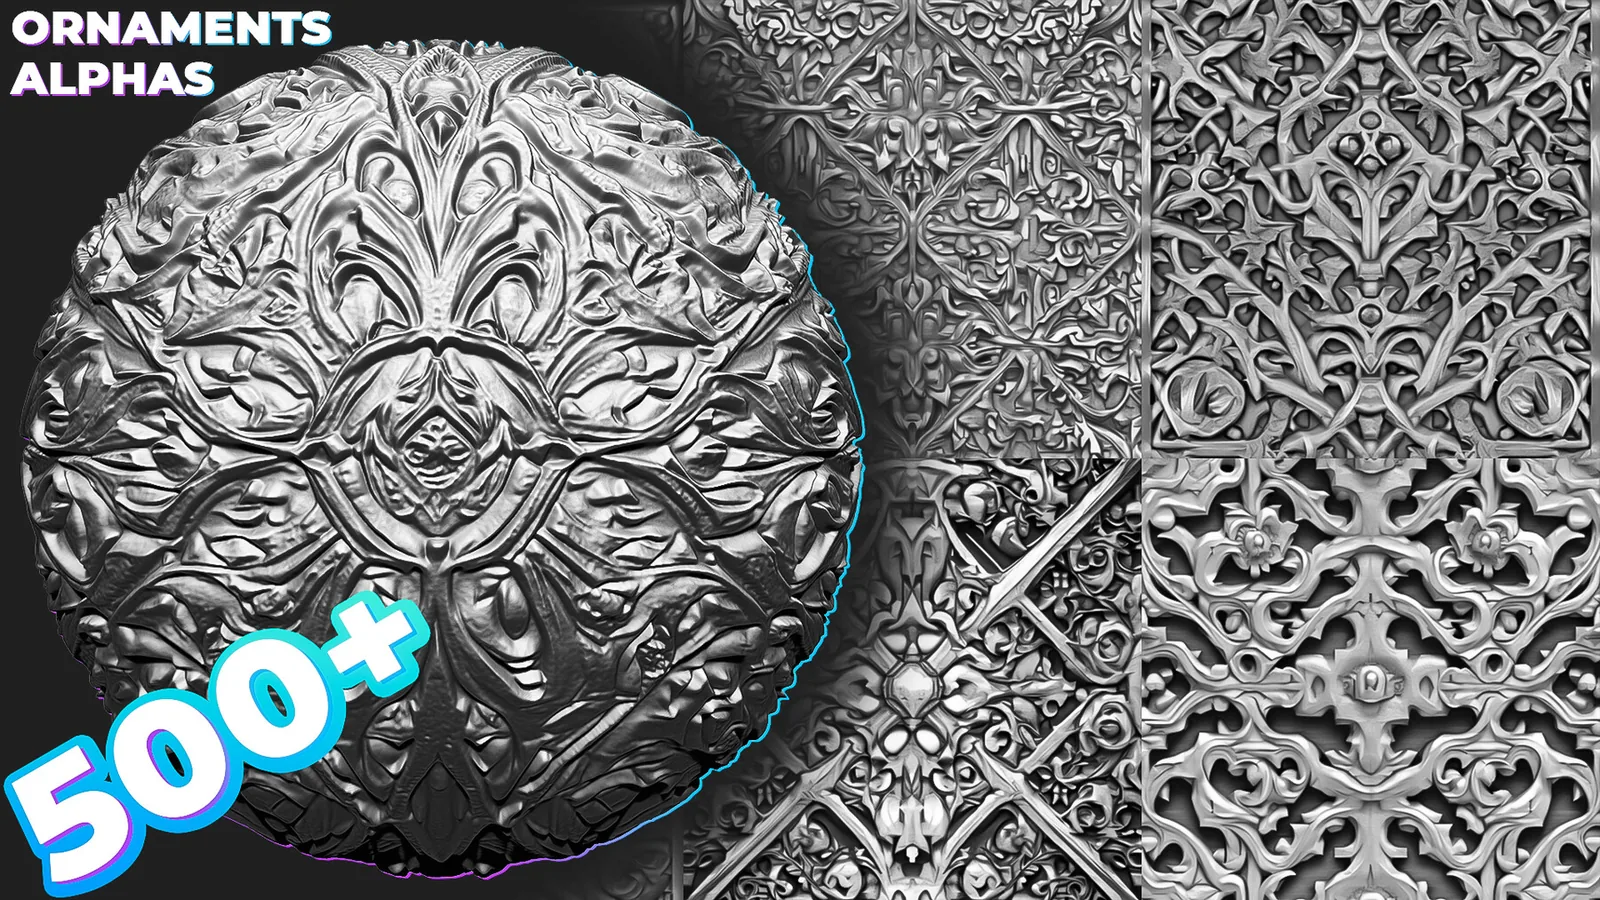
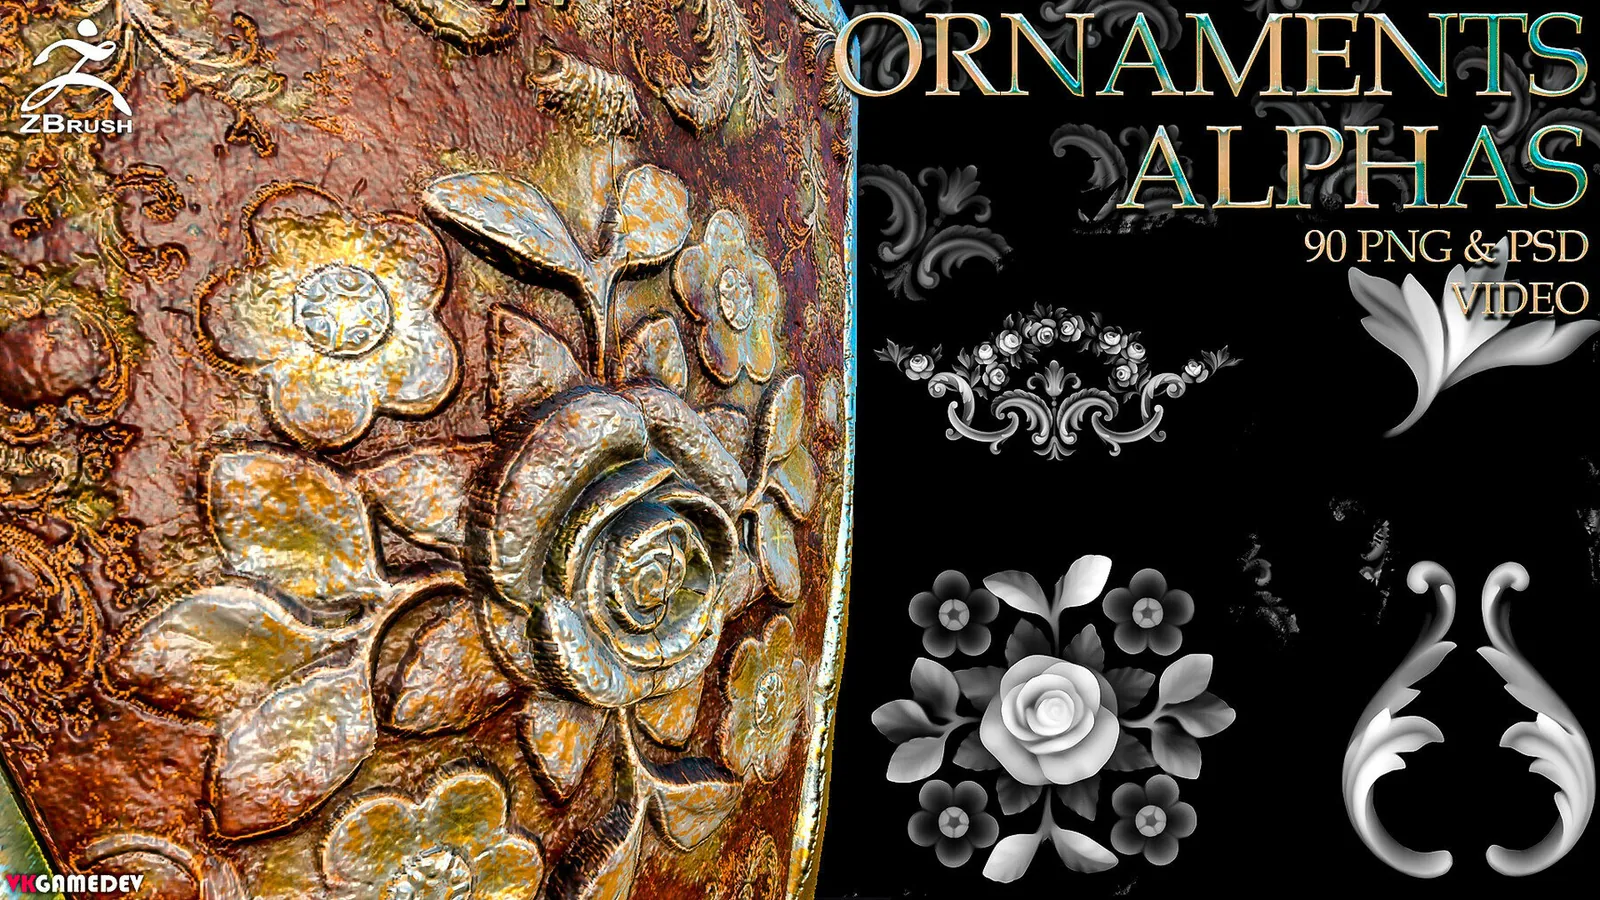
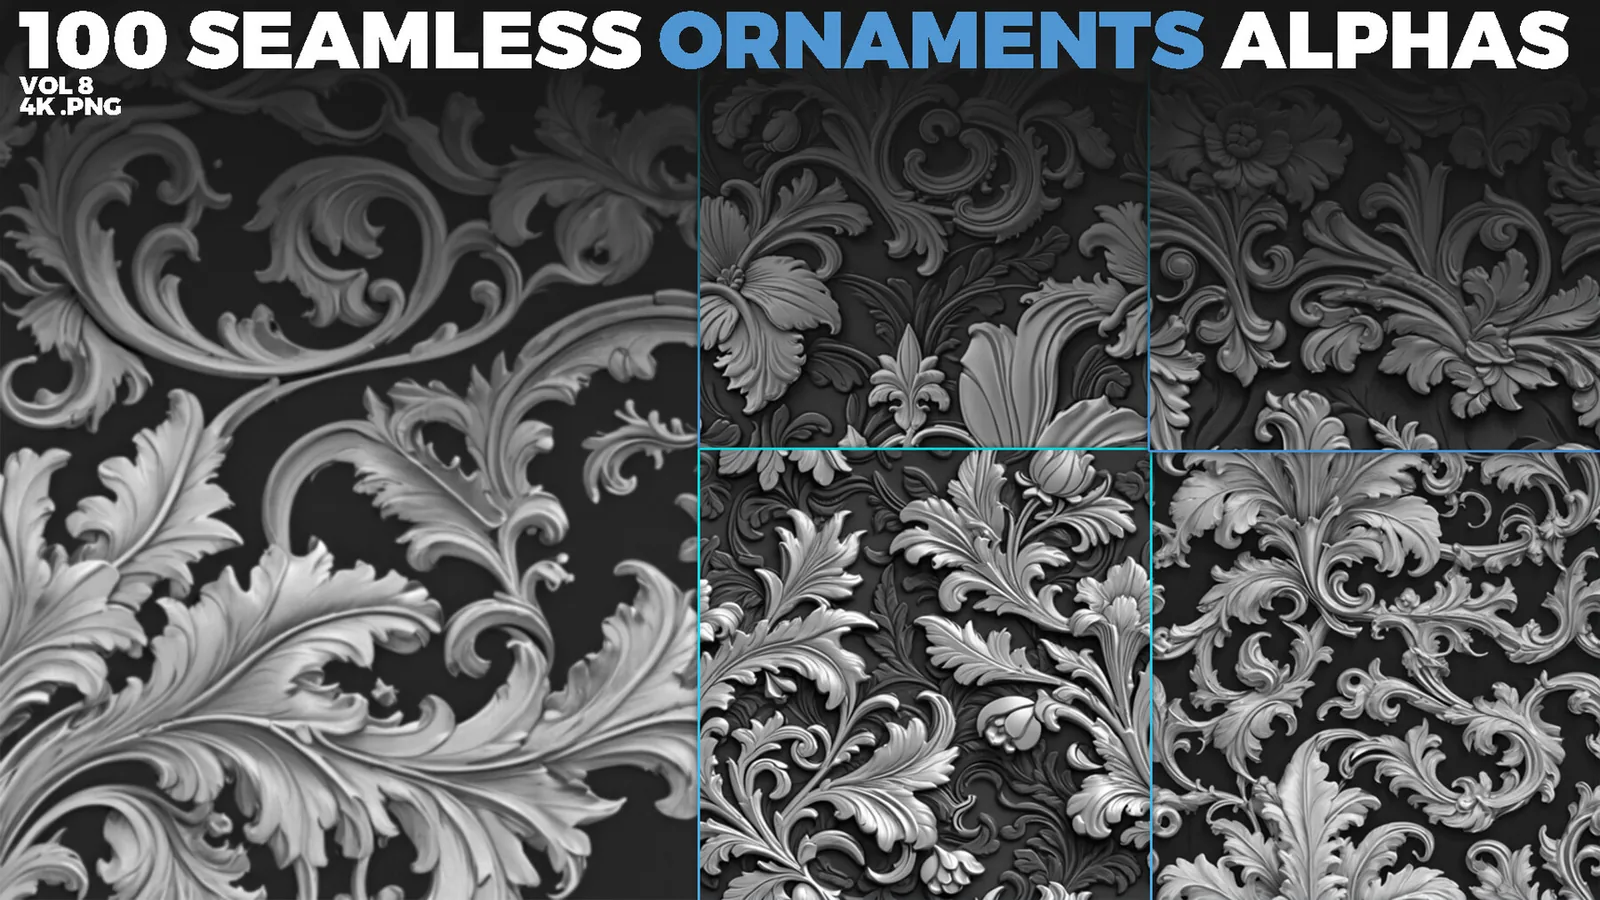
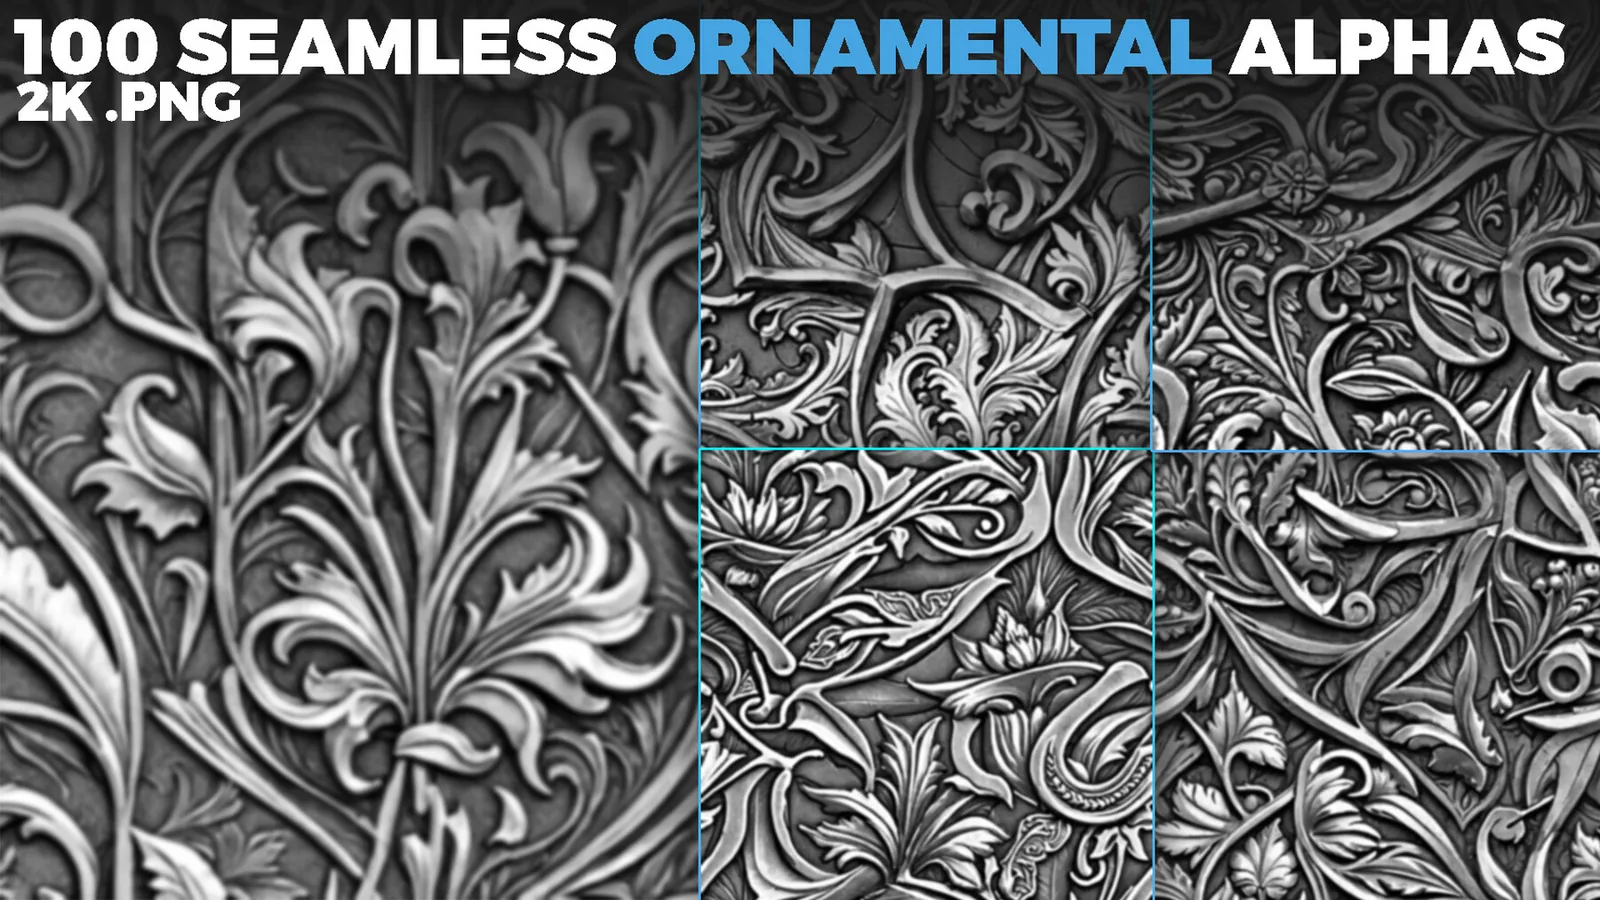
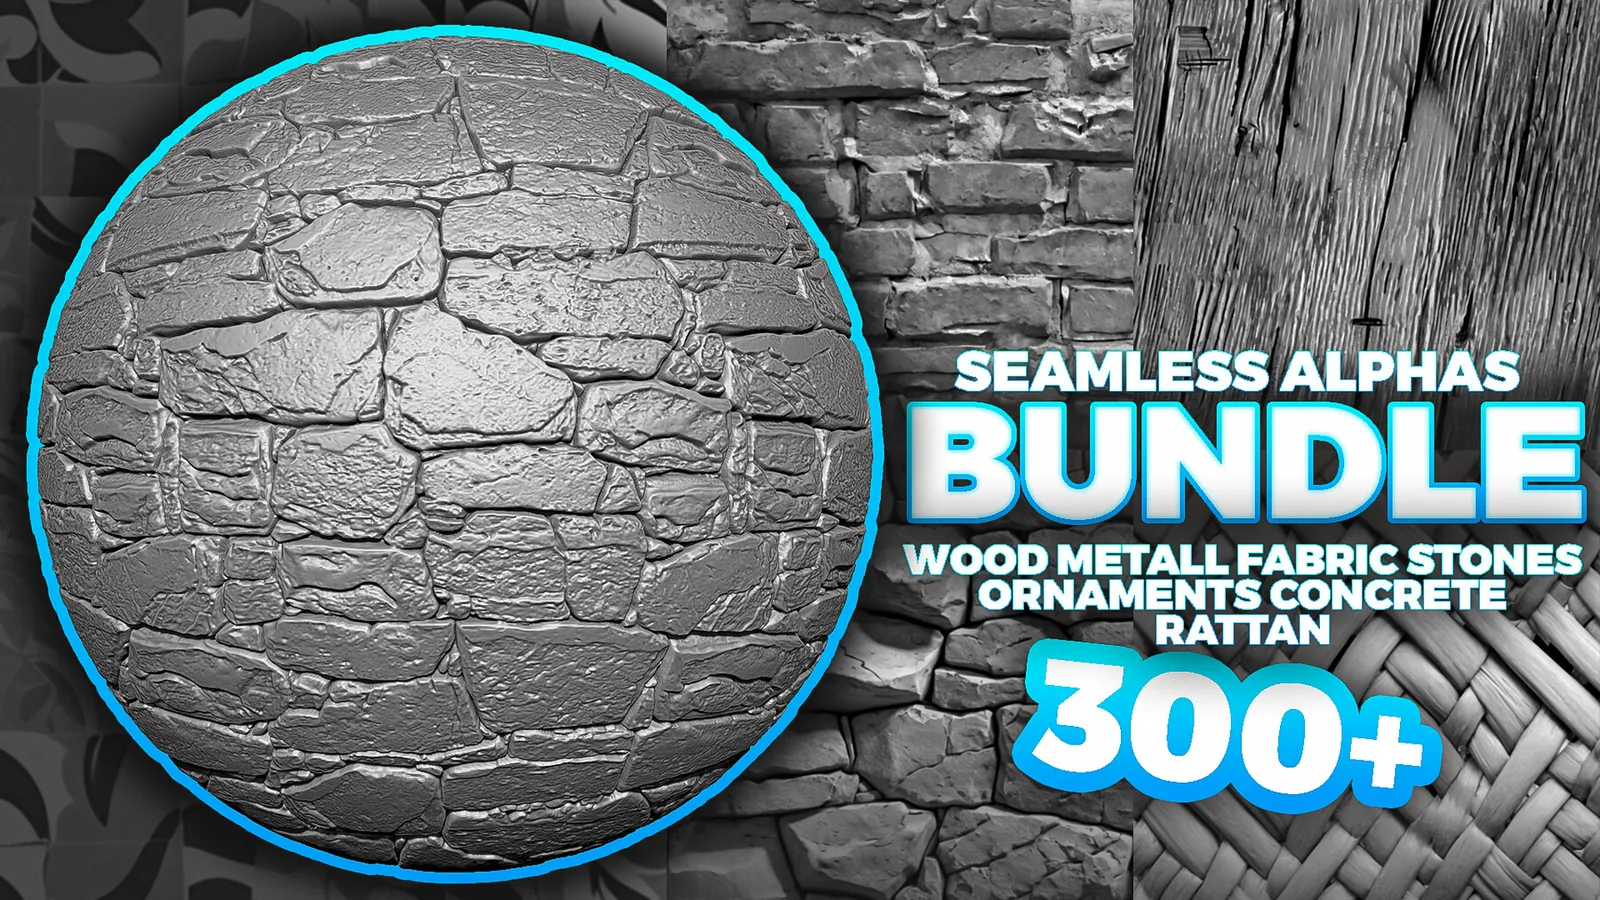
Ornament brushes add decorative trims, reliefs, filigree, and carved motifs. This category includes Blender and ZBrush packs with ornamental strokes, seamless trims, and carved alpha libraries for armor, props, architecture, and costumes.
Good ornament work needs clarity and controlled repetition. These sets group trim borders, floral motifs, scrollwork, and stitched edges so you can set rhythm first and add accents later.
Start with a simple blockout and a symmetry plan; use symmetry or radial symmetry for the first pass, then break it slightly for wear.
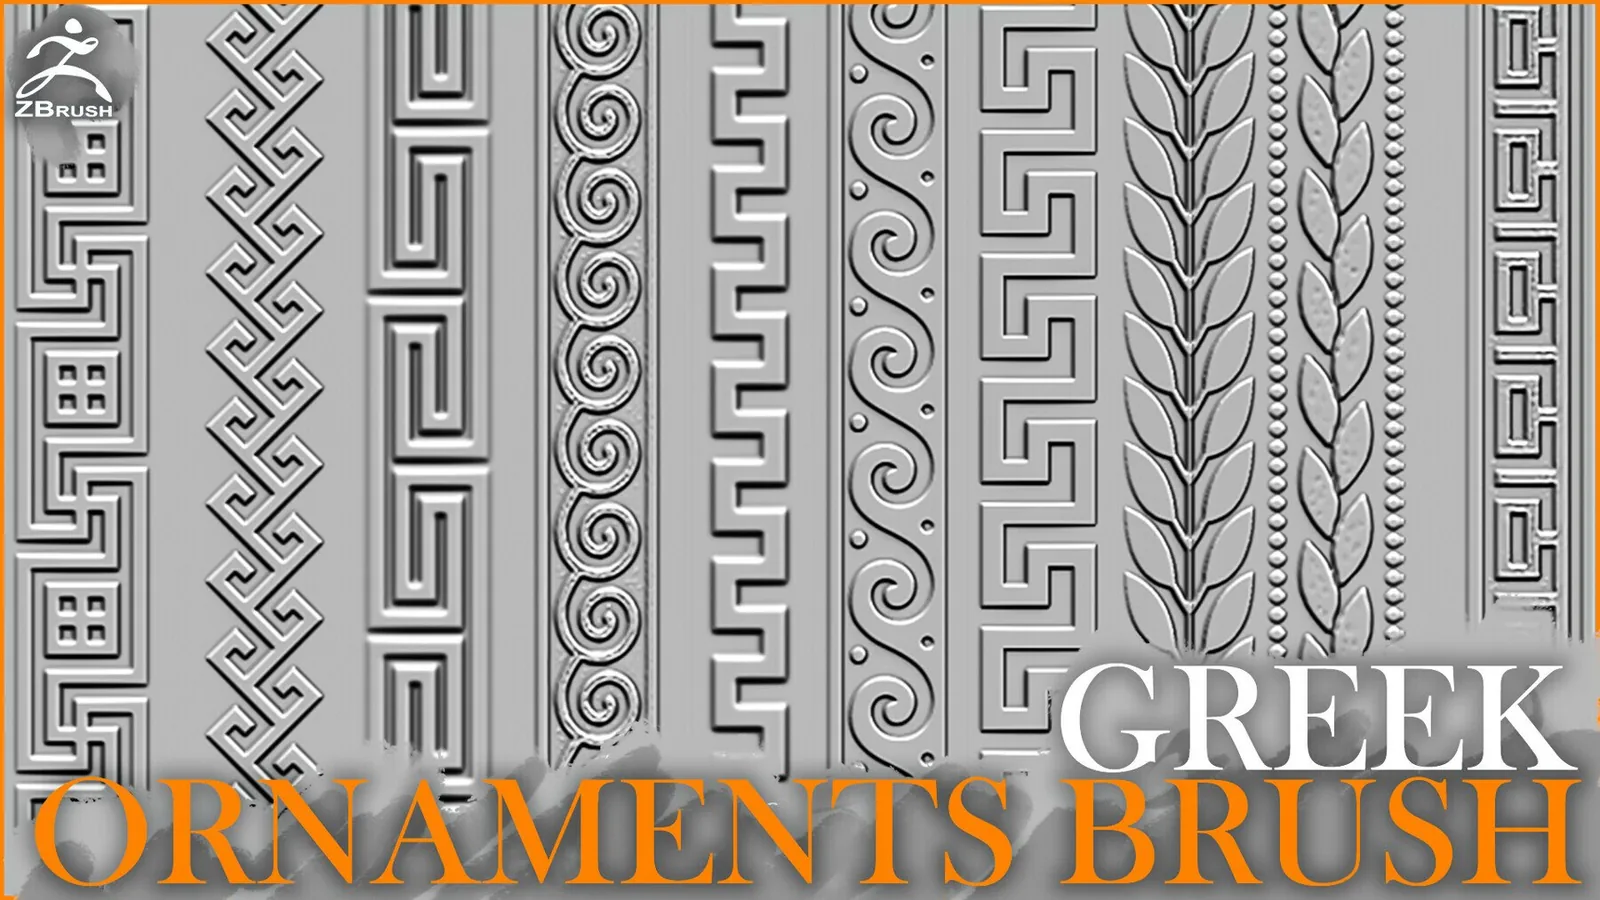
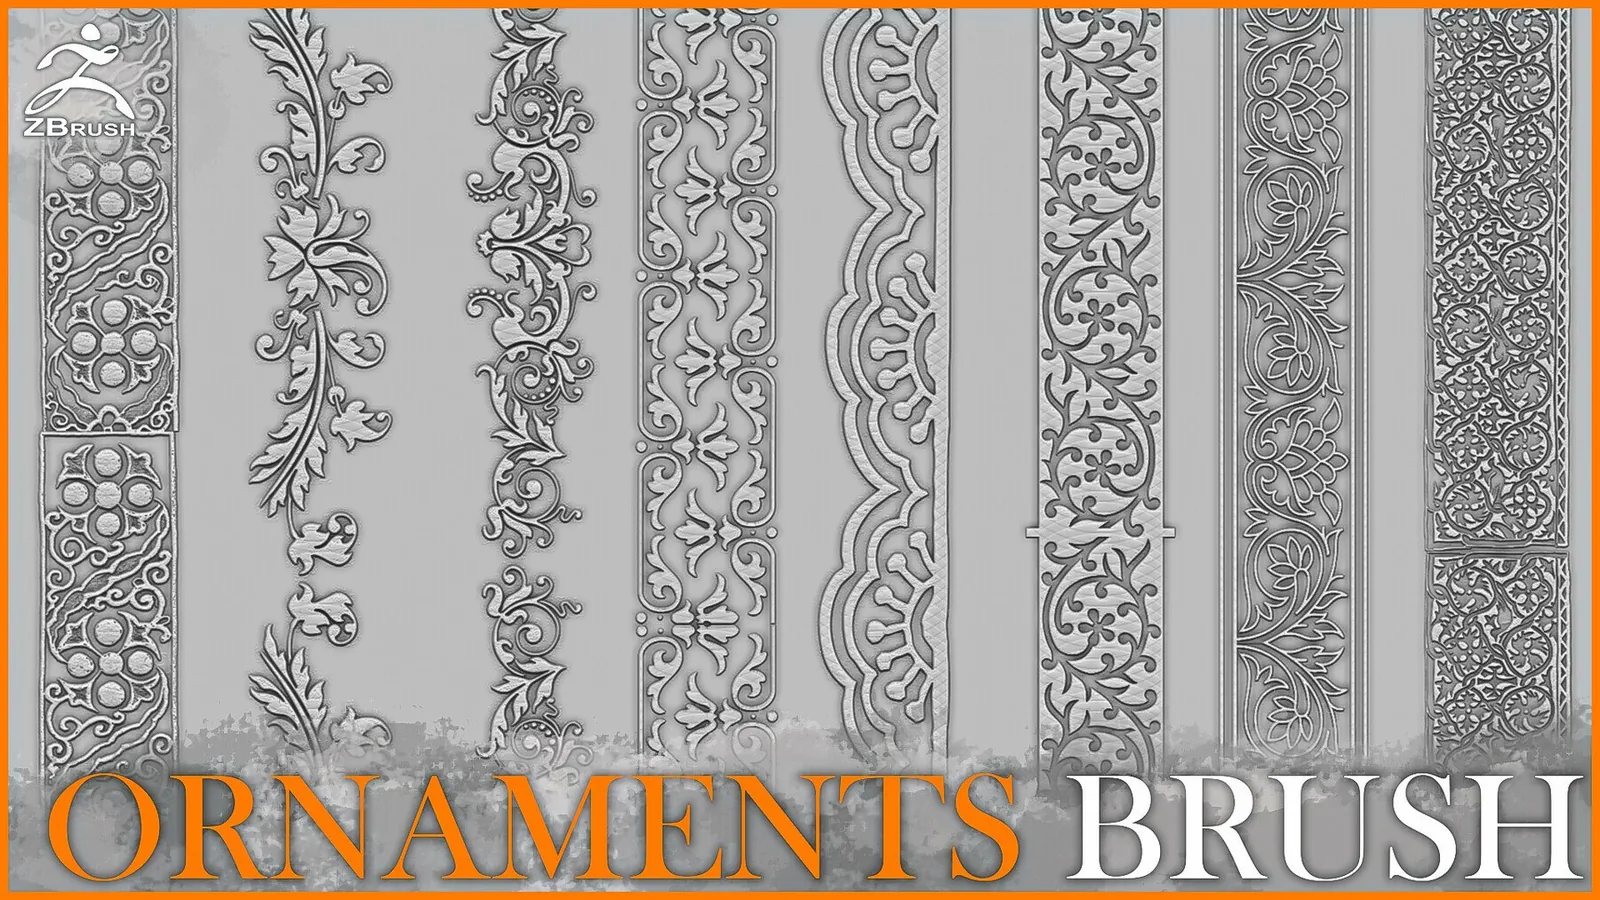
Use trim brushes for borders on armor, belts, or architecture; keep radius consistent and add corner accents sparingly.
Rotate alphas to follow surface flow, especially on cylinders like columns or helmets.
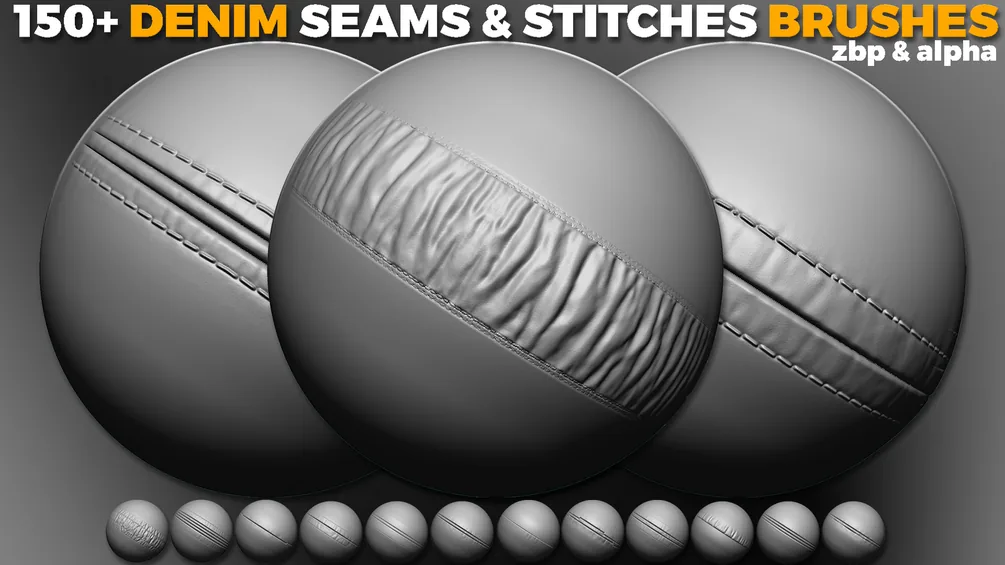
Add stitches and seams as a secondary layer for fabric or leather trims.
In Blender, separate packs by motif in the Asset Browser; in ZBrush, build a custom palette for fast access.
Keep ornament depth lower than major hard-surface edges so primary forms stay strong.
When baking, thicken thin lines or raise texel density to avoid aliasing on fine motifs.
Mask ornament areas before stamping to keep relief clean, and sharpen edges only where needed.
Stylized ornaments use bold shapes; realistic ornaments use subtle depth and wear.
Use the best sets and examples below to build a consistent ornament language.
Best sets
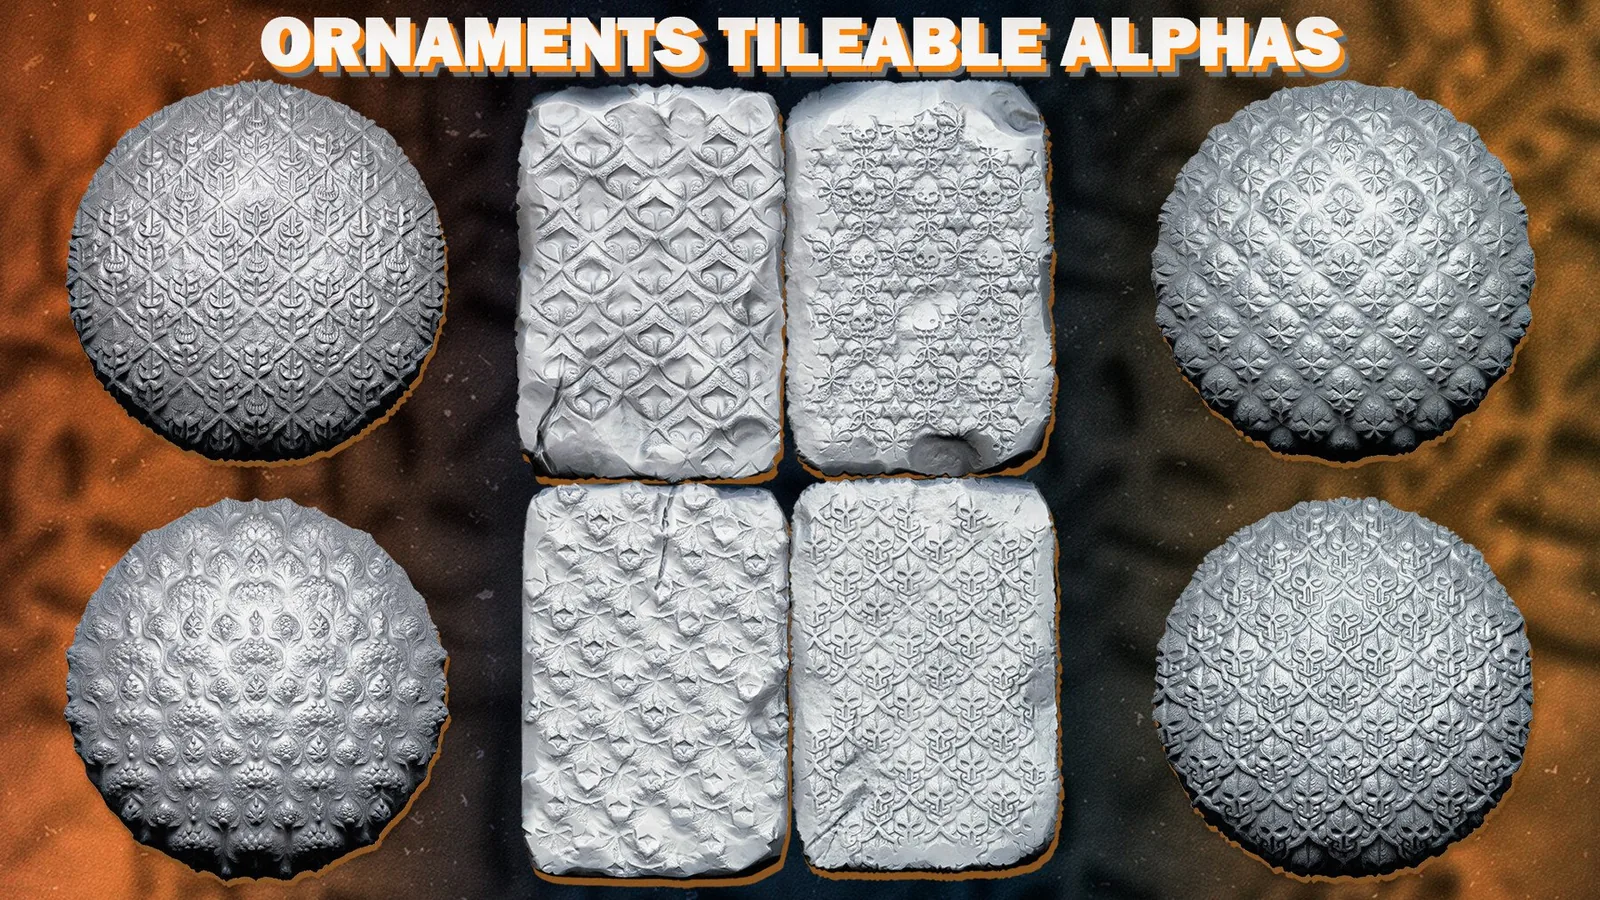
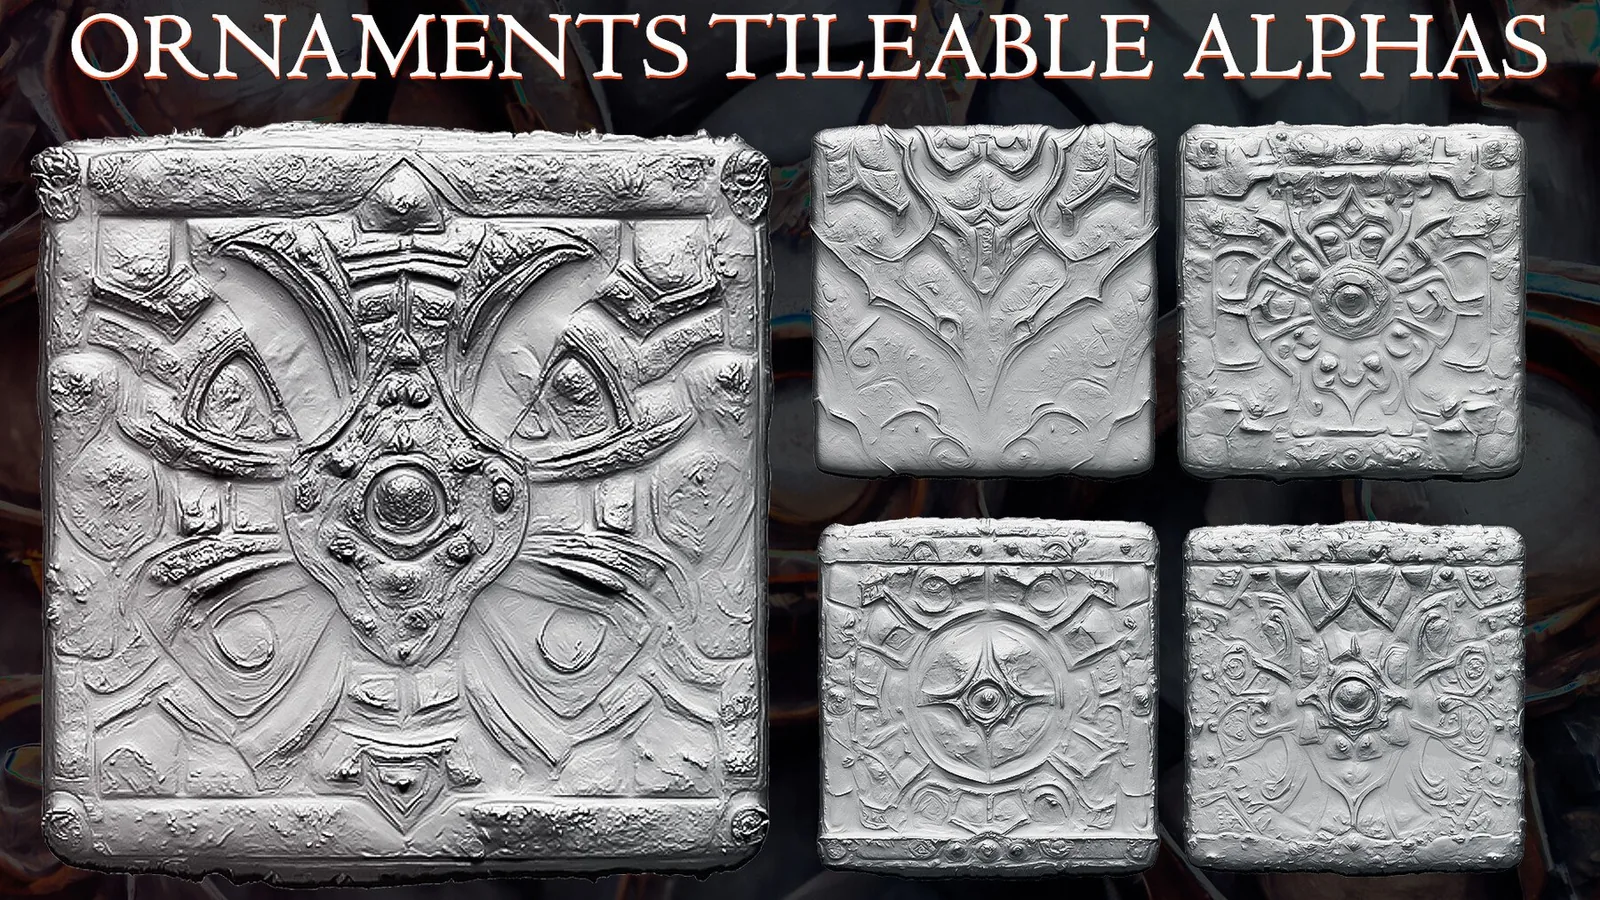
These packs are the strongest fits for ornament work. Each set is organized for fast browsing and includes previews so you can judge pattern clarity before committing.
All products
Full catalog of products currently listed in this category.


Examples
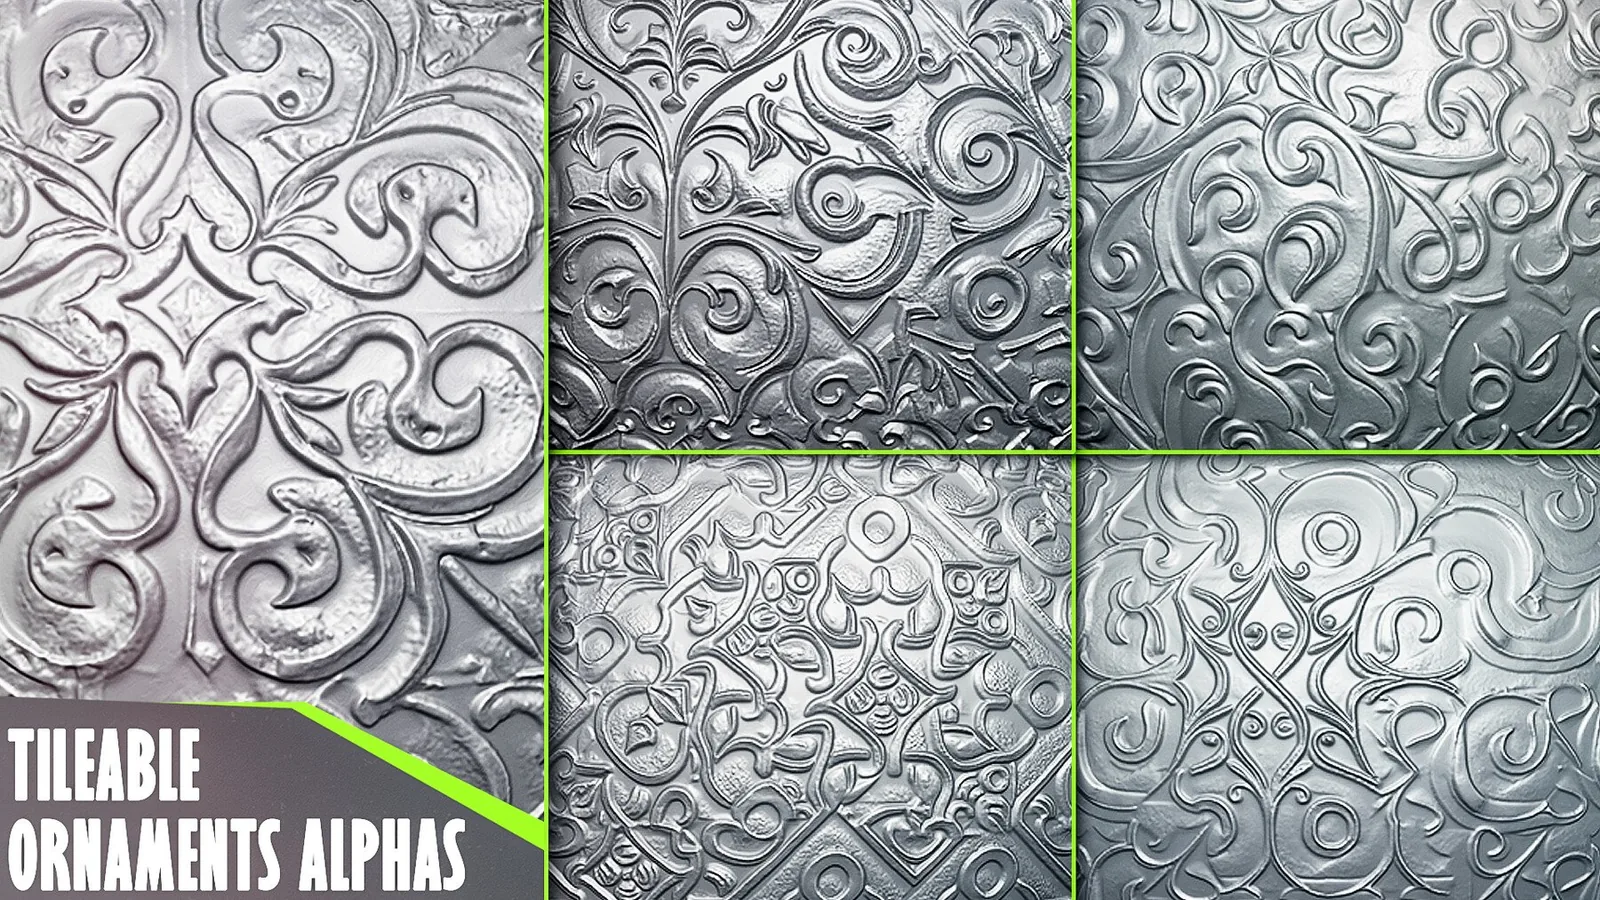
Real product previews showing how trim brushes and ornament stamps read on different surfaces.