Category
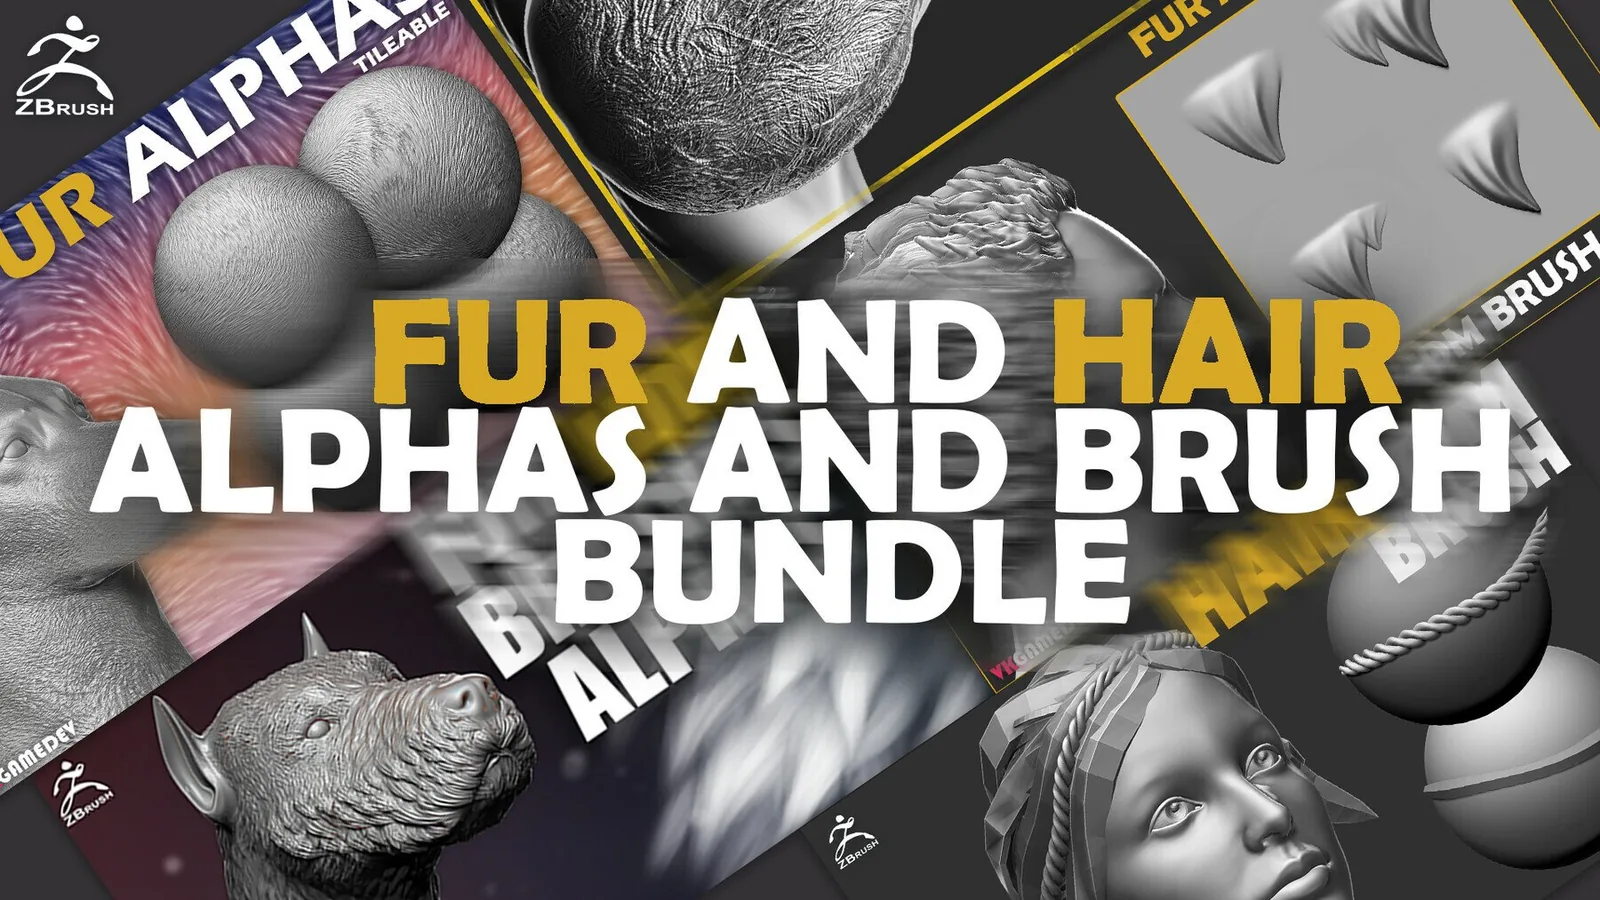
Fur and Hair Brushes
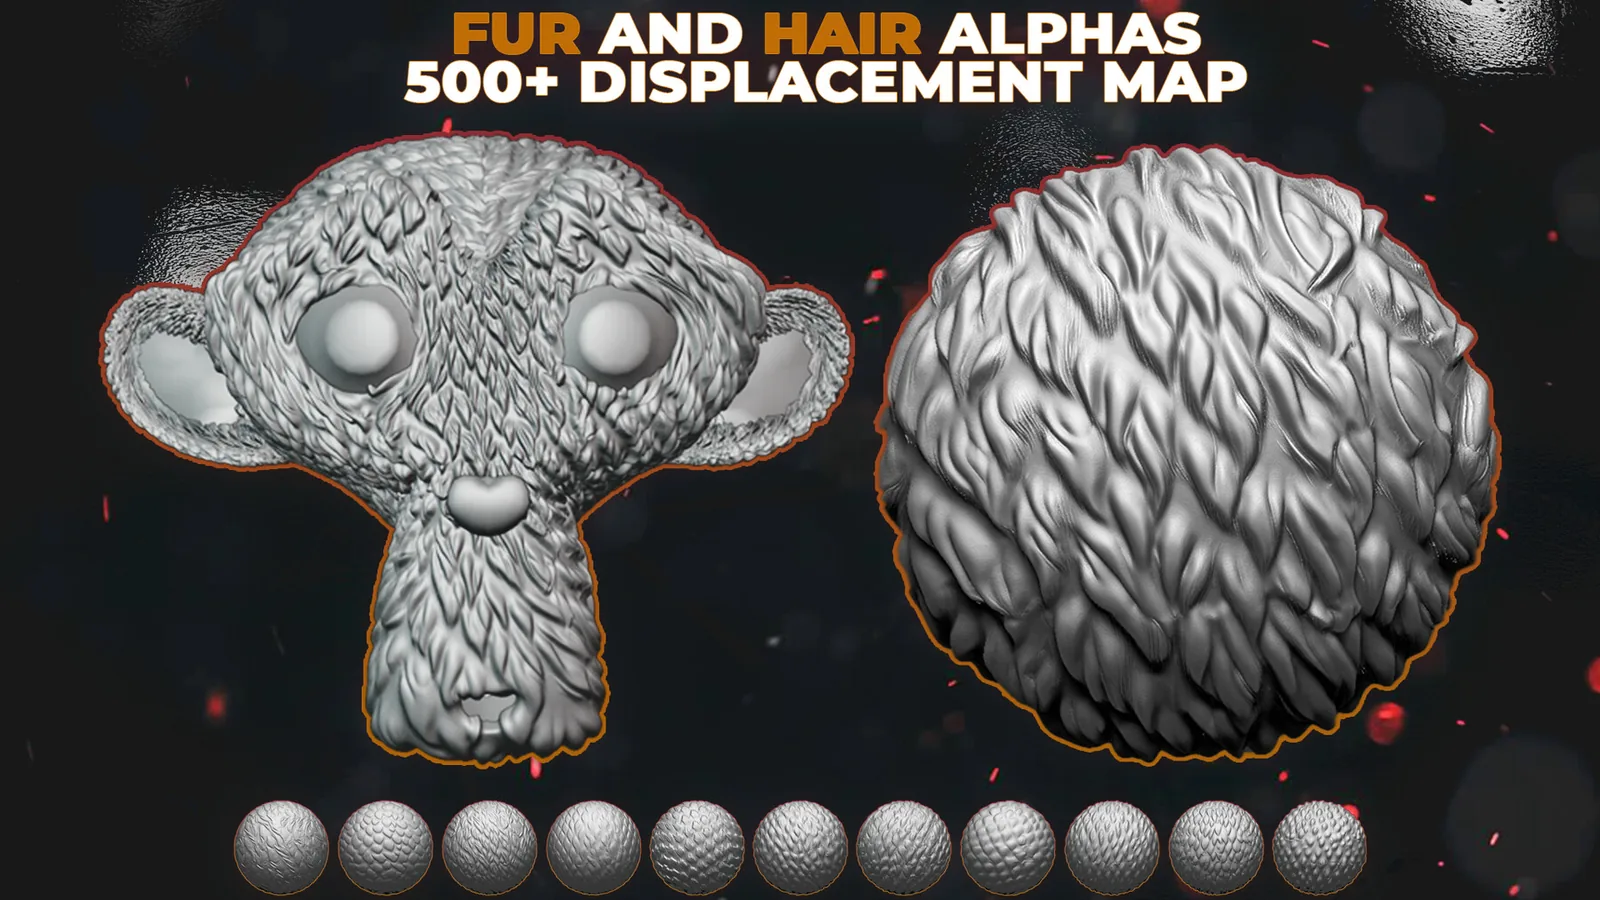
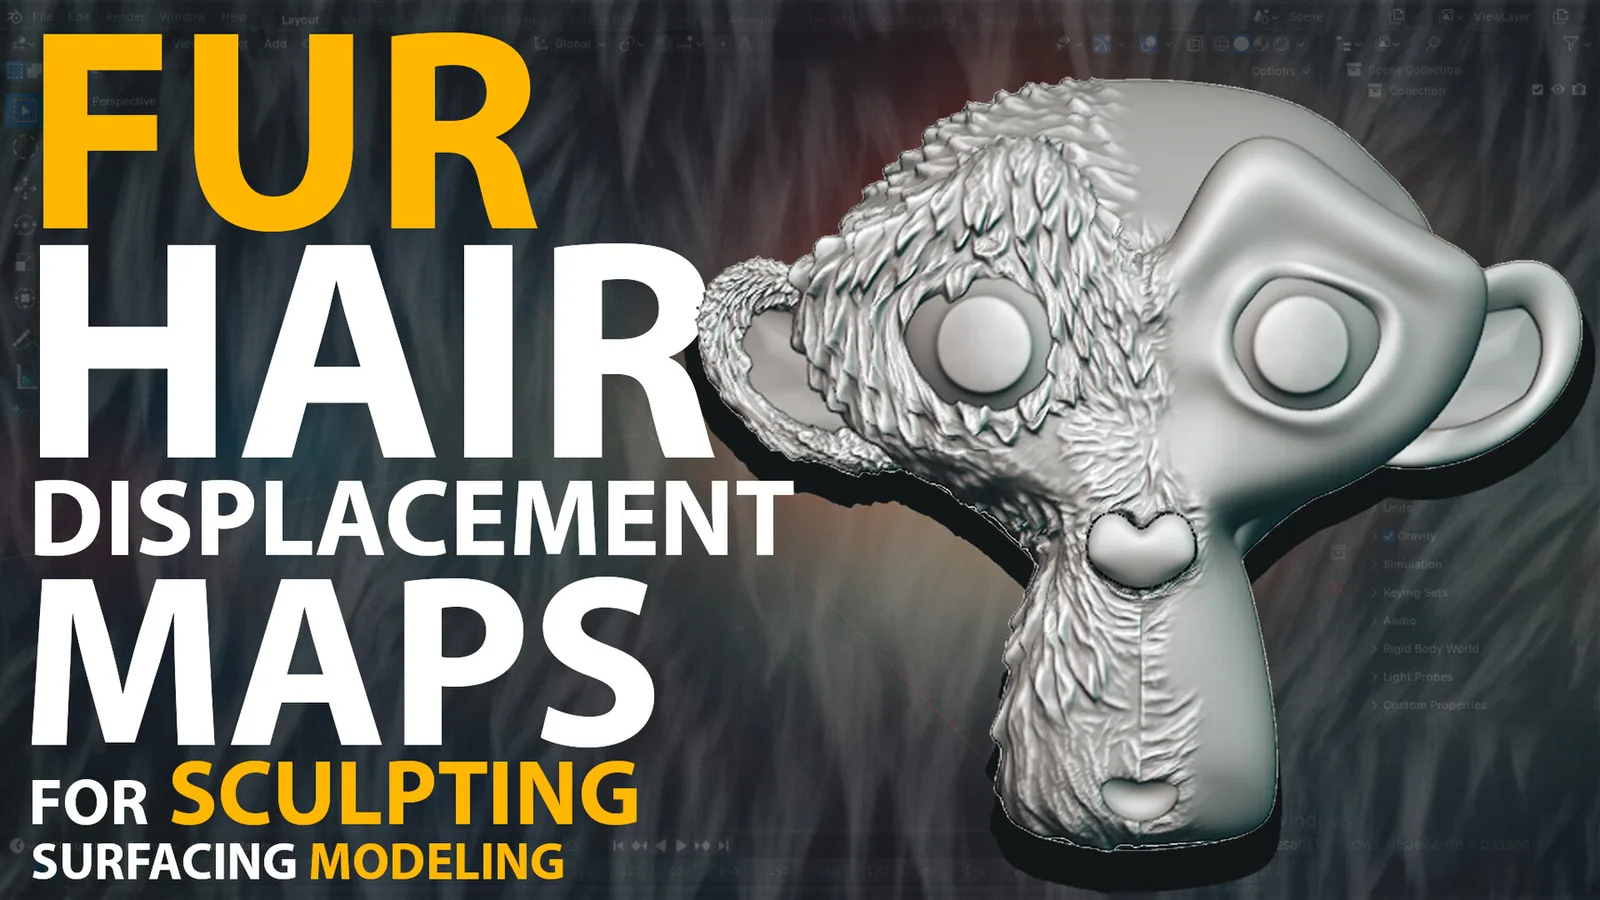
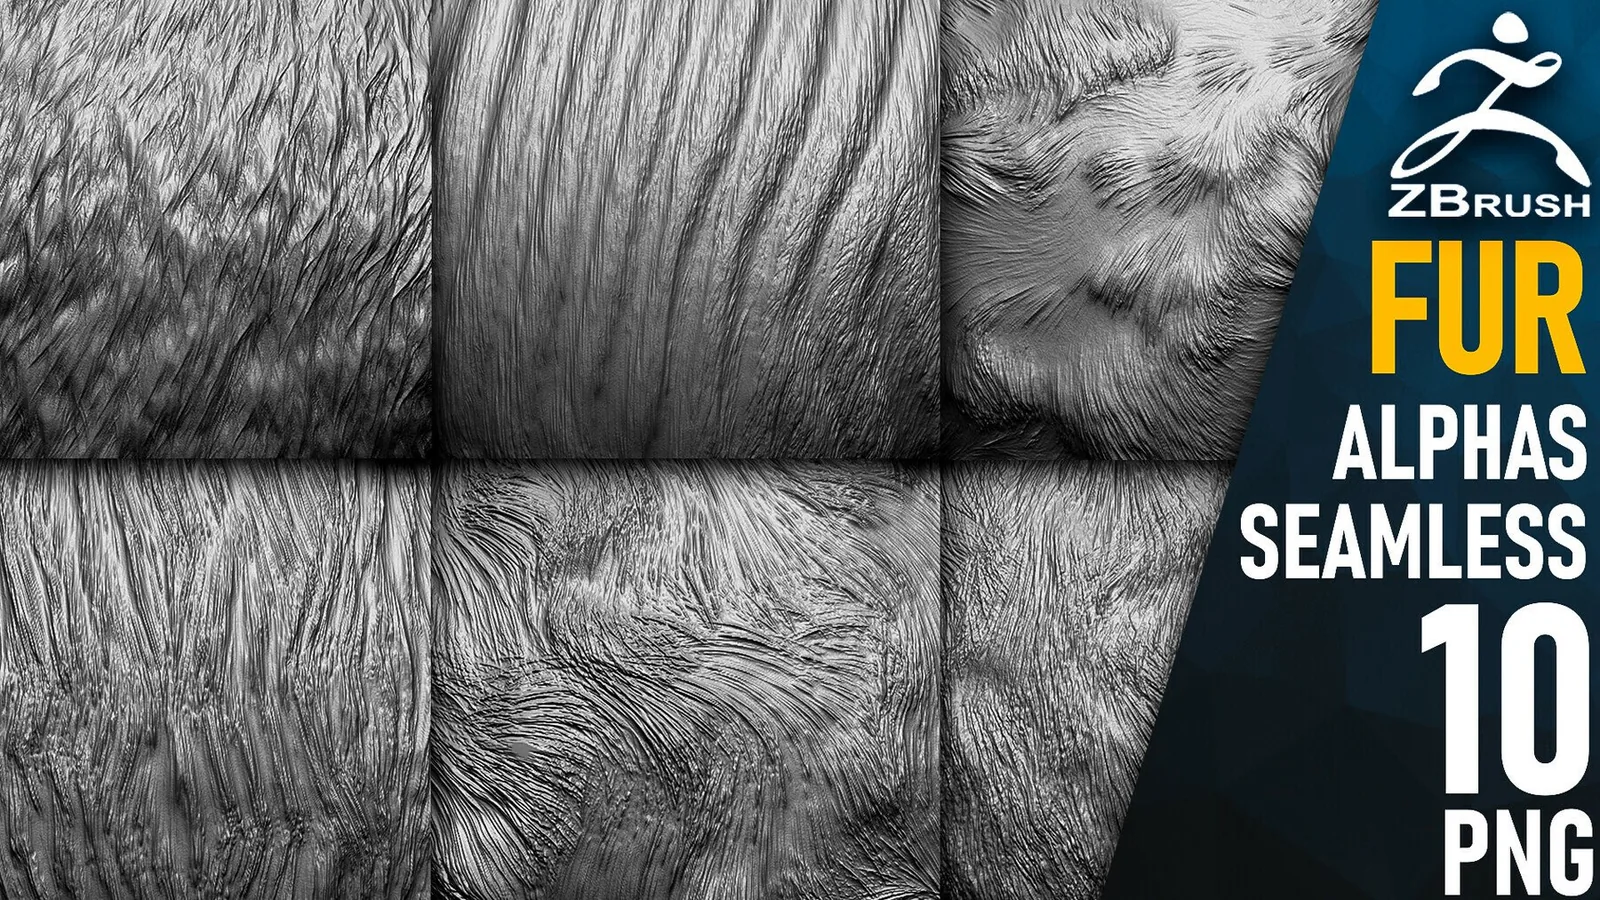
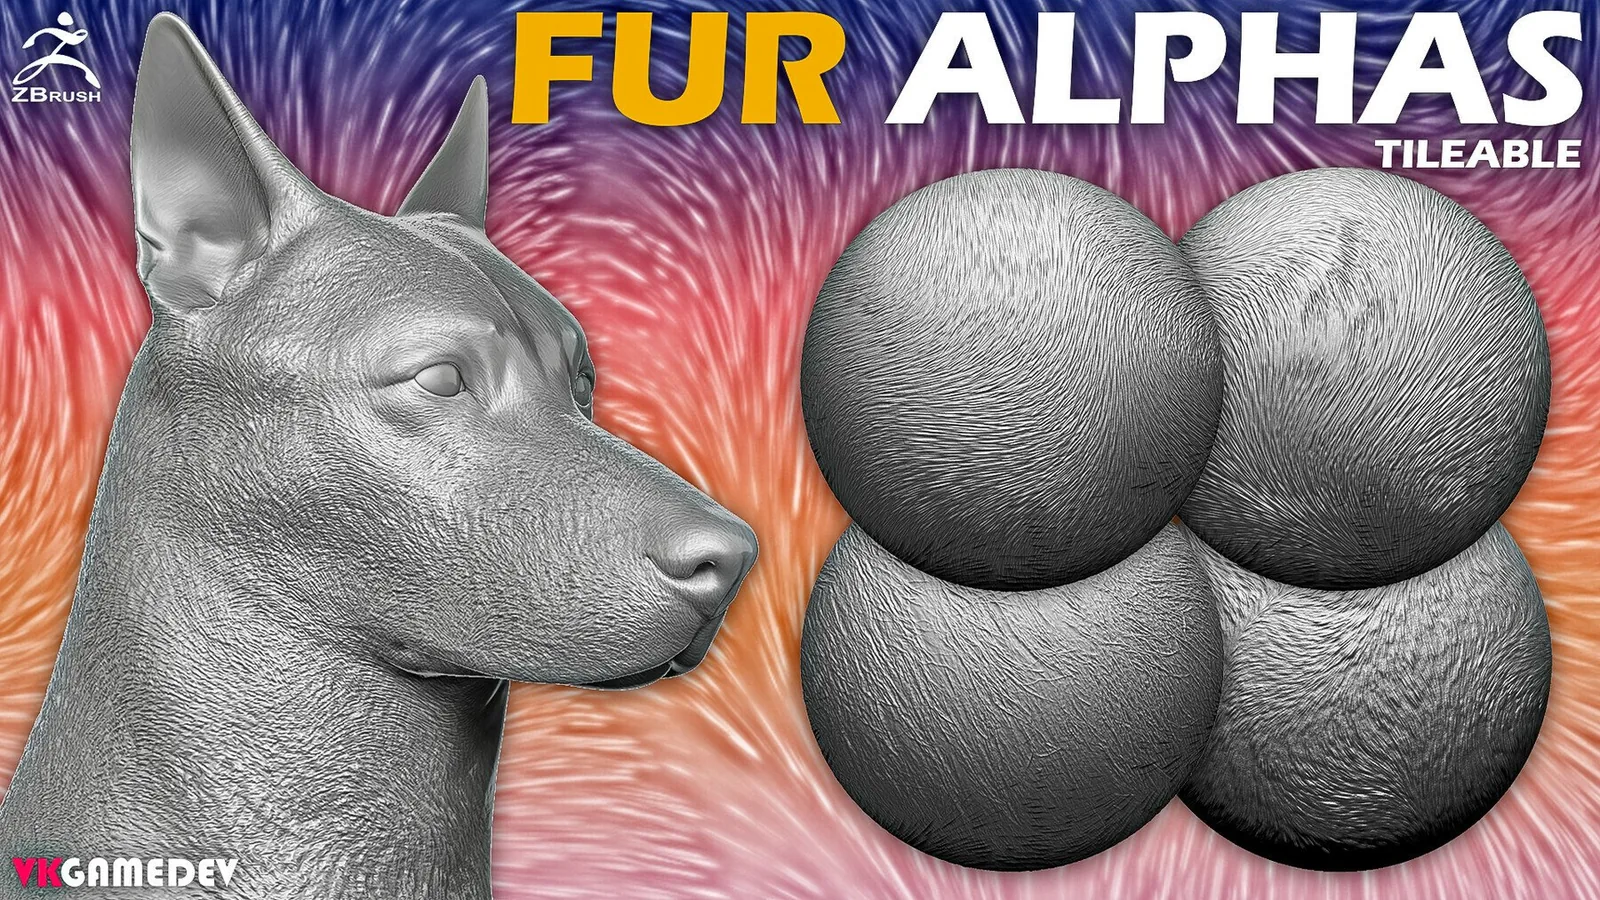
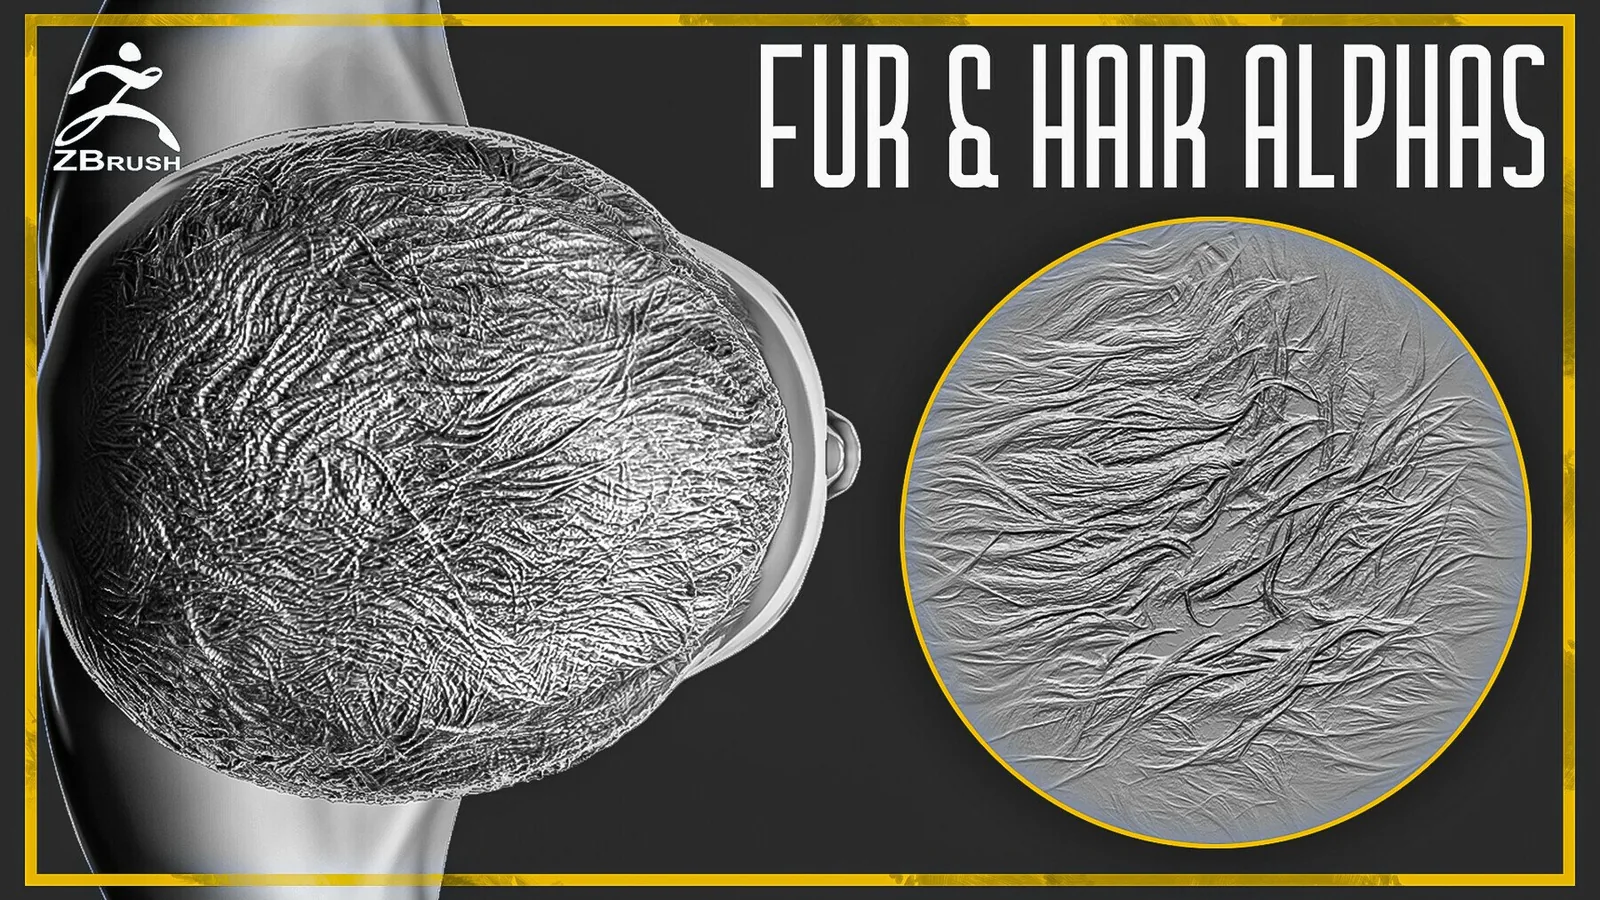
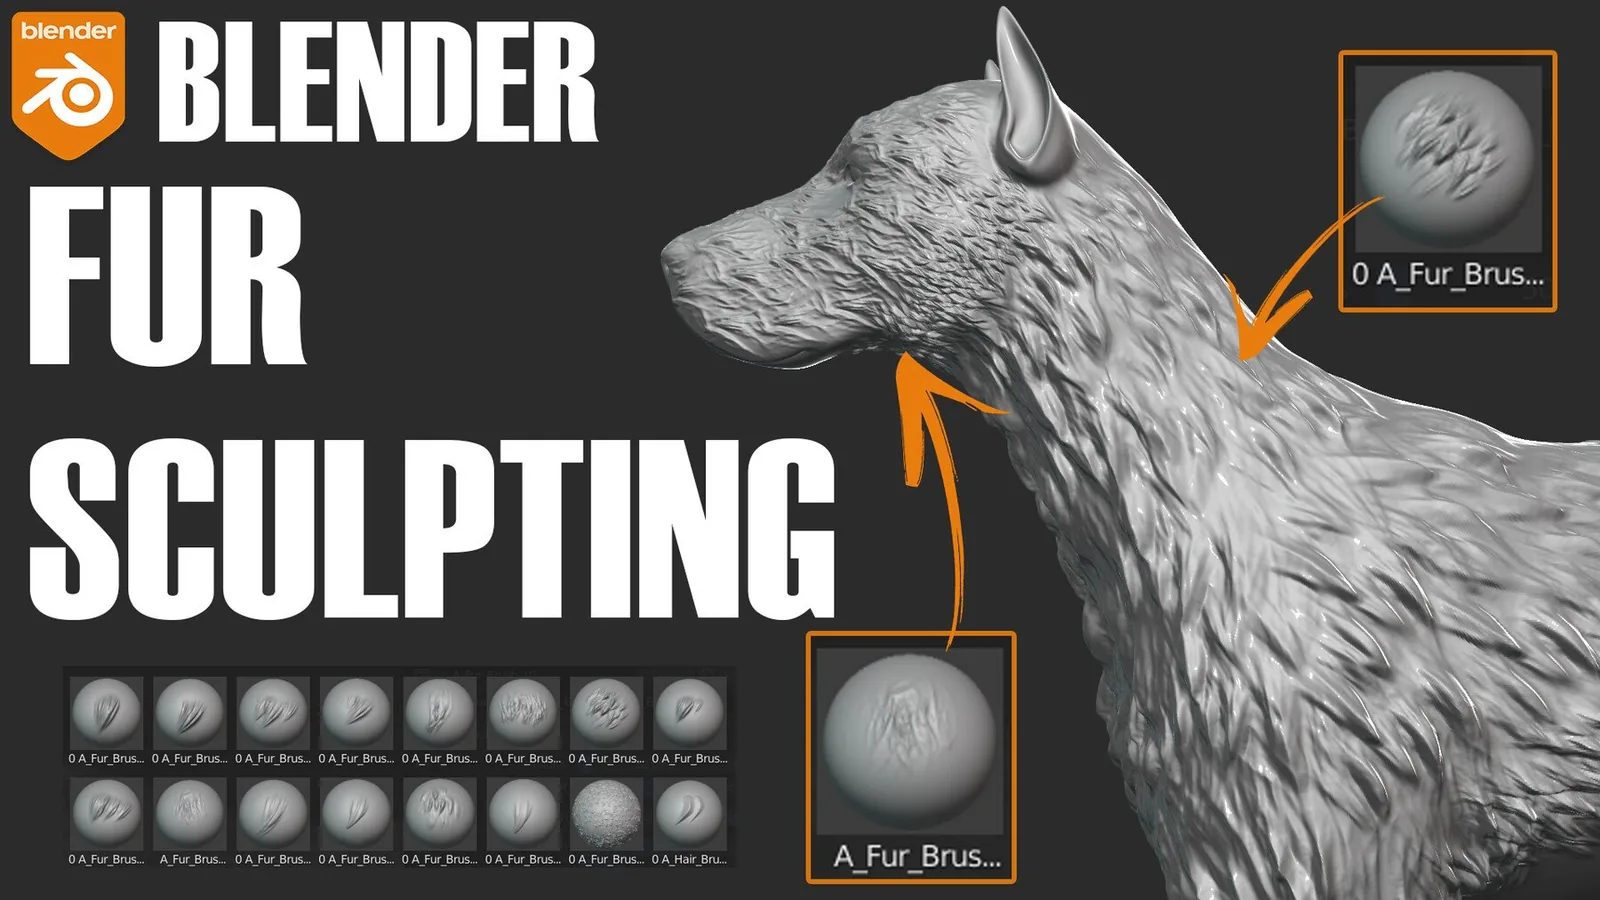
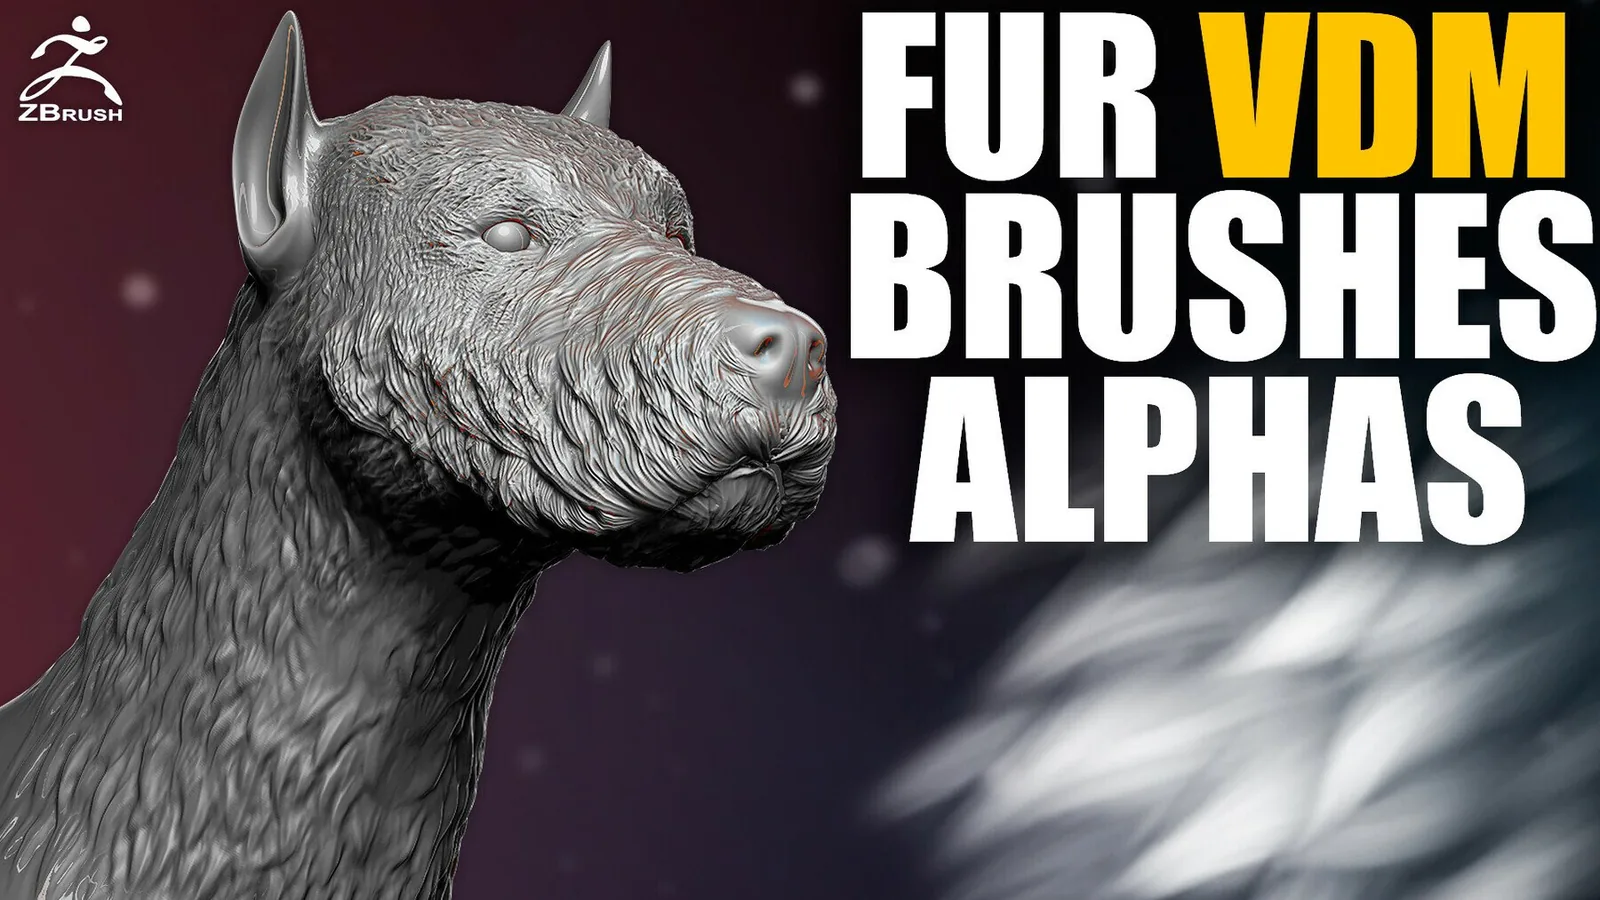
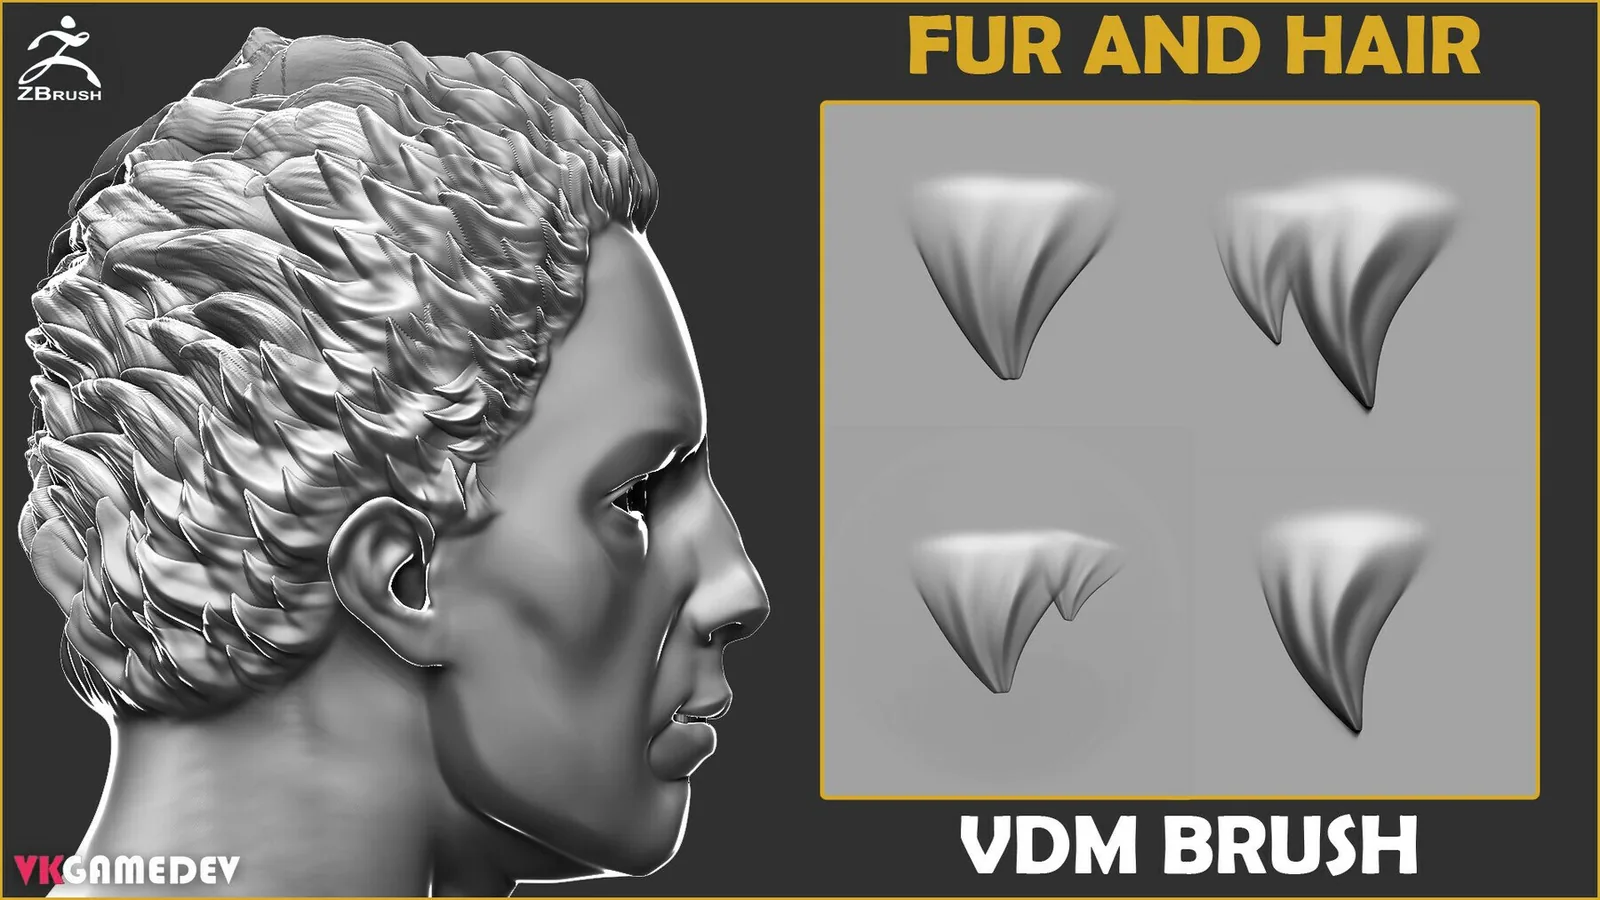
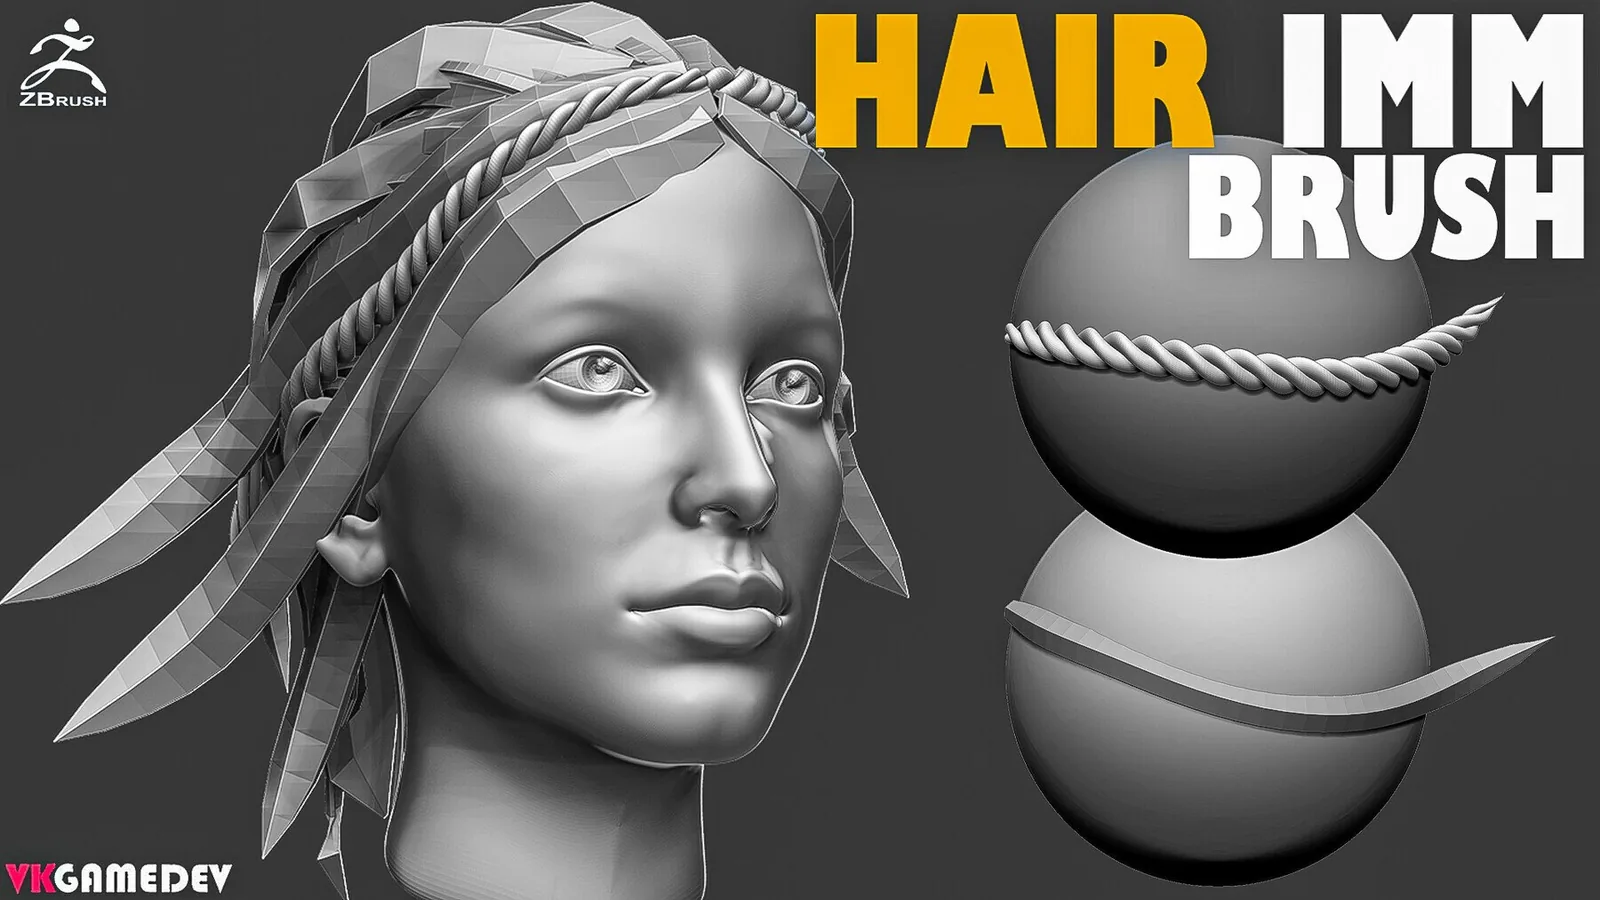
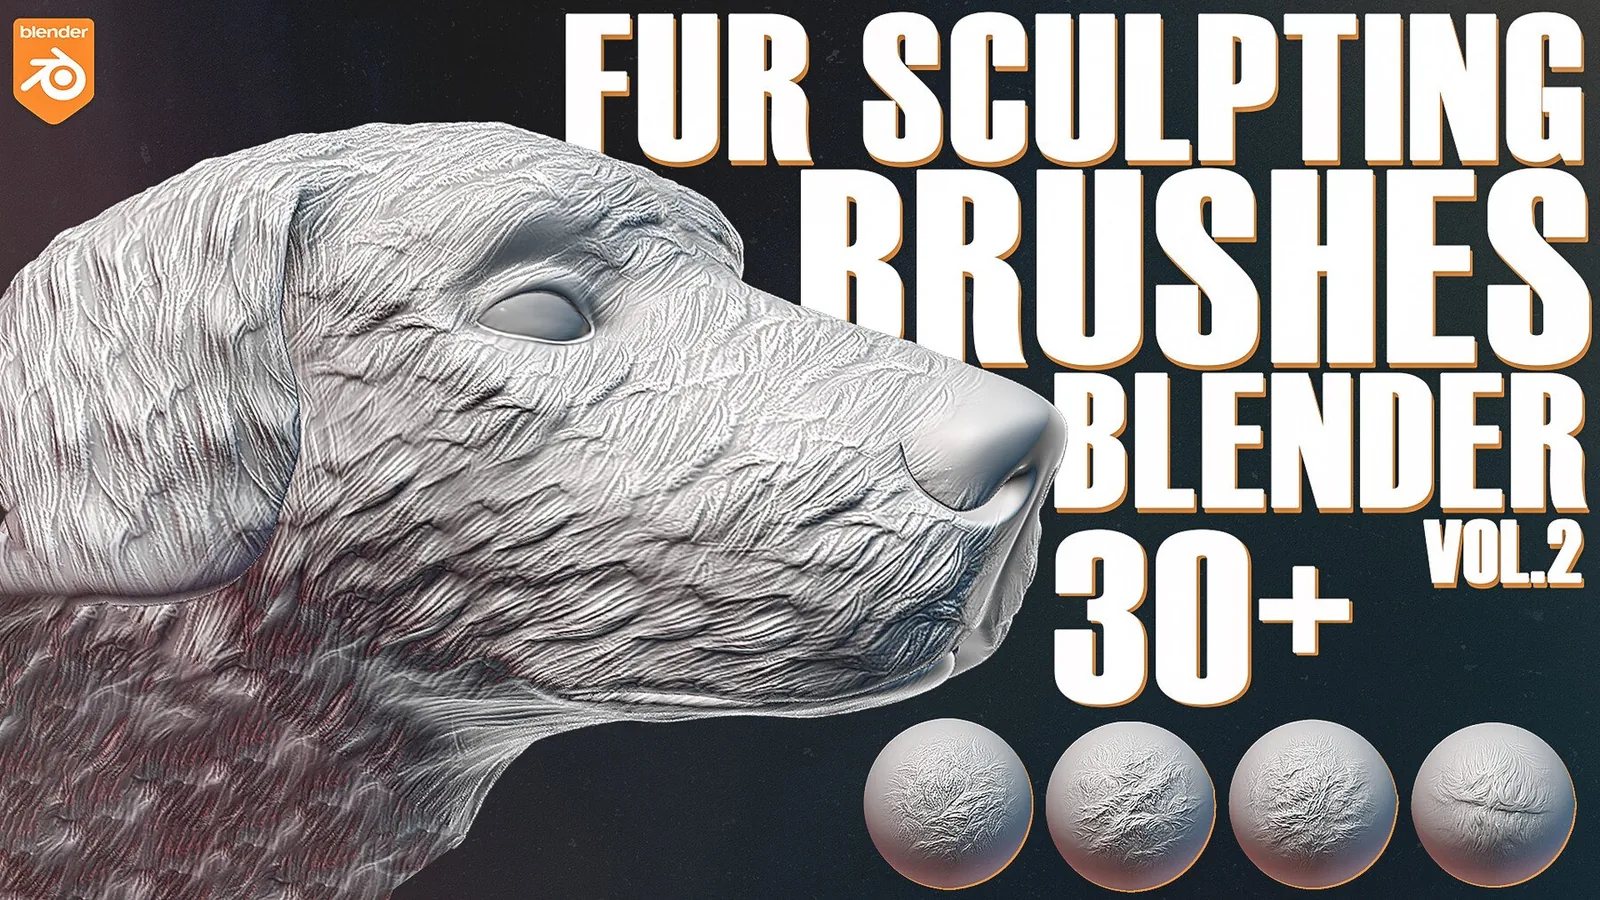
Fur and hair sculpting is about flow, density, and layered breakup. This category covers Blender and ZBrush brush packs, alphas, and displacement maps for coats, clumps, and strand direction in creatures and characters.
Real fur has direction and clumping, not just noise. Start with broad flow strokes, then layer smaller clump alphas where fur overlaps or compresses.
Start with overall mass and silhouette: large flow brushes set direction, then add clumps where fur gathers.
Short fur and stubble need low-intensity alphas and enough mesh density; rely on repeated directional strokes.
For long fur or manes, lay main flow first, then add clumps only in overlap areas; rotate and scale alphas to avoid repetition.
In Blender, use Dyntopo or Multires for strand definition and match brush radius to clump size; iterate at low subdiv and finish high.
In ZBrush, use layers for flow vs clumps and morph targets for cleanup without losing patterns.
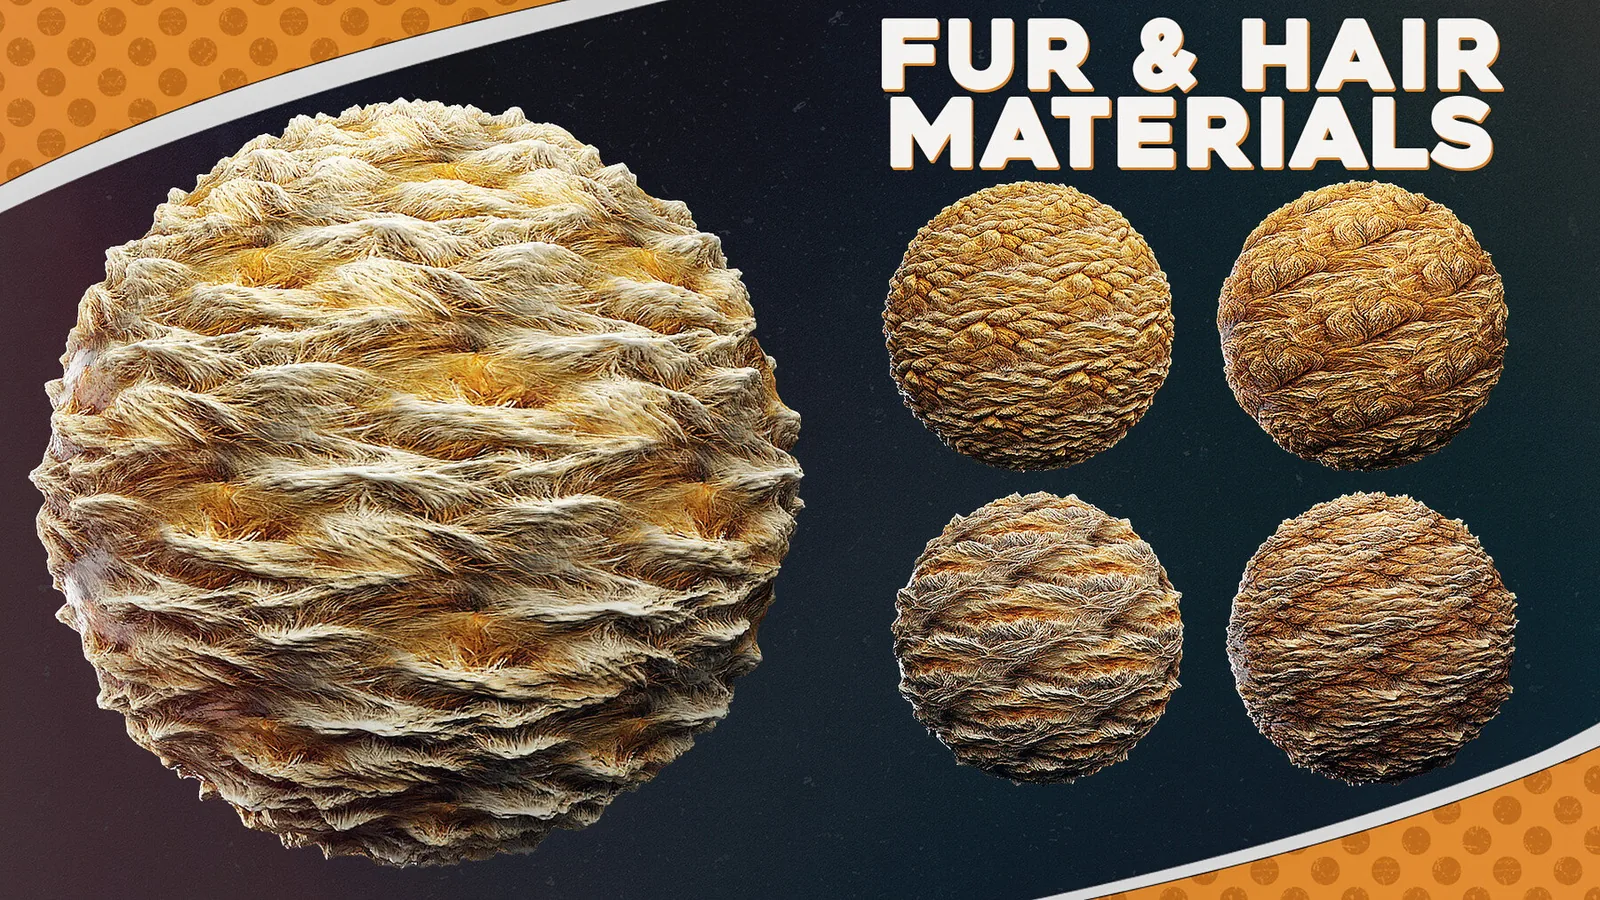
Bake fur alphas to textures and reuse them in shaders for consistent sculpt-to-render thickness.
Stylized fur uses stronger depth and fewer clump shapes; realistic fur mixes multiple clump families with subtle depth.
Test brushes on a reference sphere to compare spacing and keep density consistent across assets.
Use the best sets and examples below to pick brush packs and alpha libraries for your scale.
Best sets
These packs are the strongest fits for fur and hair detail. Each set is organized for fast browsing and includes previews so you can judge flow and clump breakup before committing.
All products
Full catalog of products currently listed in this category.
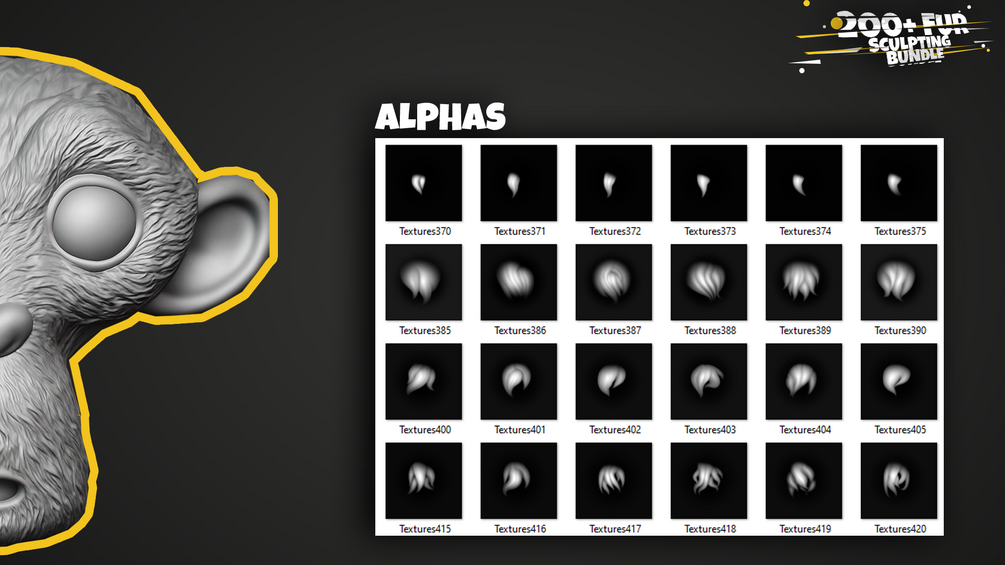
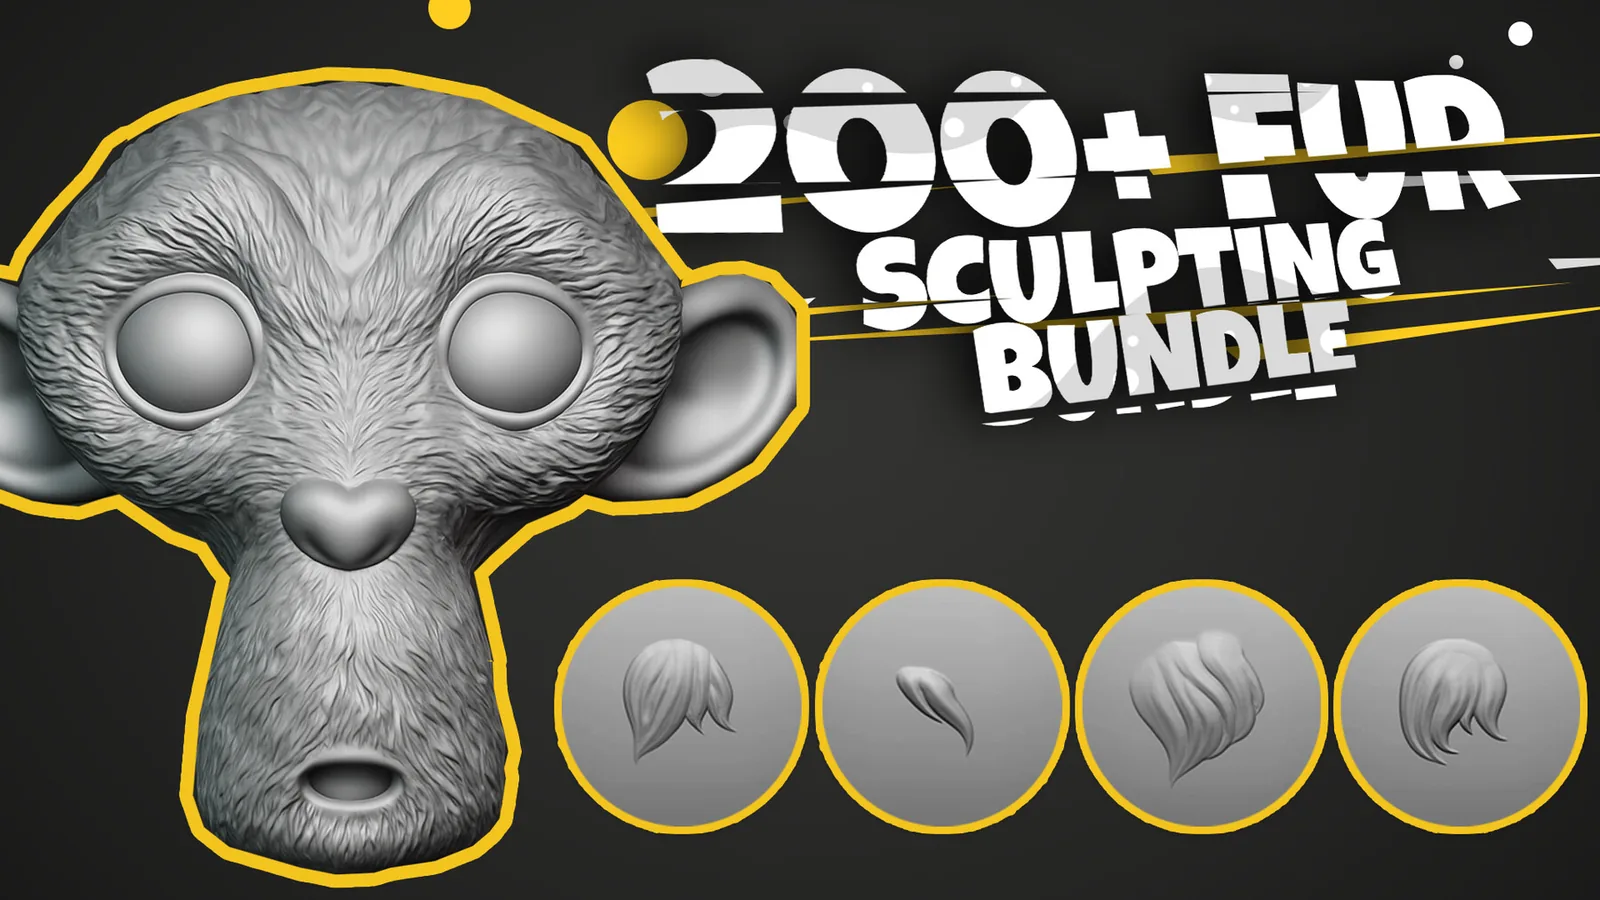
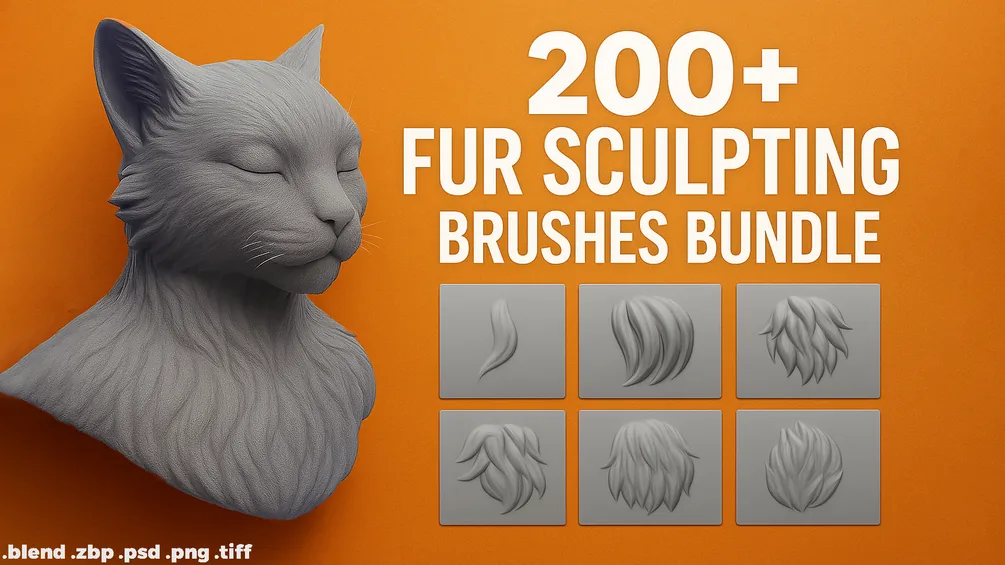
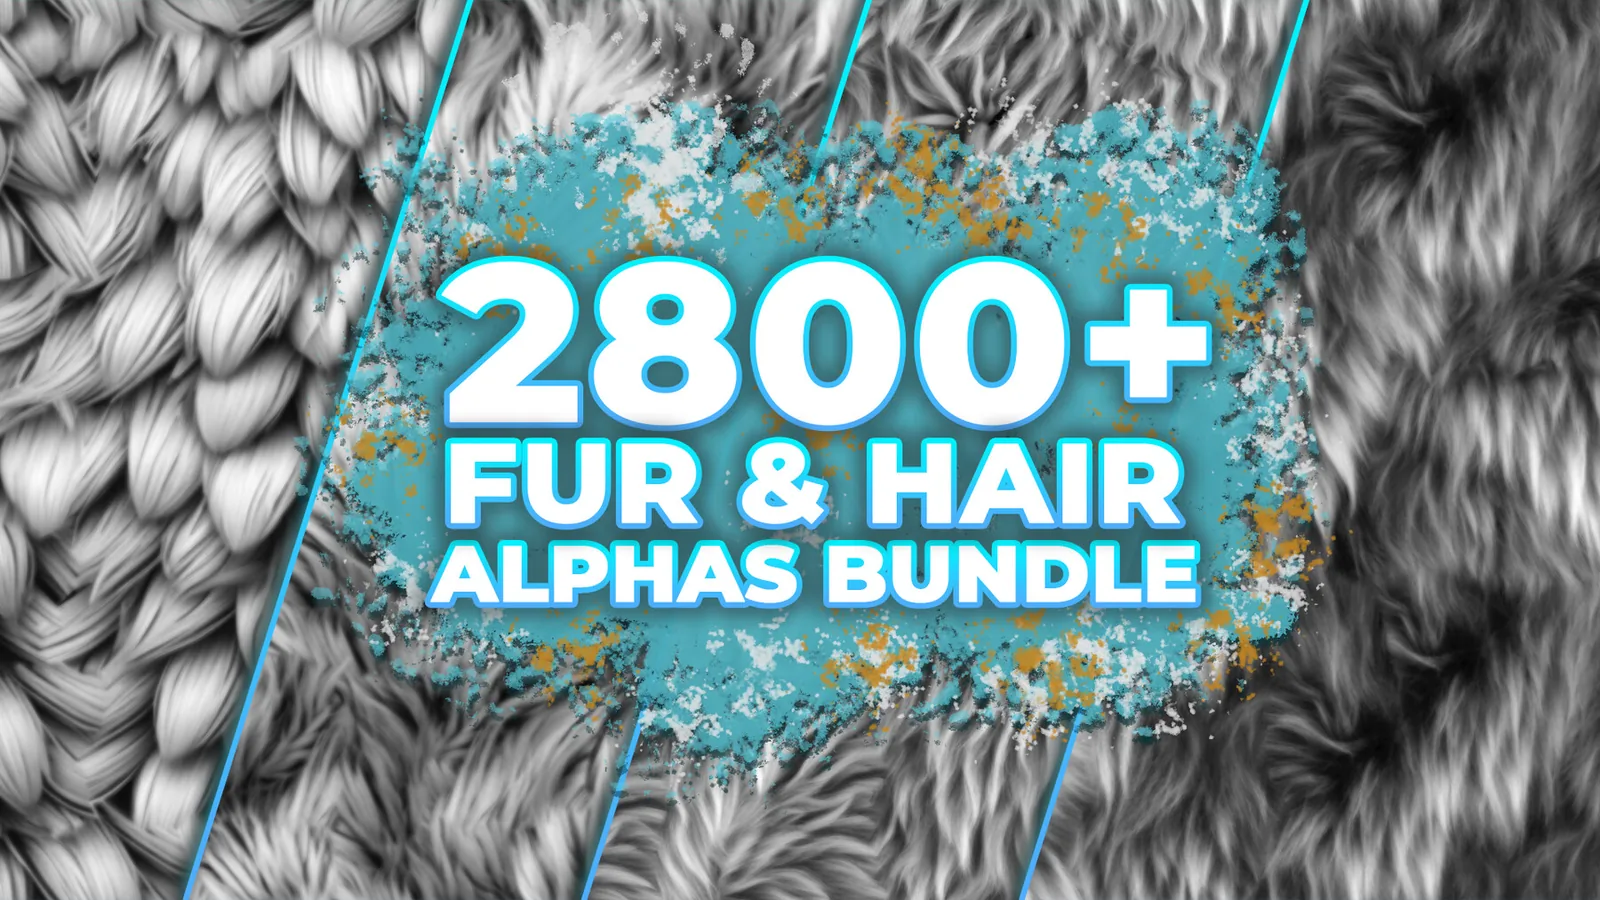
Examples
Real product previews showing how fur brushes and alphas read on different coat types.